New article
Recently updated
Adding and managing documents

Who is this article for?
Administrators that need to upload and manage documents.
Administrator permissions are required.
This tutorial guides you through adding a document to the Documents screen in Regulatory Intelligence.
1. Adding and managing documents
1.1 Video
1.2 Steps
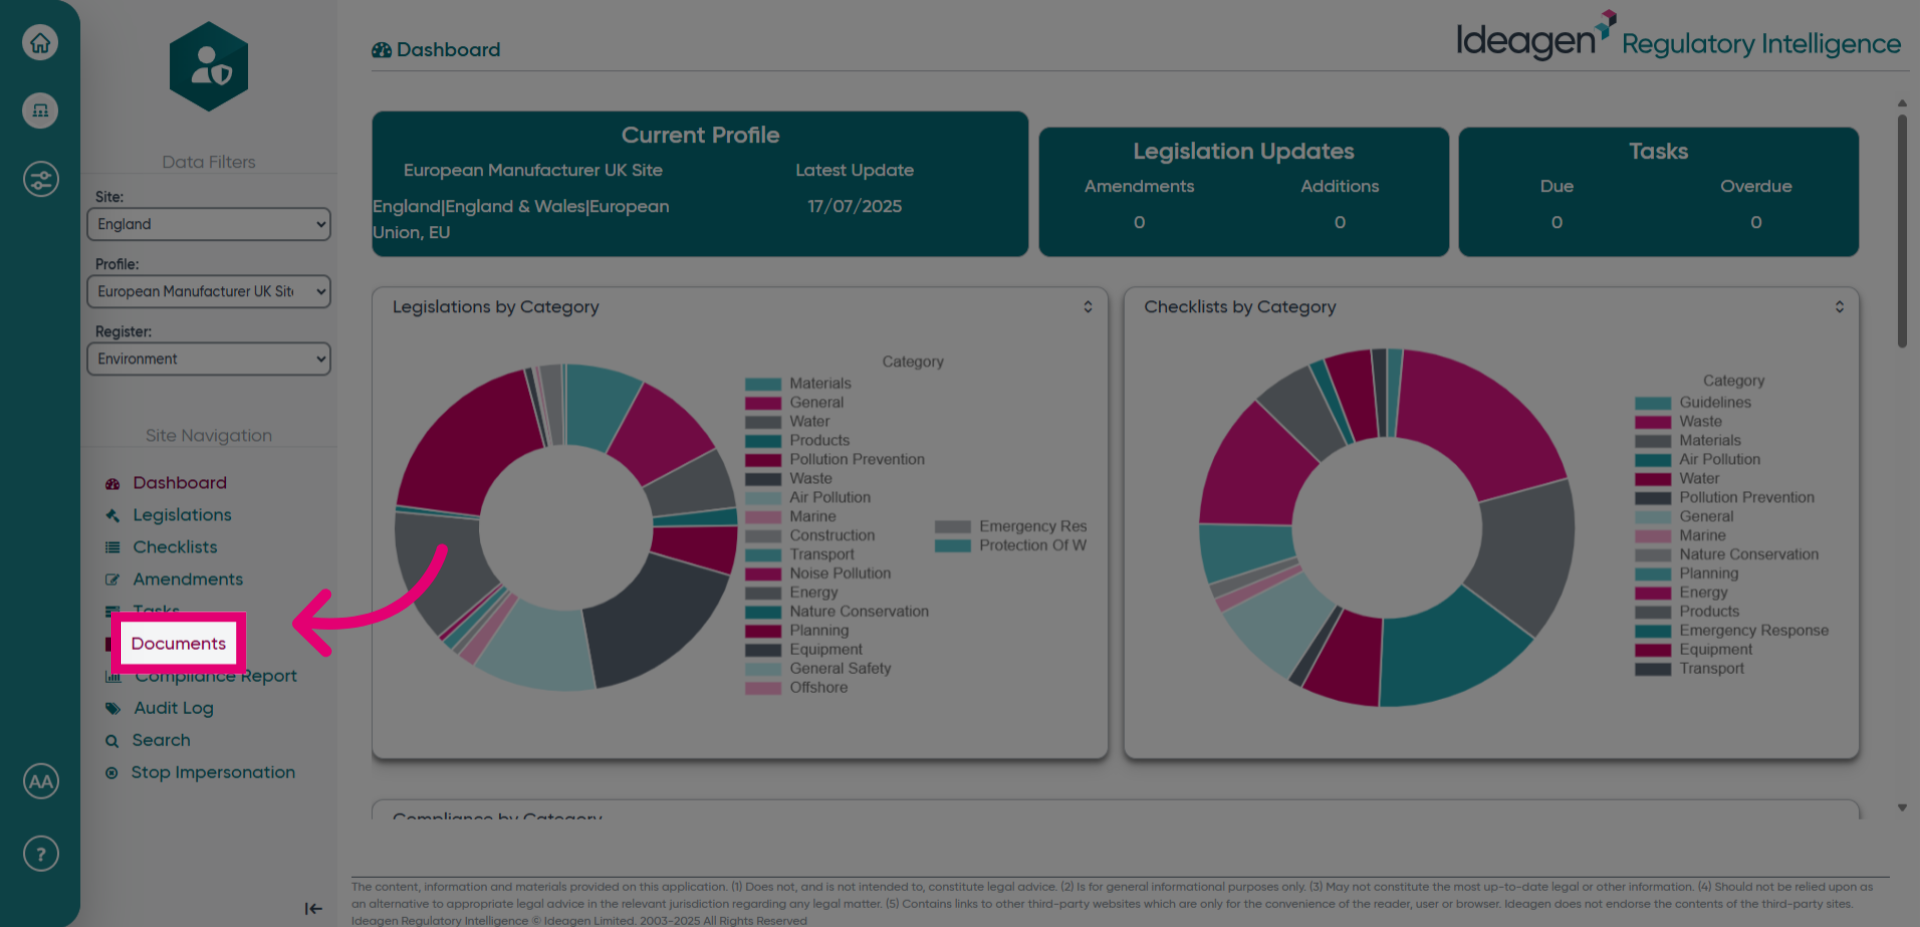
- Open the Menu.
- Click Documents to navigate to the Documents section and begin adding a new document to your workspace.
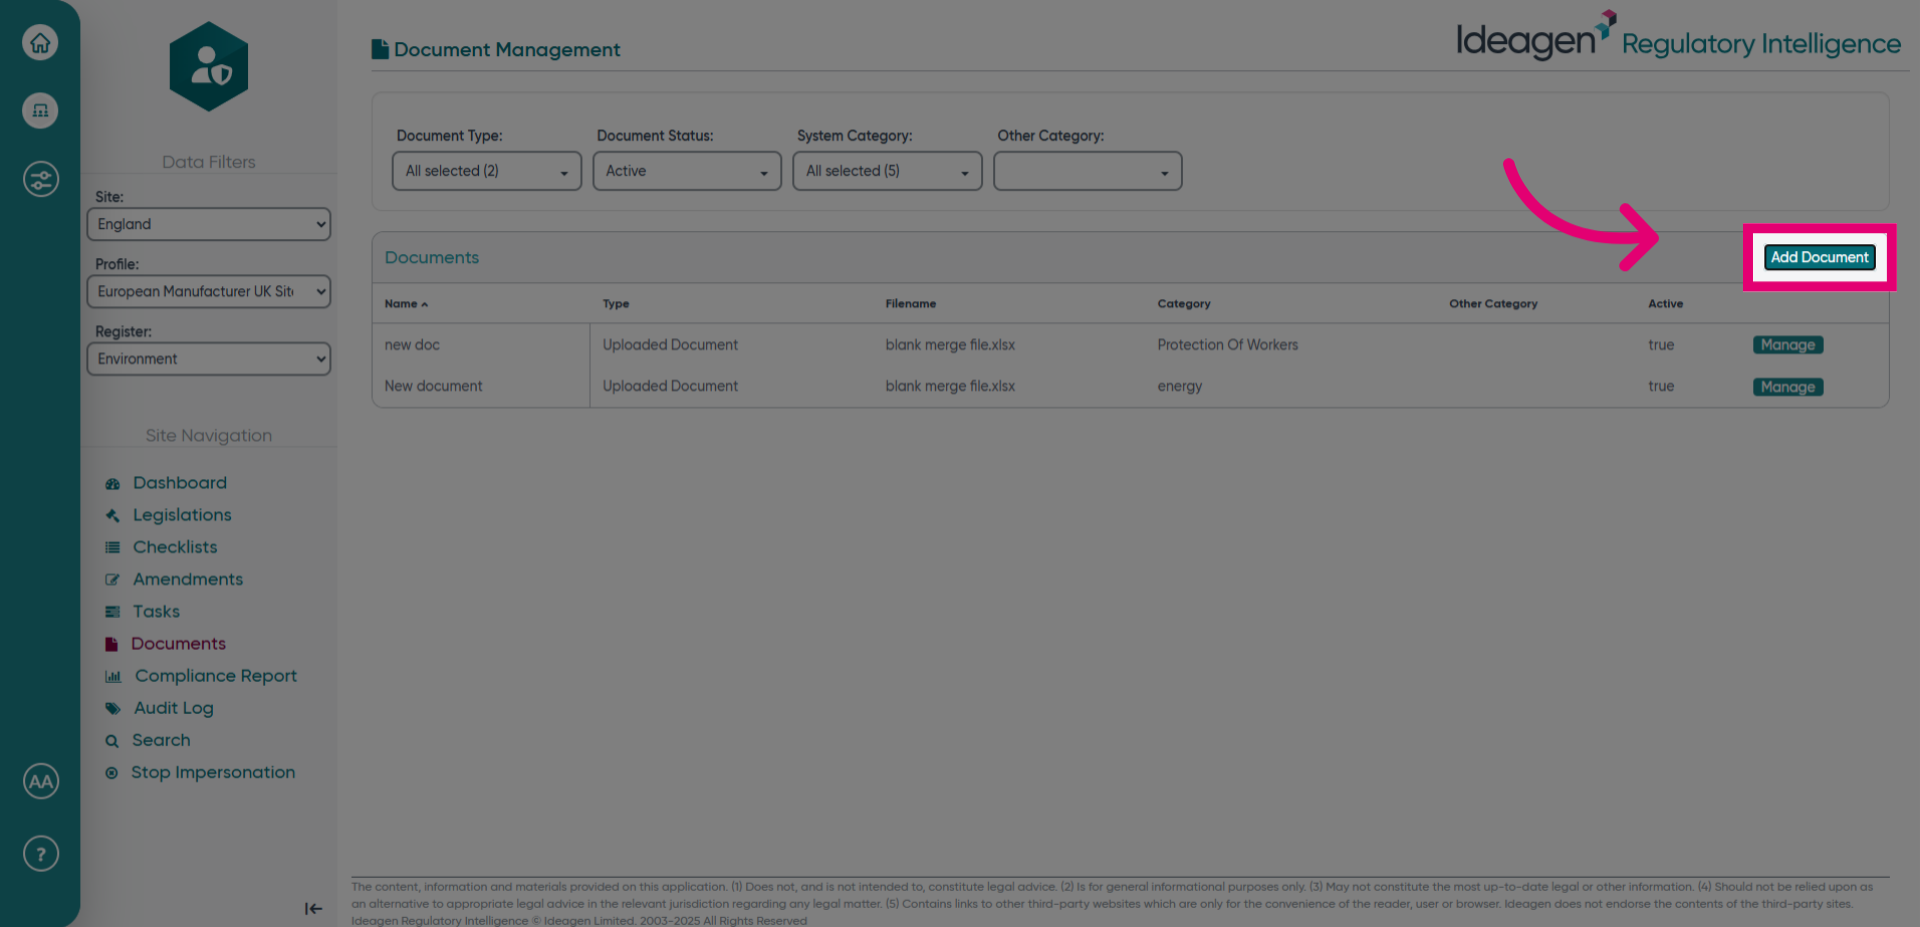
- Click Add Document to start the process of including a new document.
- Open the selection menu to choose whether to upload a document from your device or an external link.
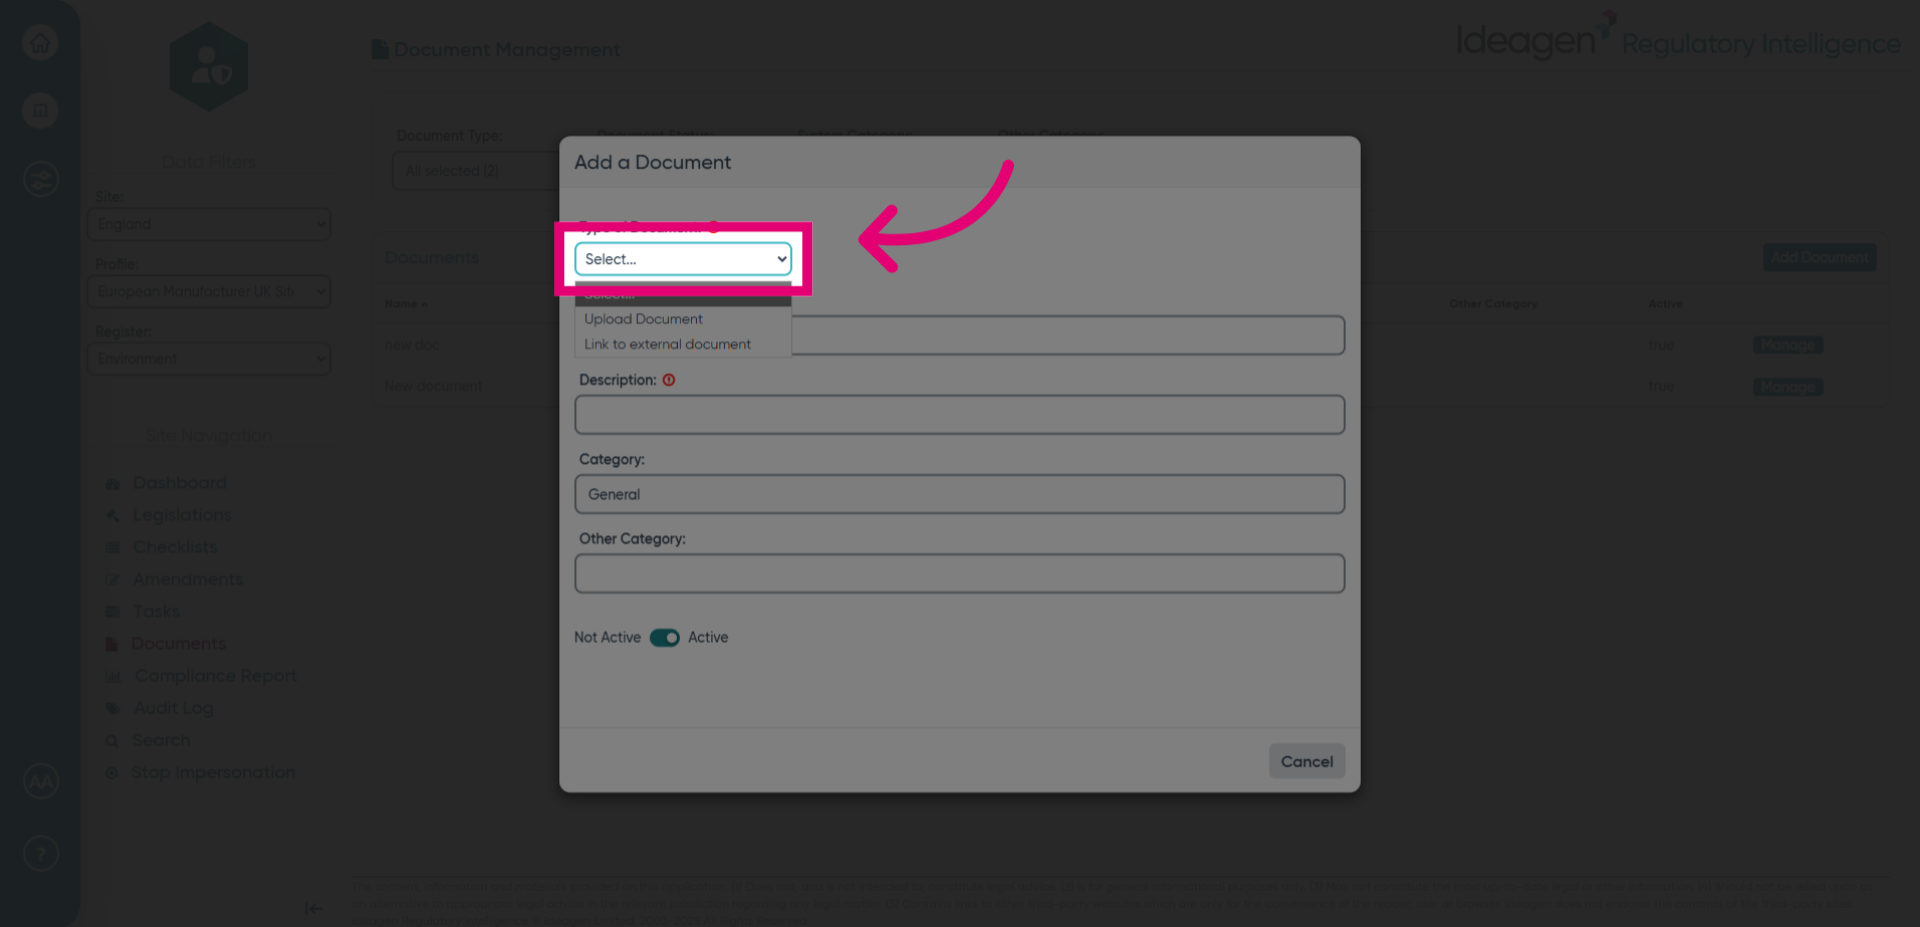
- Select the appropriate option to either upload a document or link to an external document.
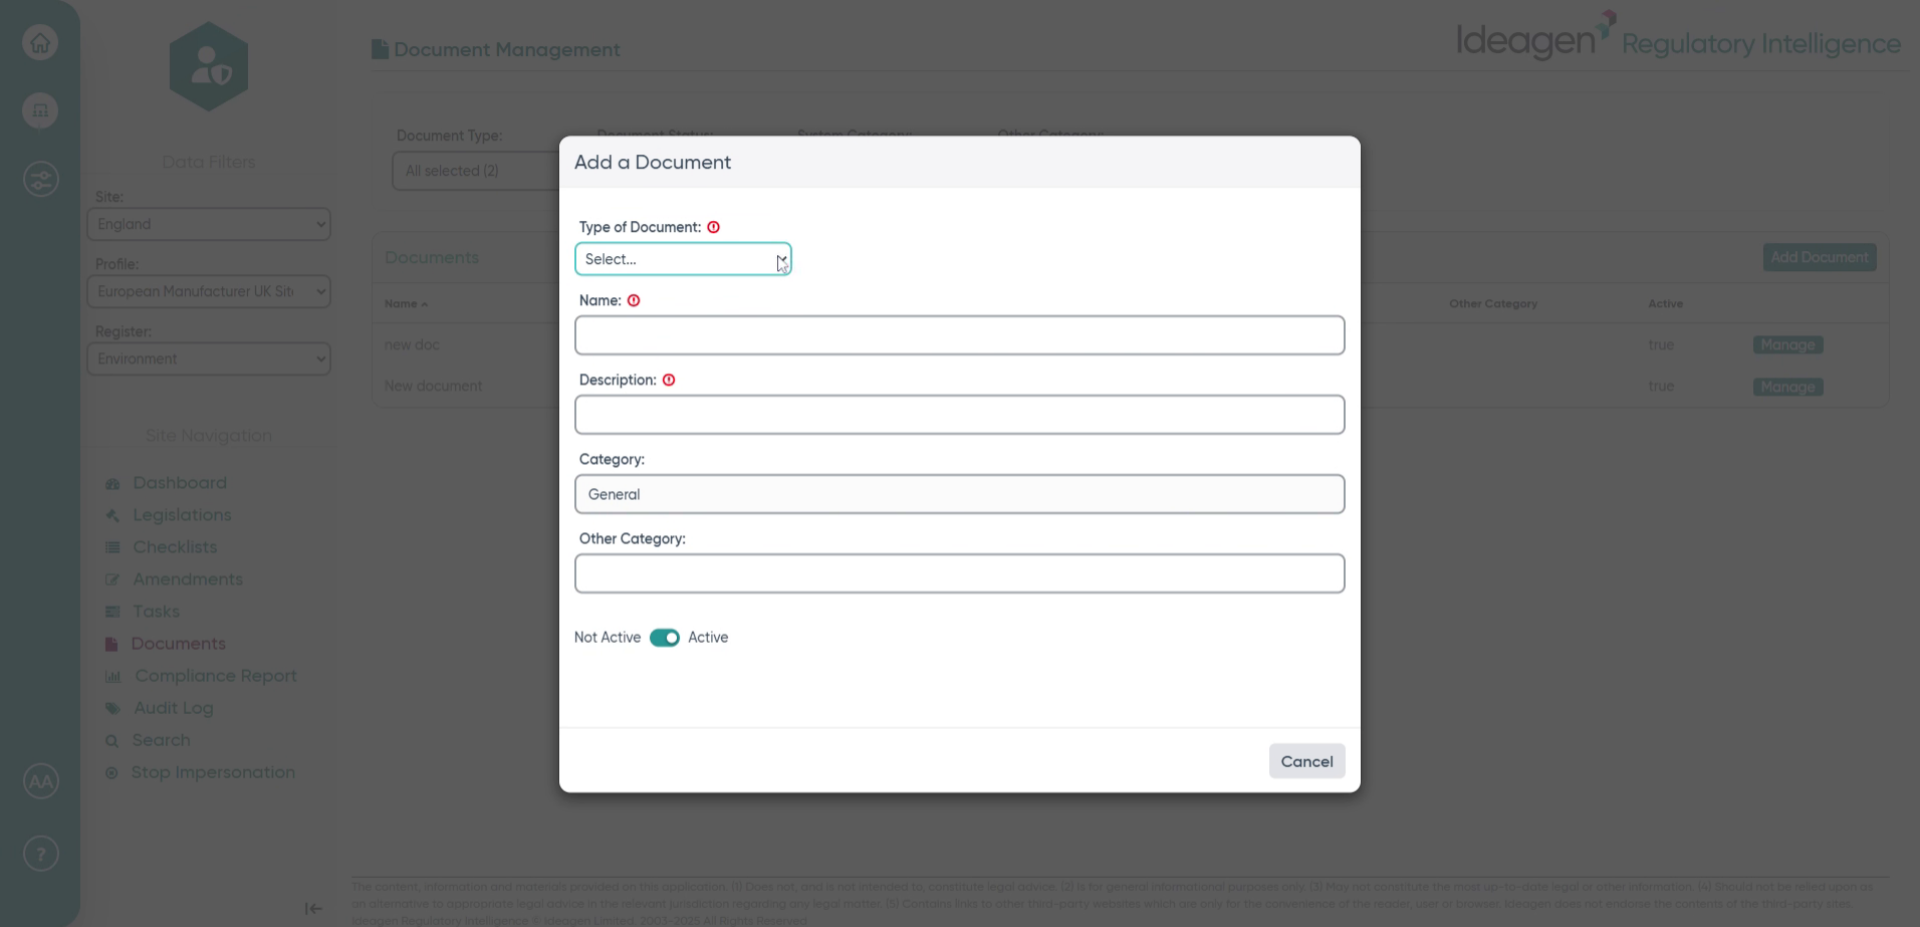
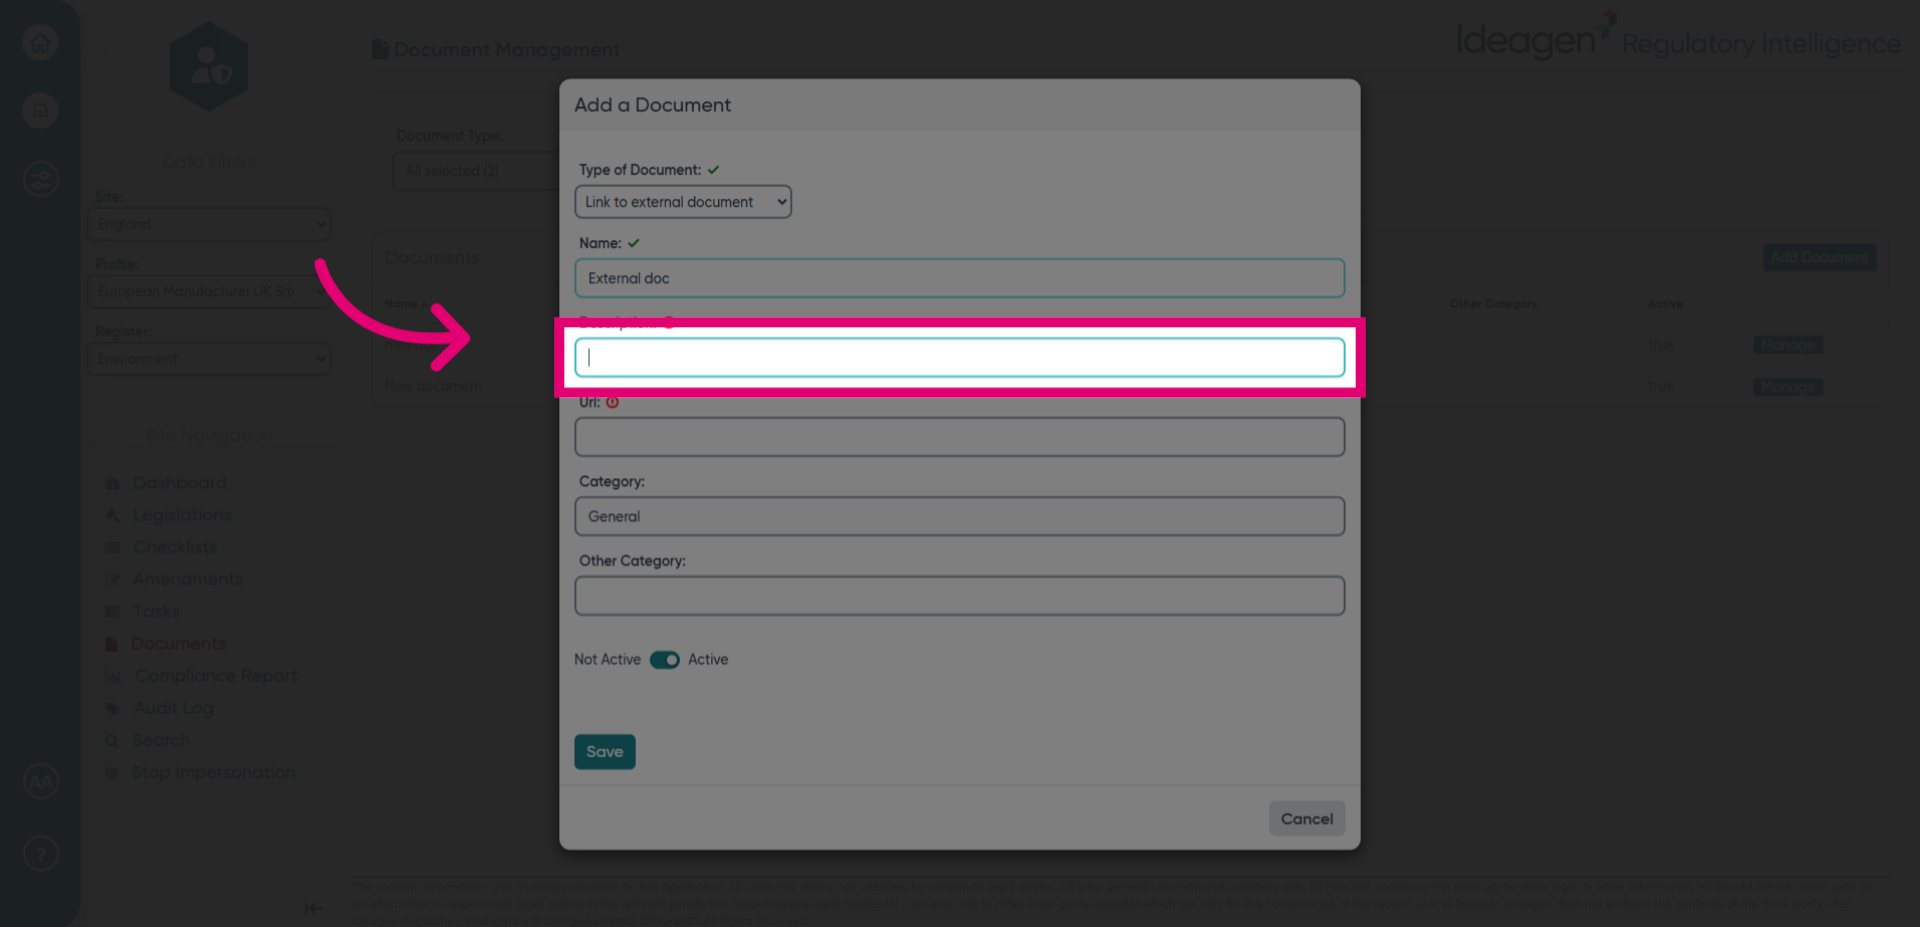
- Click the Name field to specify a title for your document.
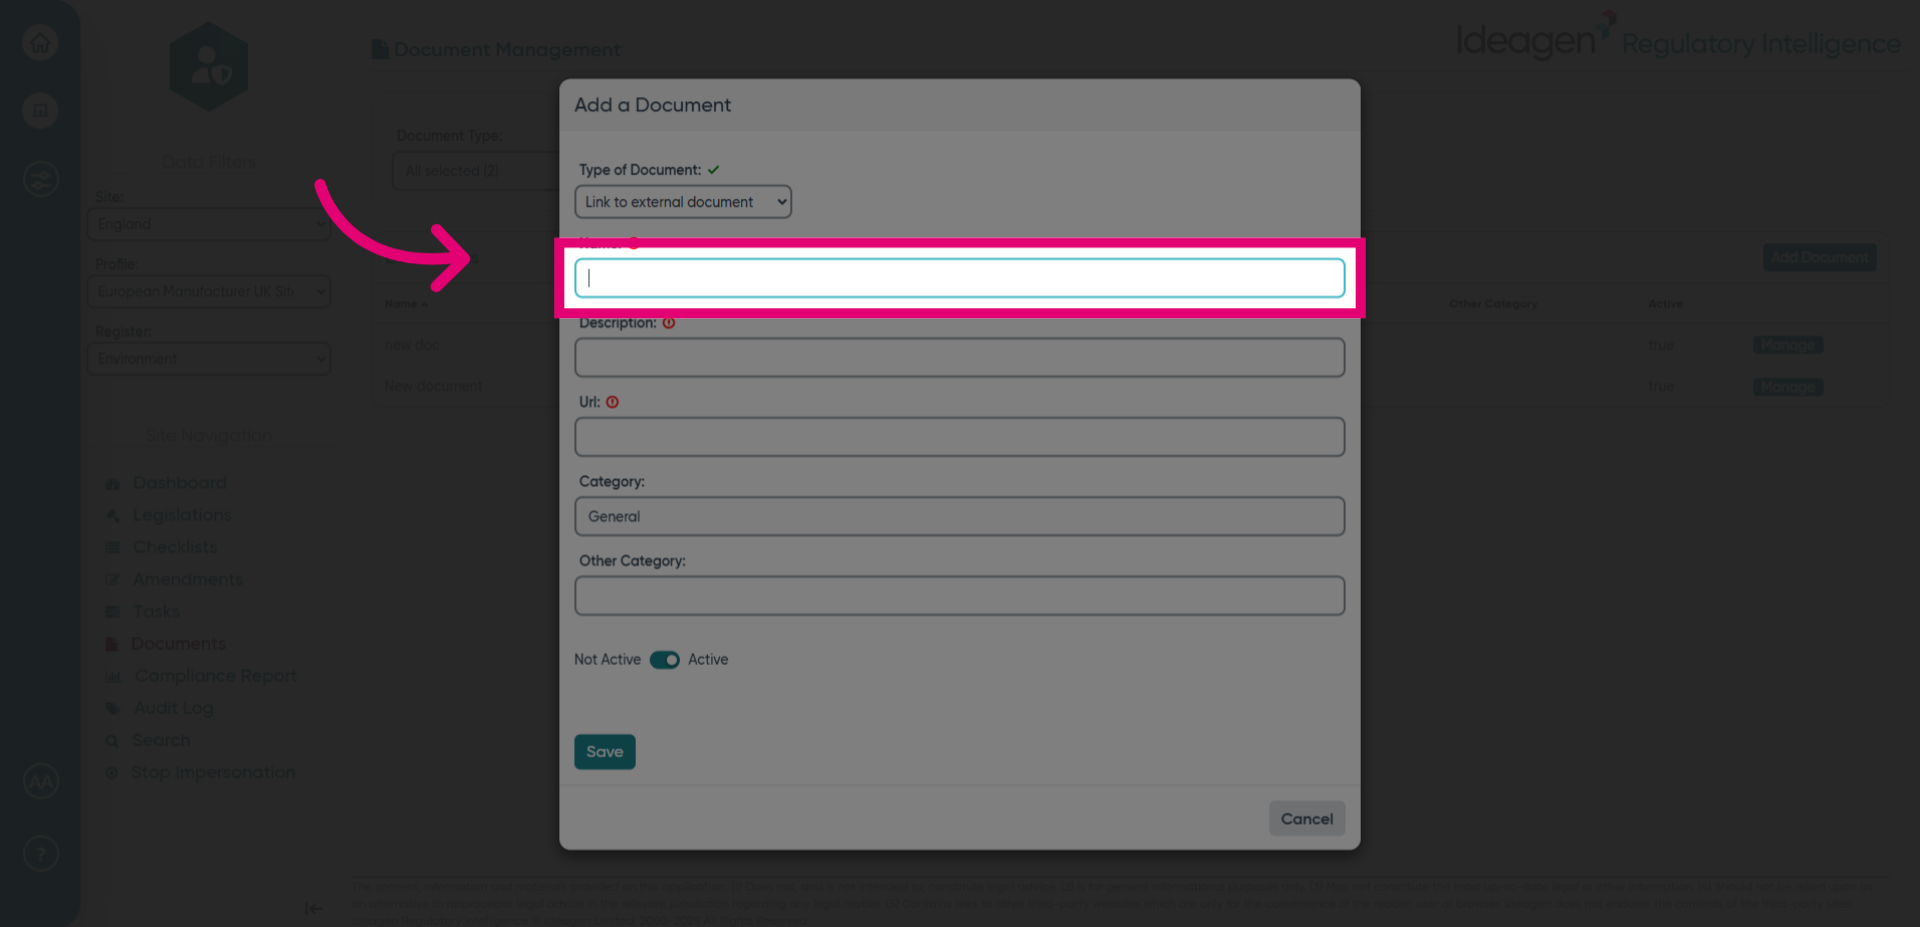
- Choose a descriptive name for your external document to identify it easily.
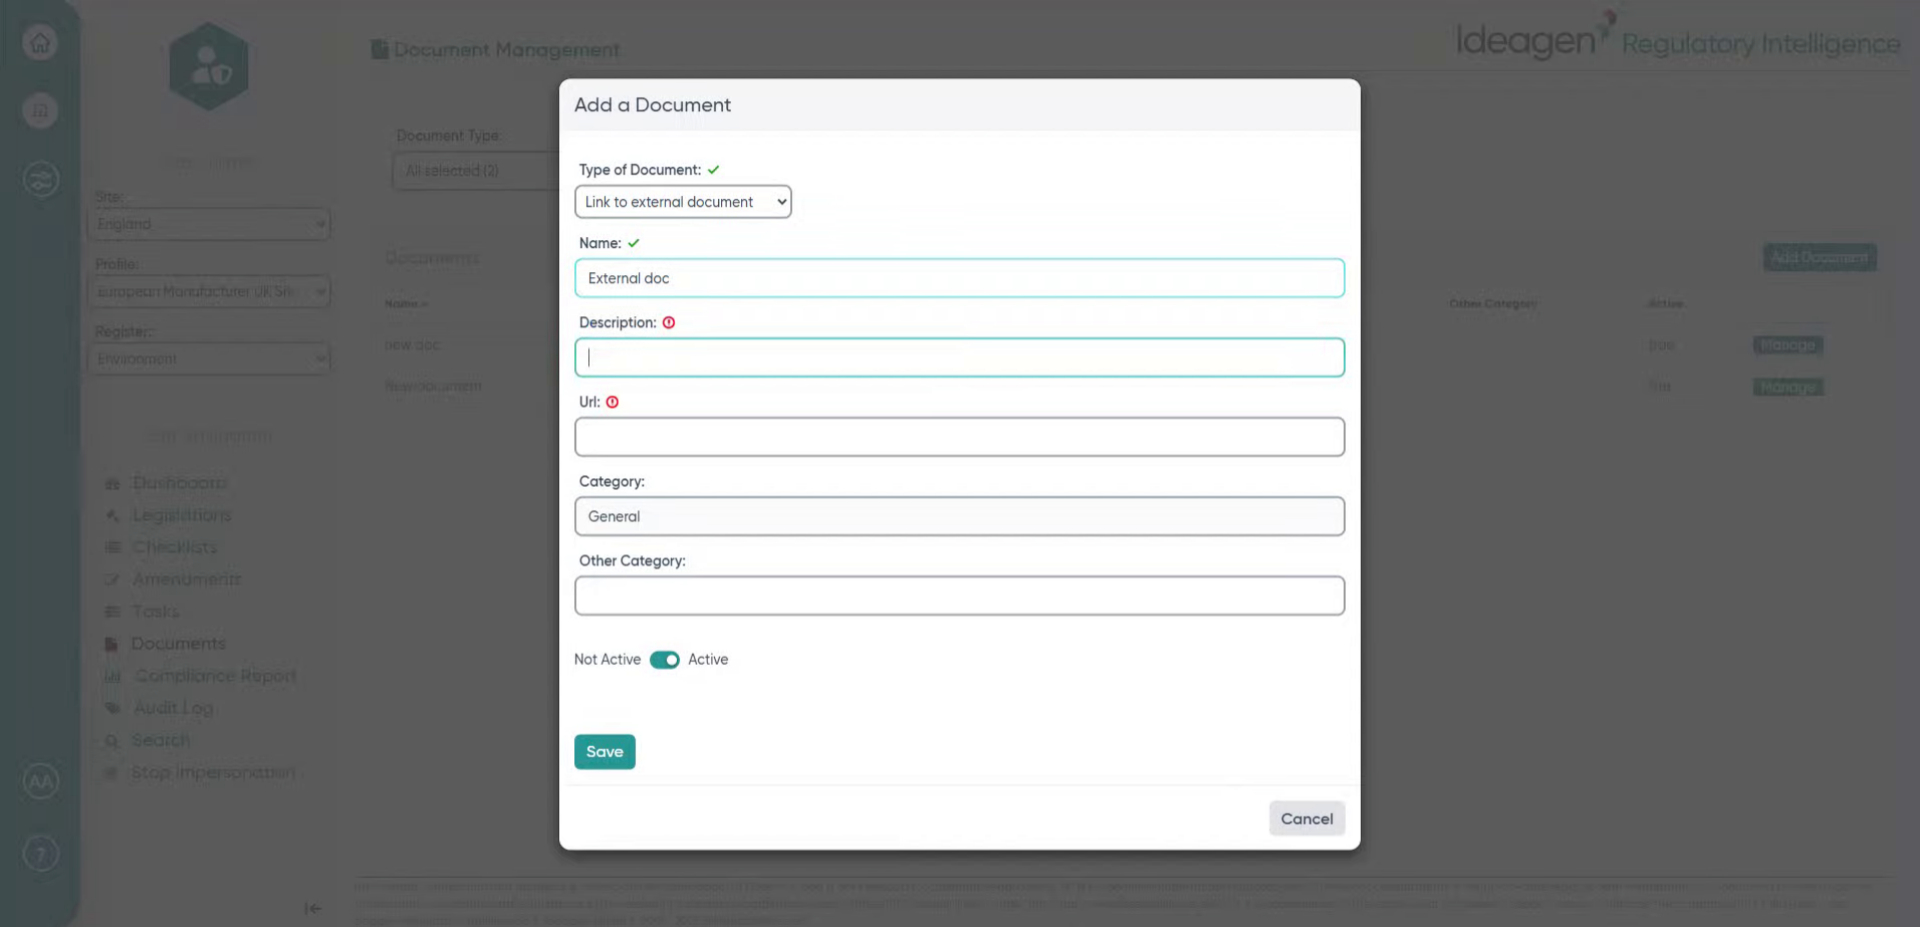
- Proceed to the next step in the document addition process.
- Fill in the document name field with the chosen title for clarity.
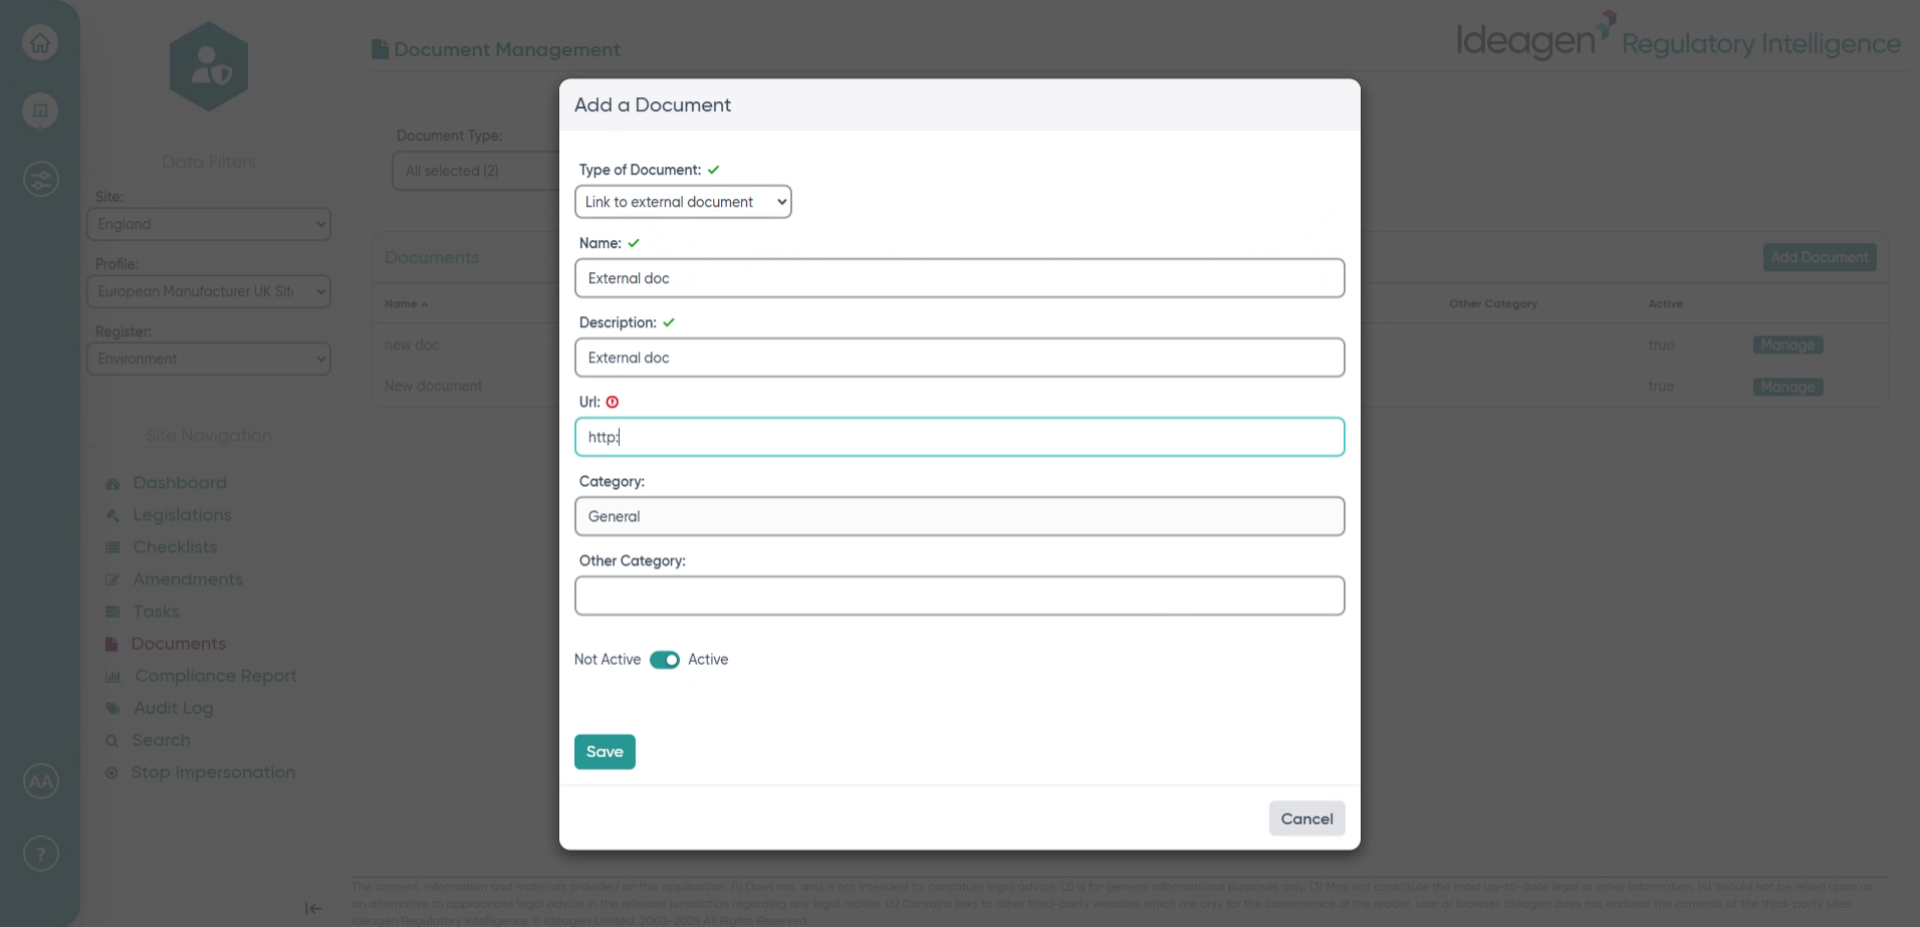
- Click the Url field to provide the link to your external document..
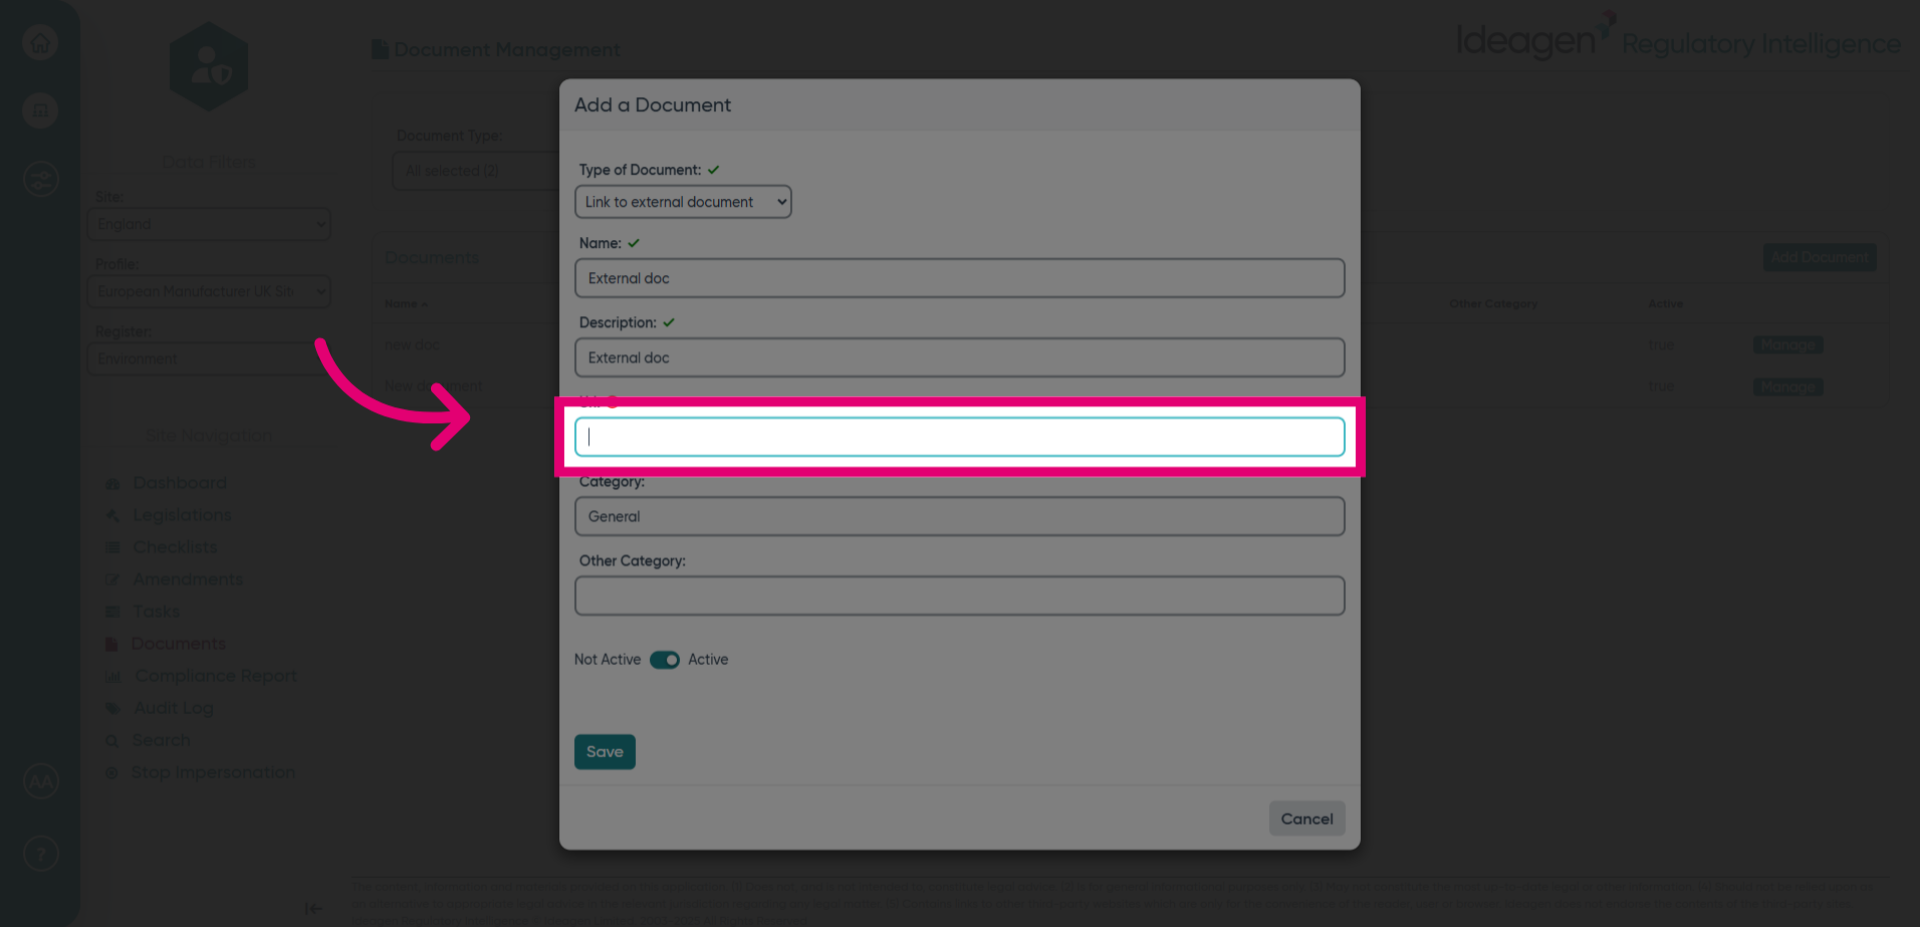
- Enter the URL of the external document you want to link, such as a website address.
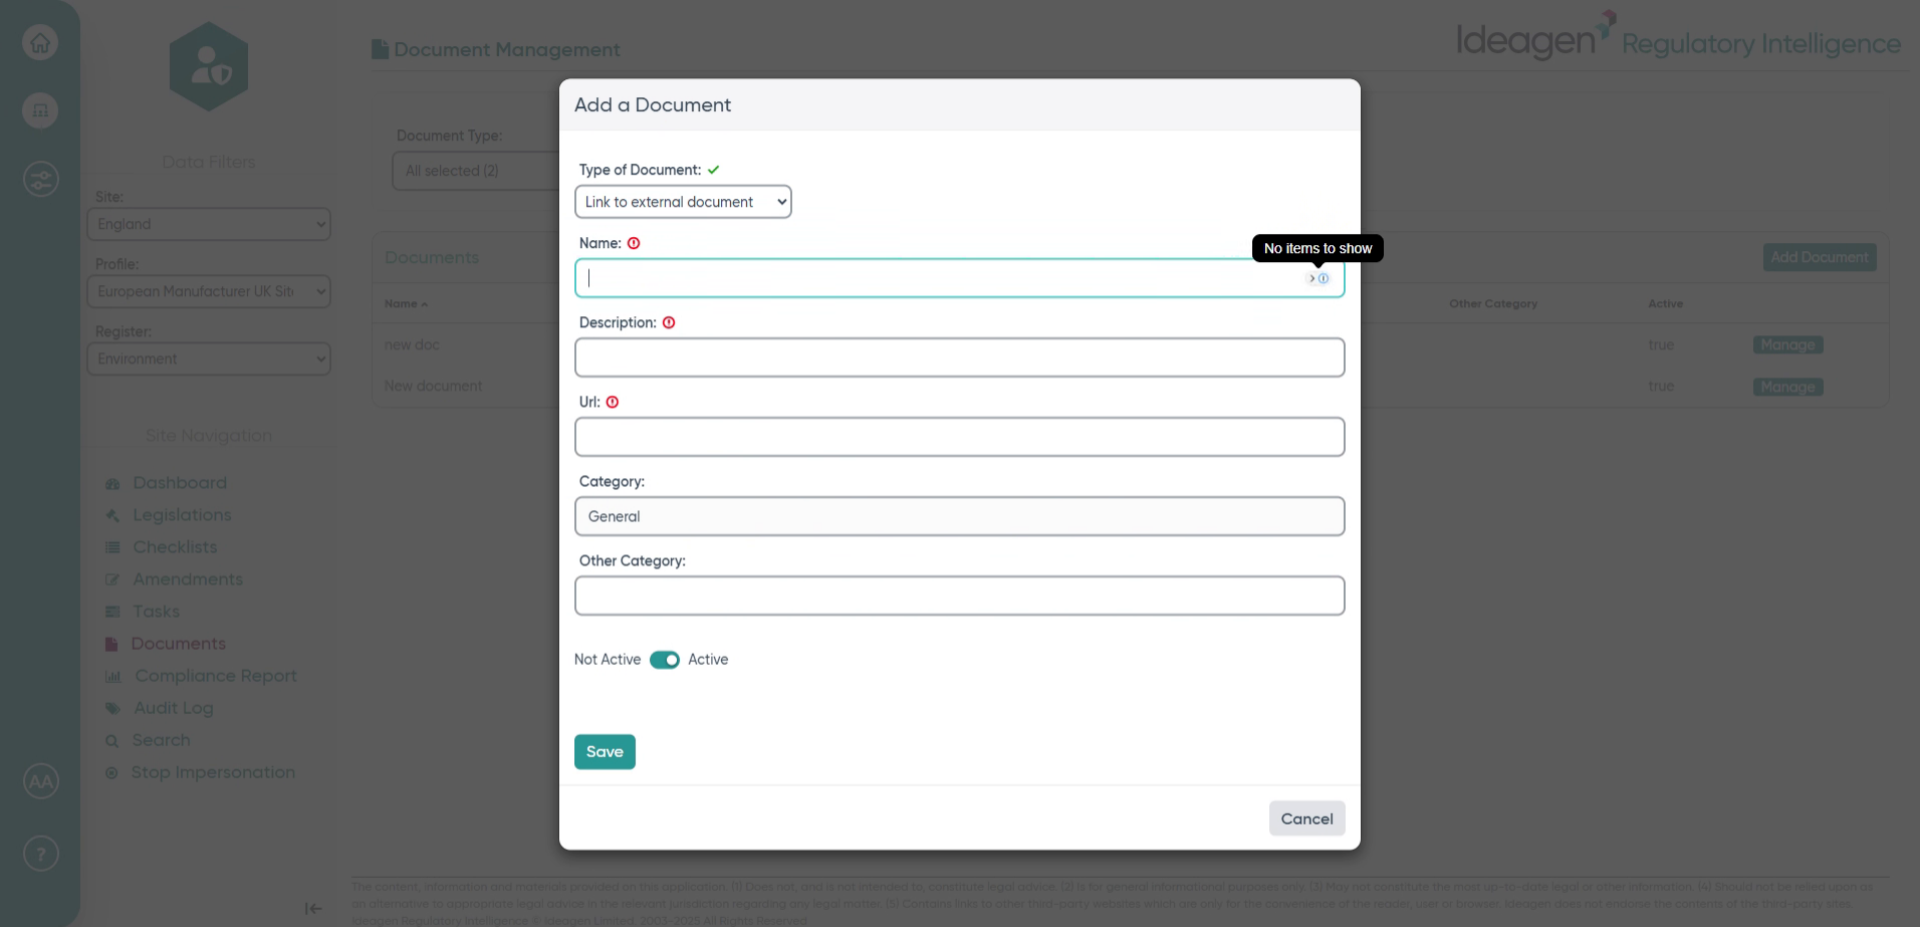
- Click the Save button to store the new document information securely.

- Access the Manage section to review and adjust your document settings.
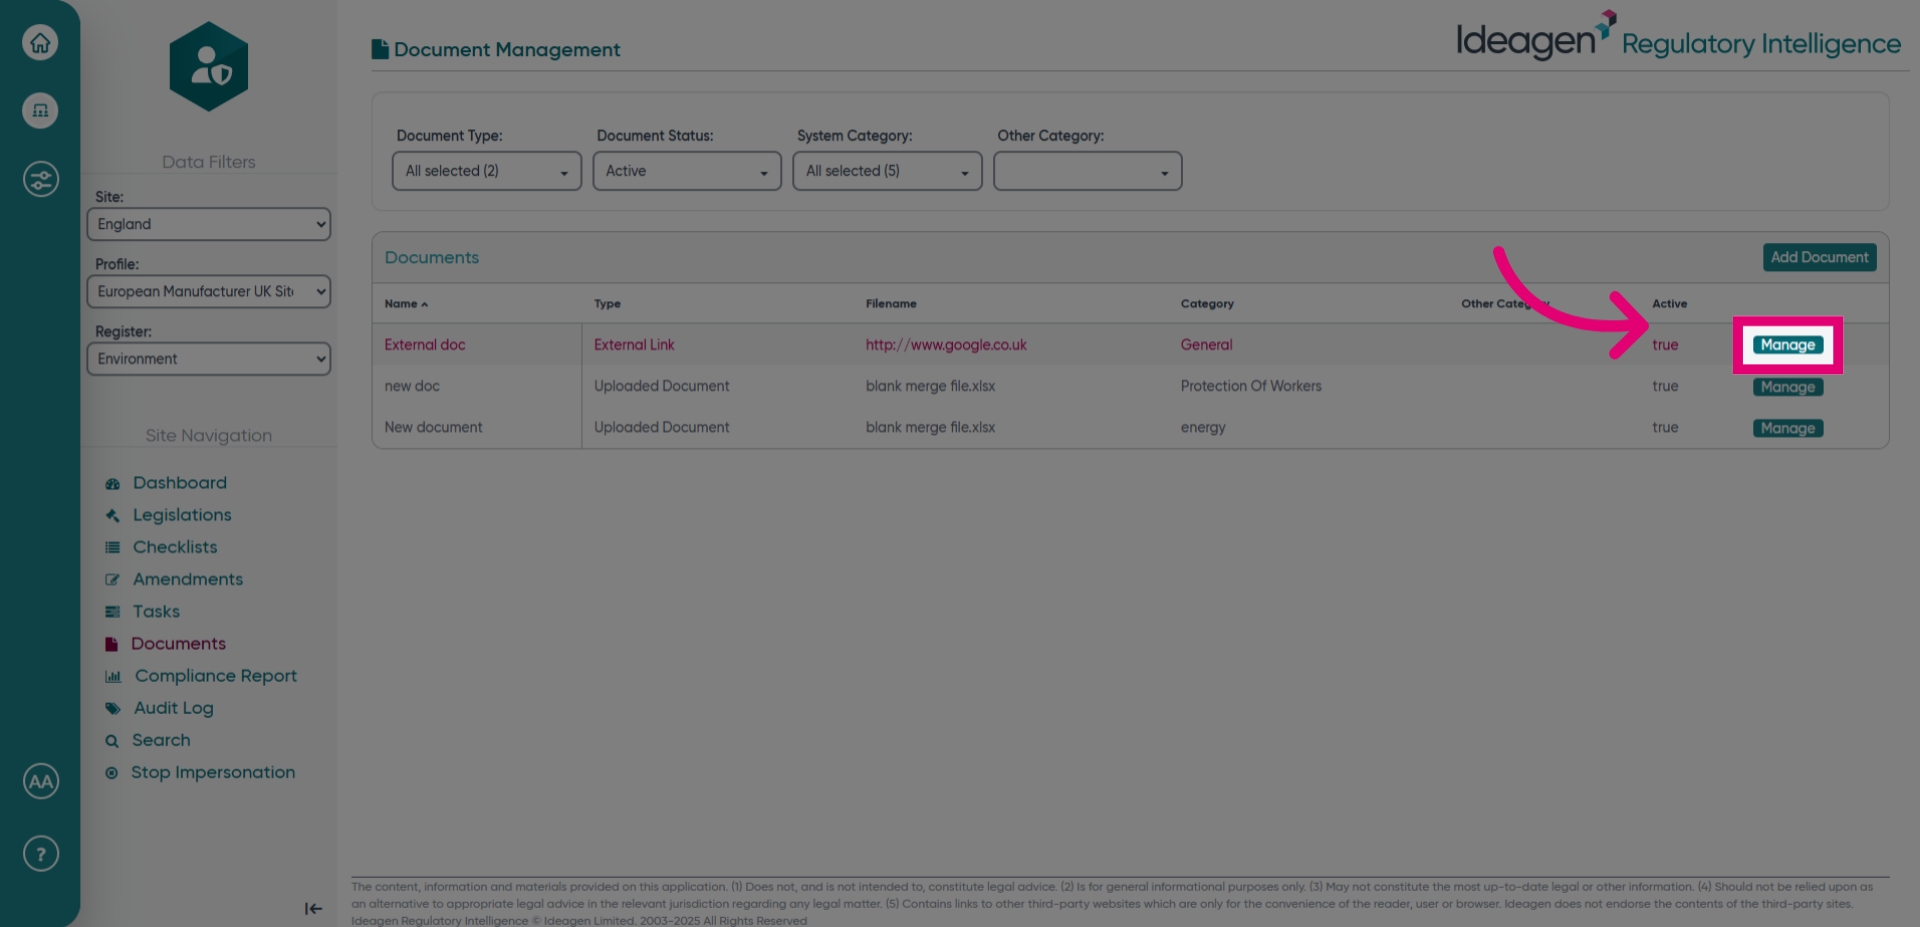
- Click the designated area to modify document properties.
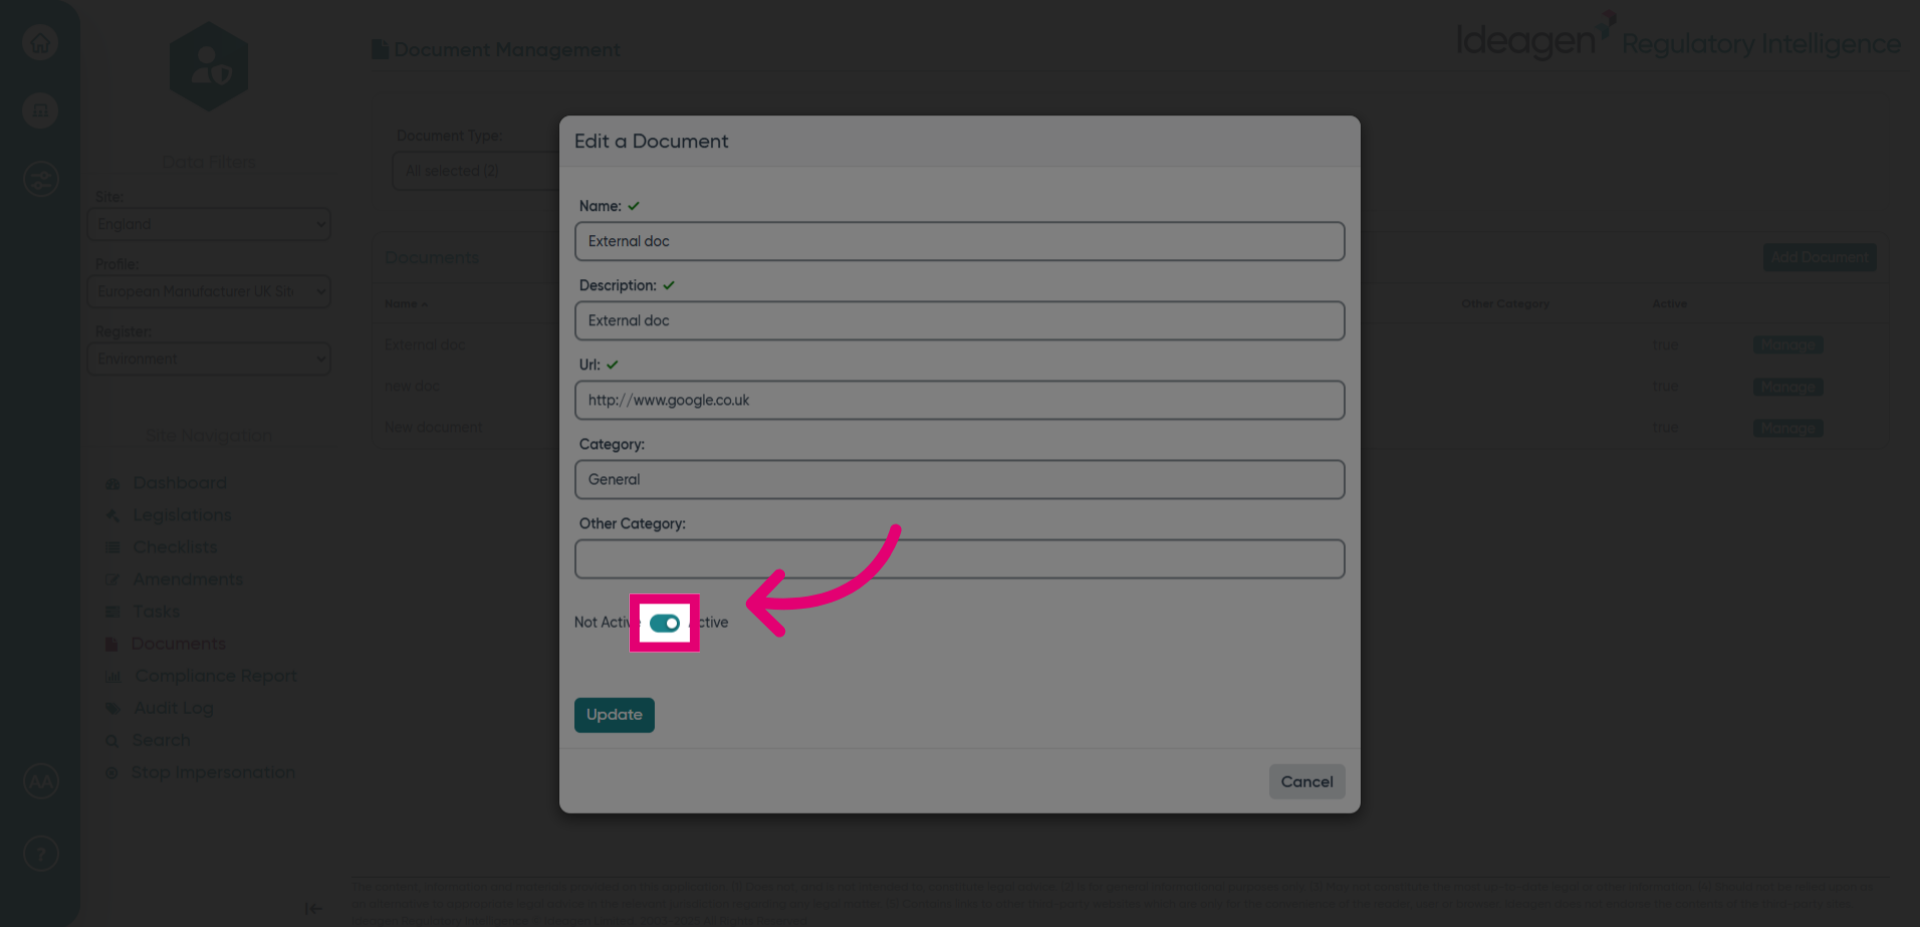
- You can use the toggle to make the document active or inactive.
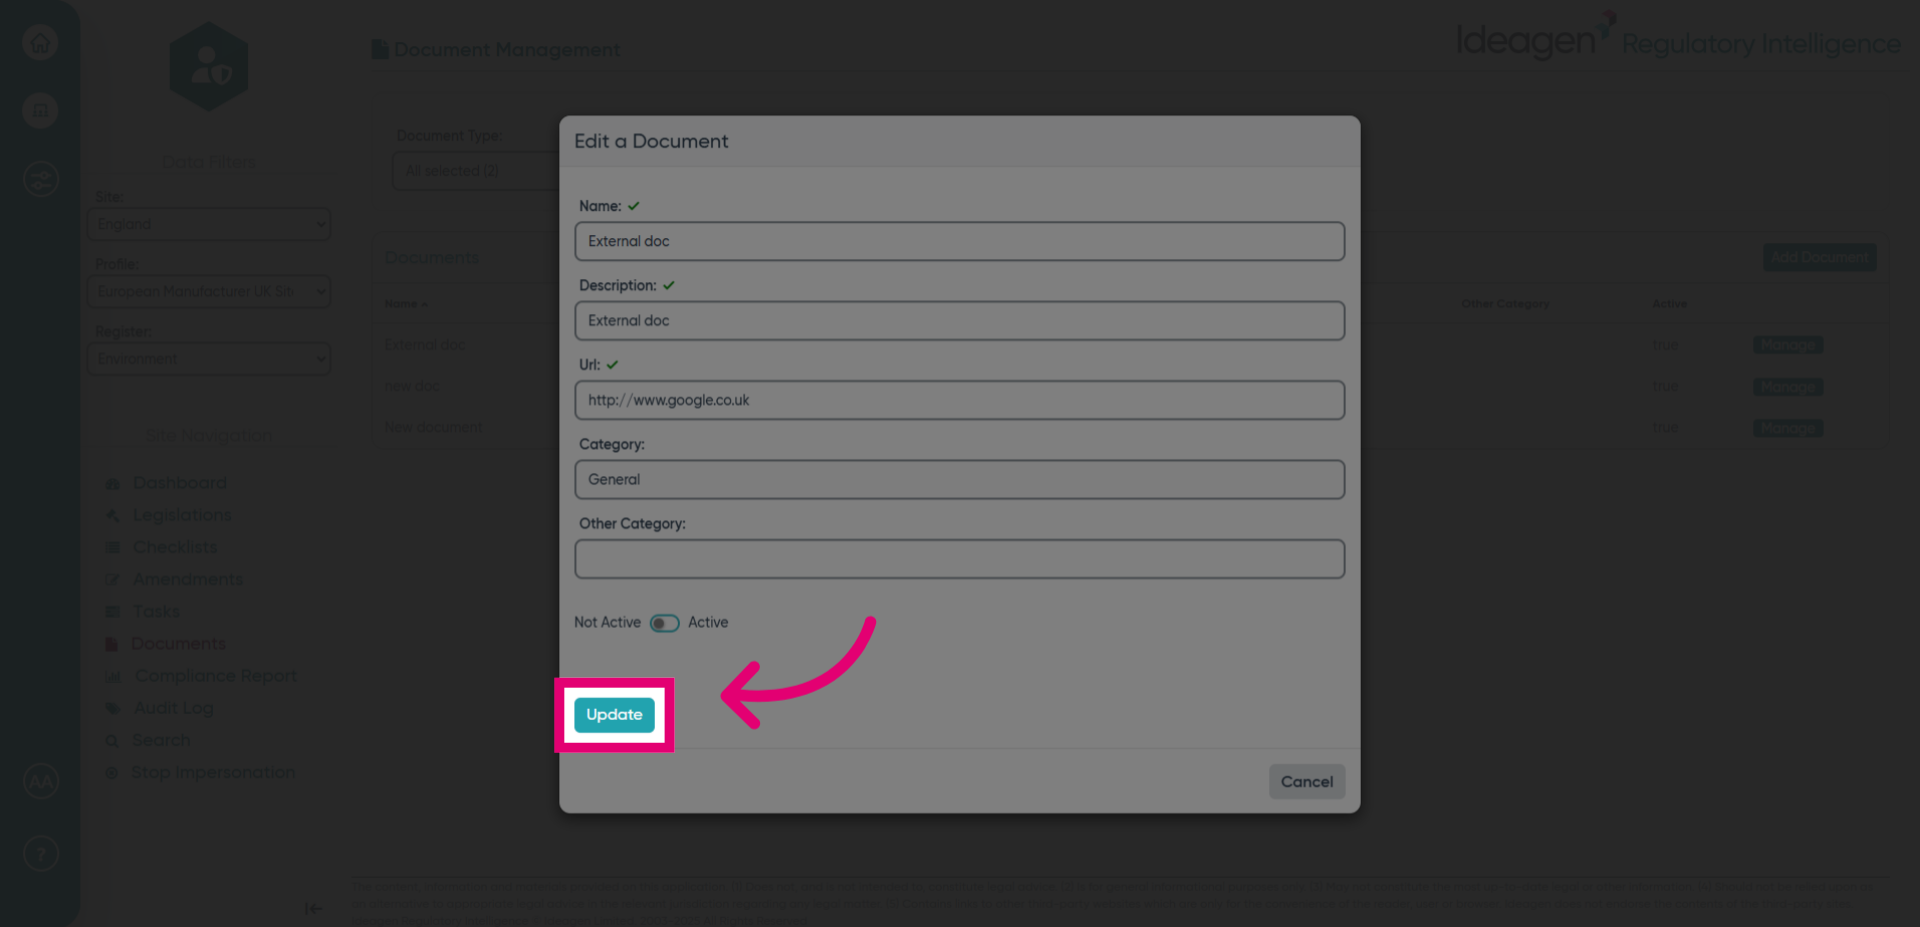
- Click the Update button to apply the changes made to the document.
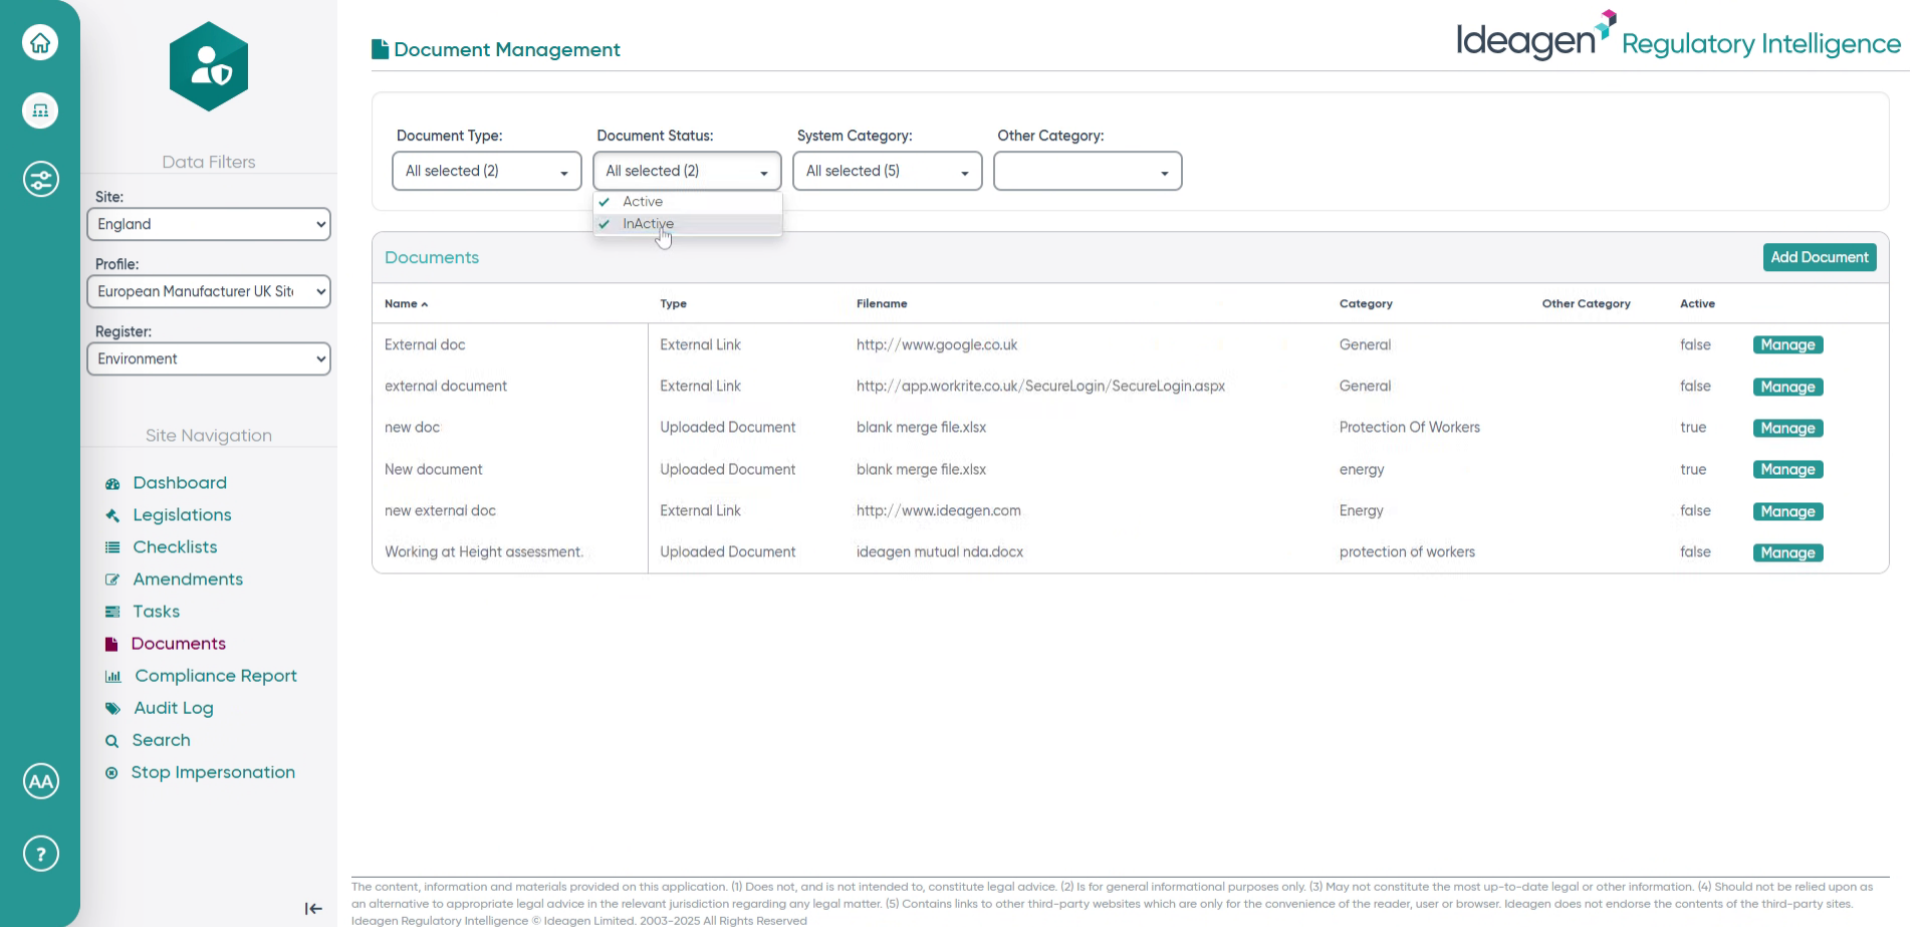
- Select the All selected (2) option to view all chosen documents.
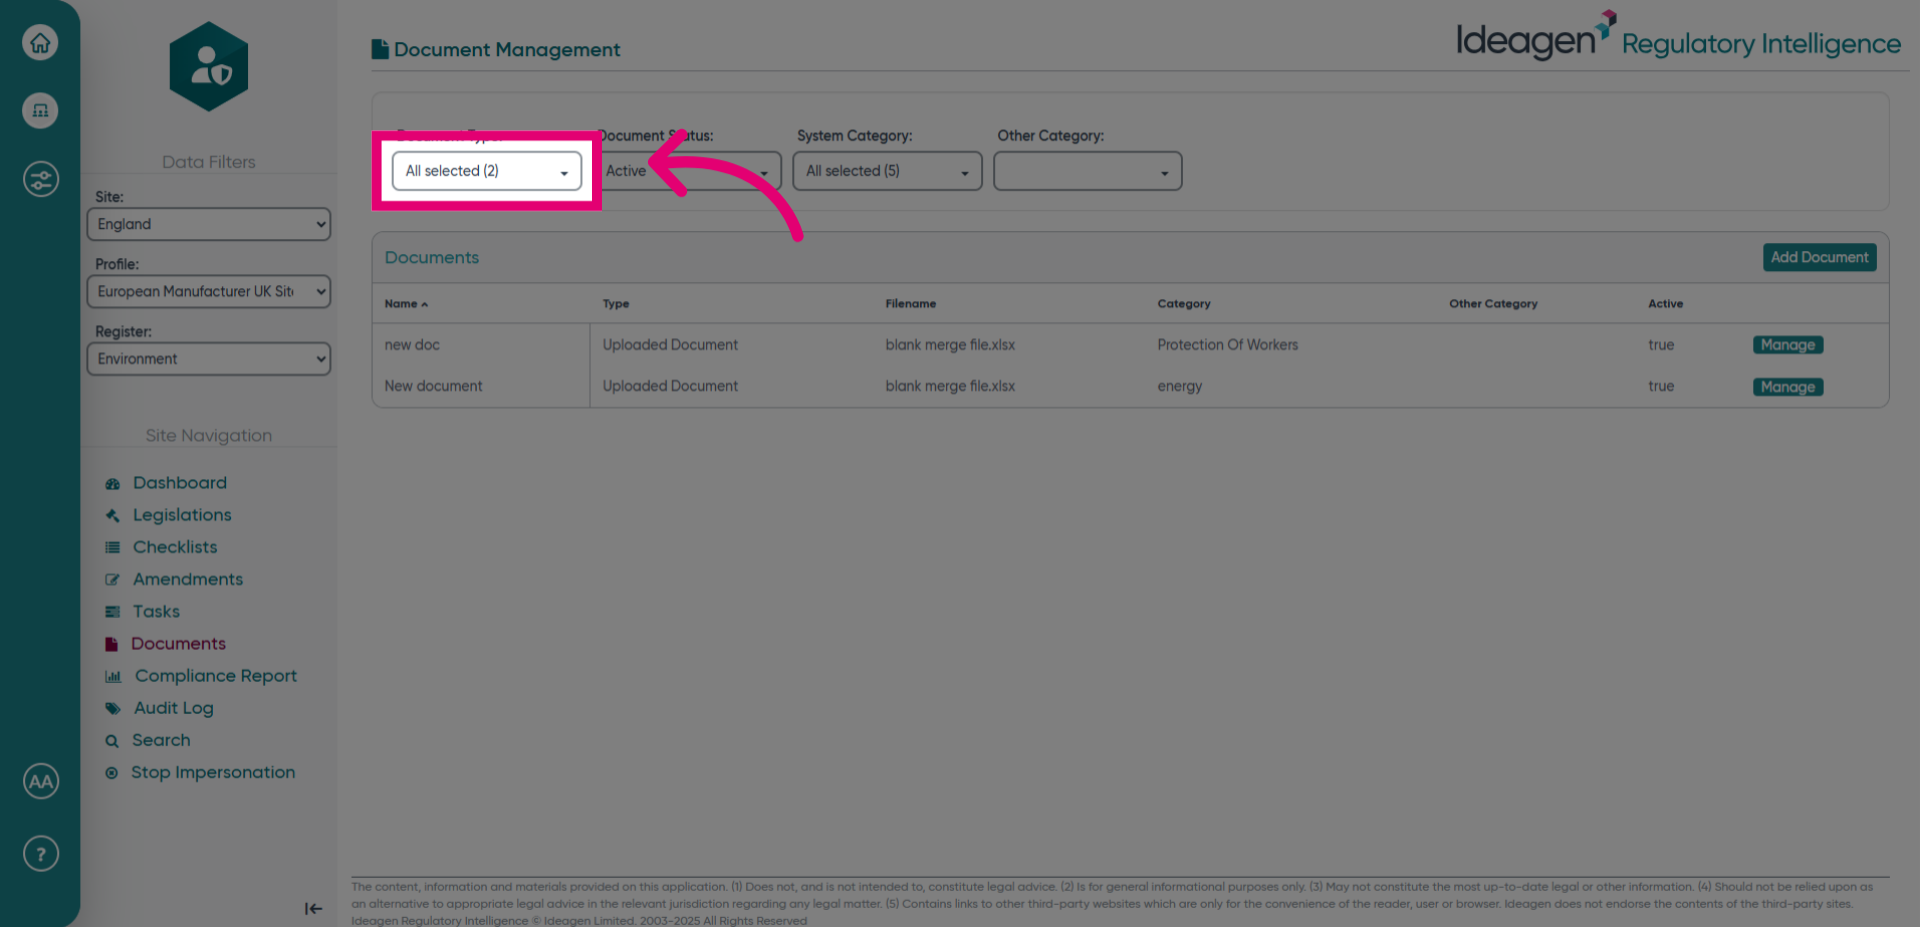
- Click All selected (2) again to confirm your selection.

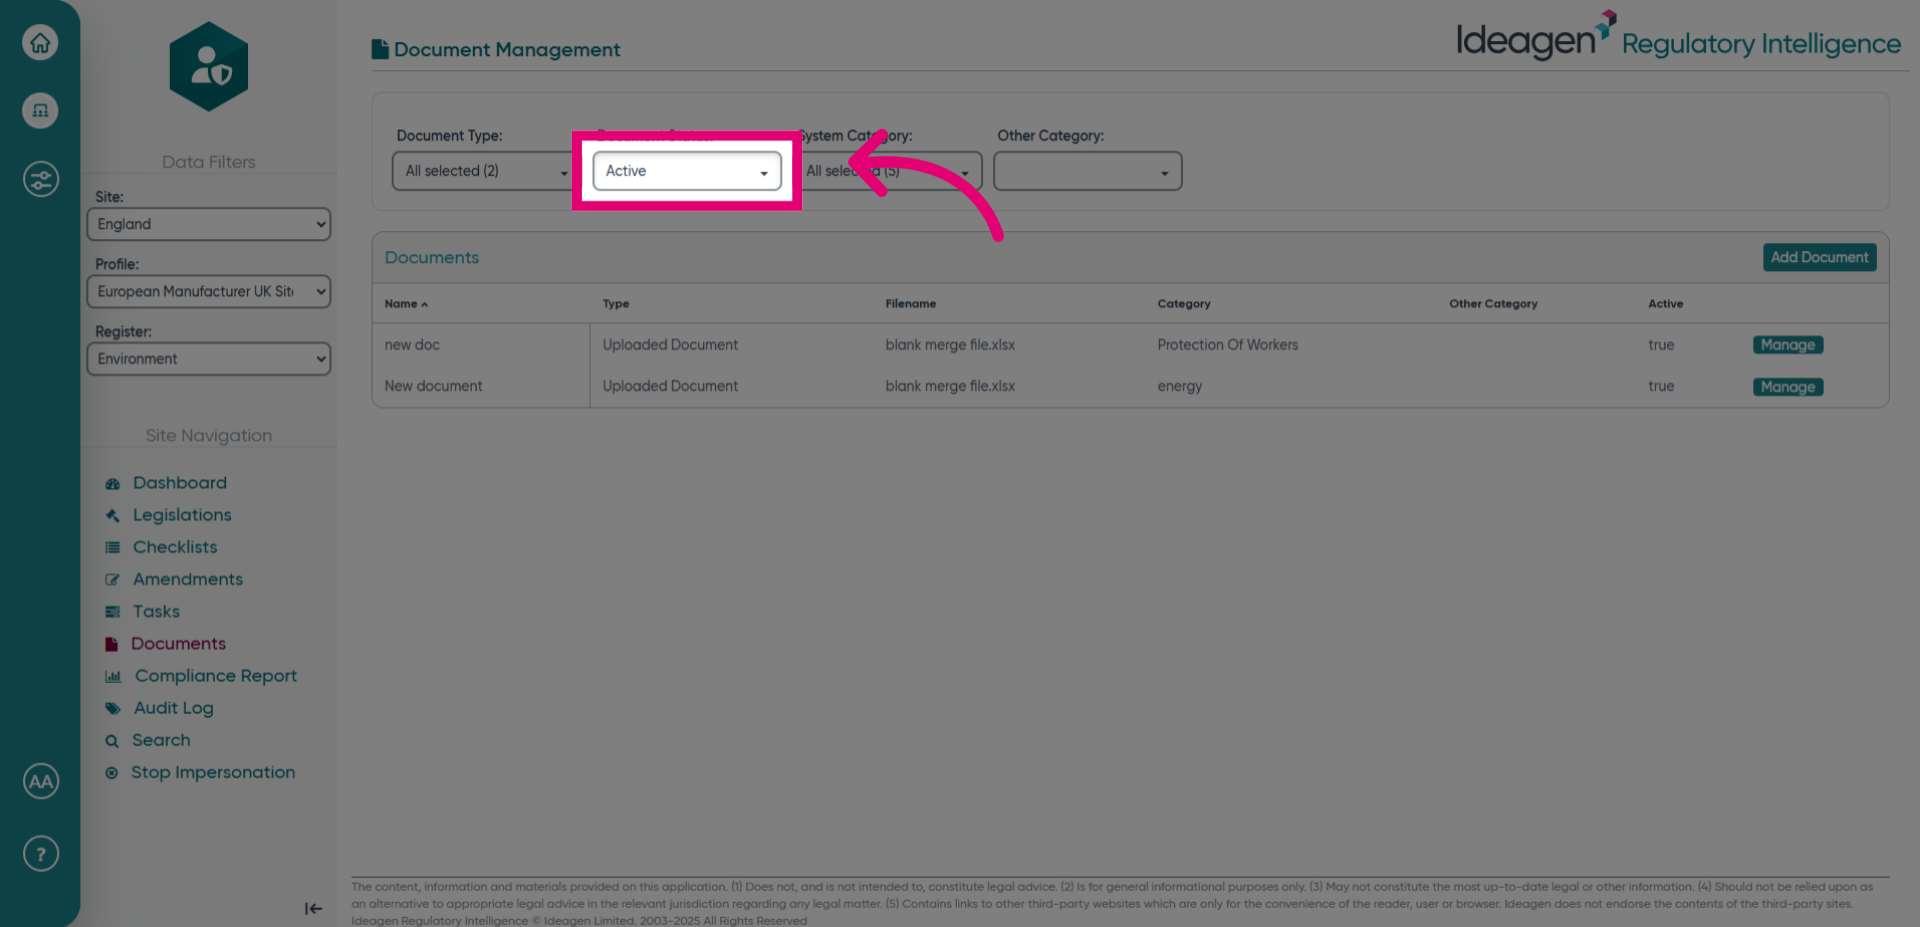
- Click the InActive status to filter or view inactive documents.
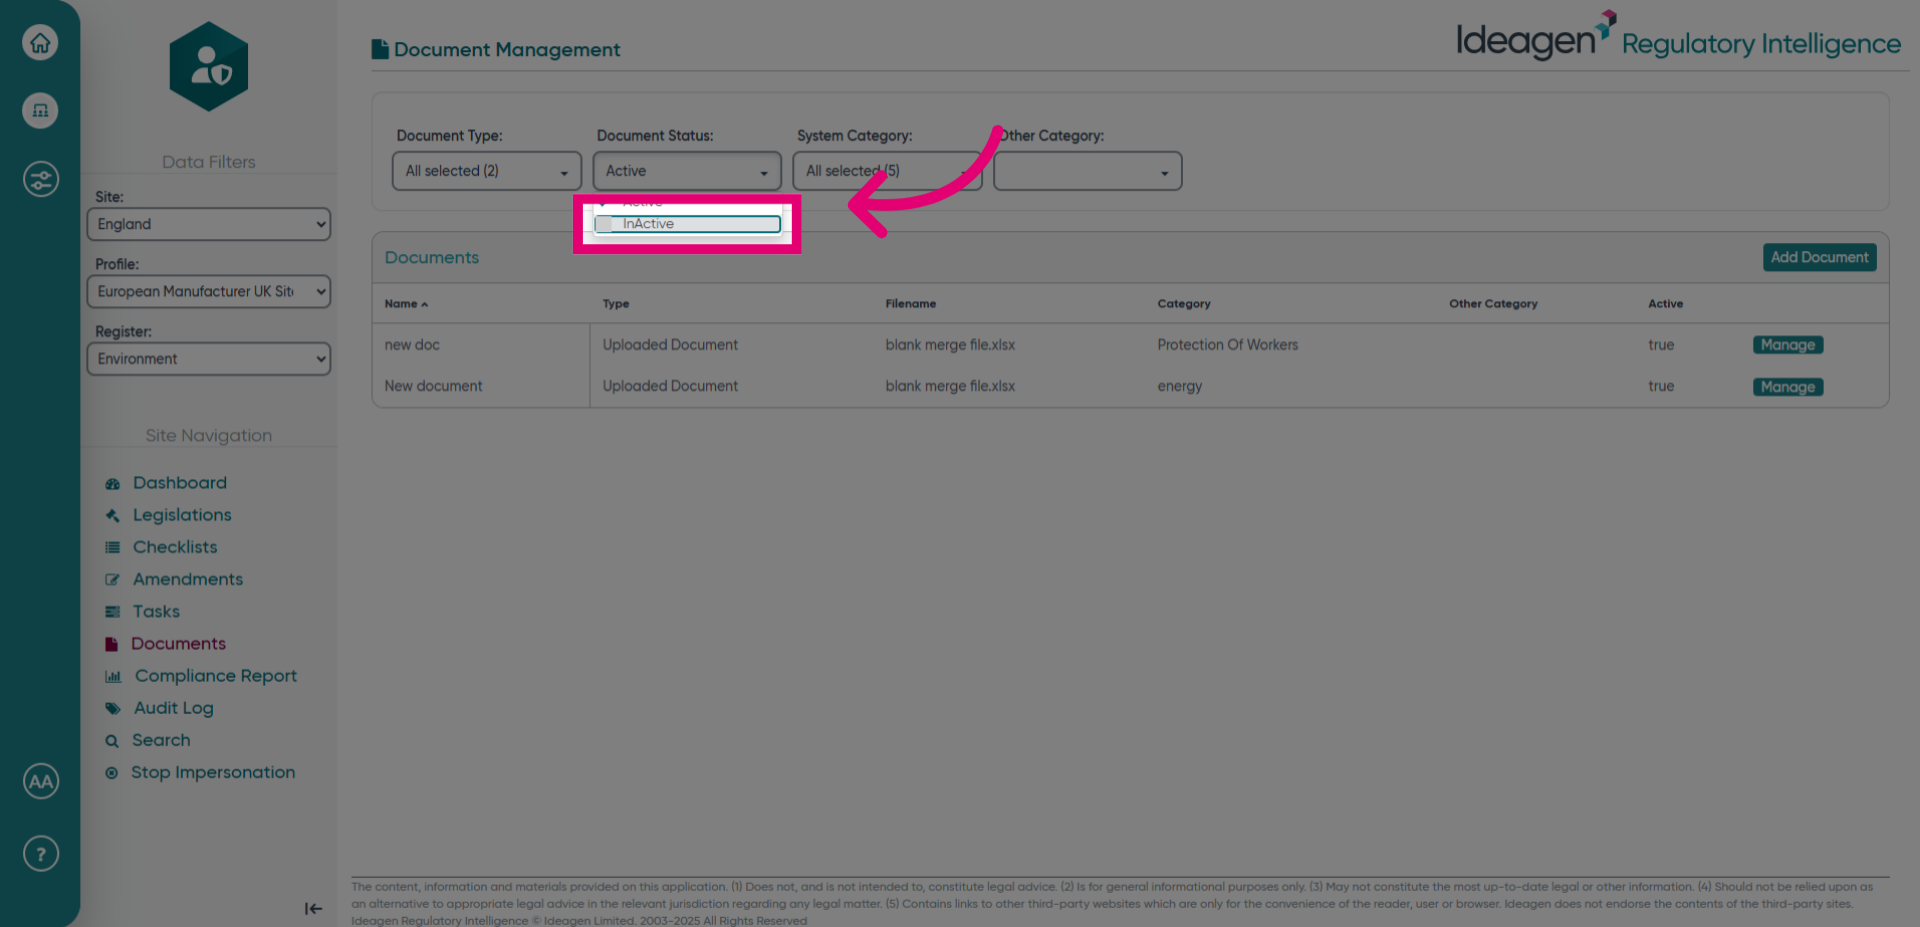
- Click InActive to filter or view inactive documents.
- Fill in the status field with false to mark the document as inactive.