New article
Recently updated
Uploading documents

Who is this article for?
Administrators that need to upload documents.
Administrator permissions are required.
This tutorial guides you through uploading documents to a checklist in the Regulatory Intelligence application, enabling you to add both uploaded files and external links to your regulatory checklists.
1. Uploading documents
1.1 Video
1.2 Steps
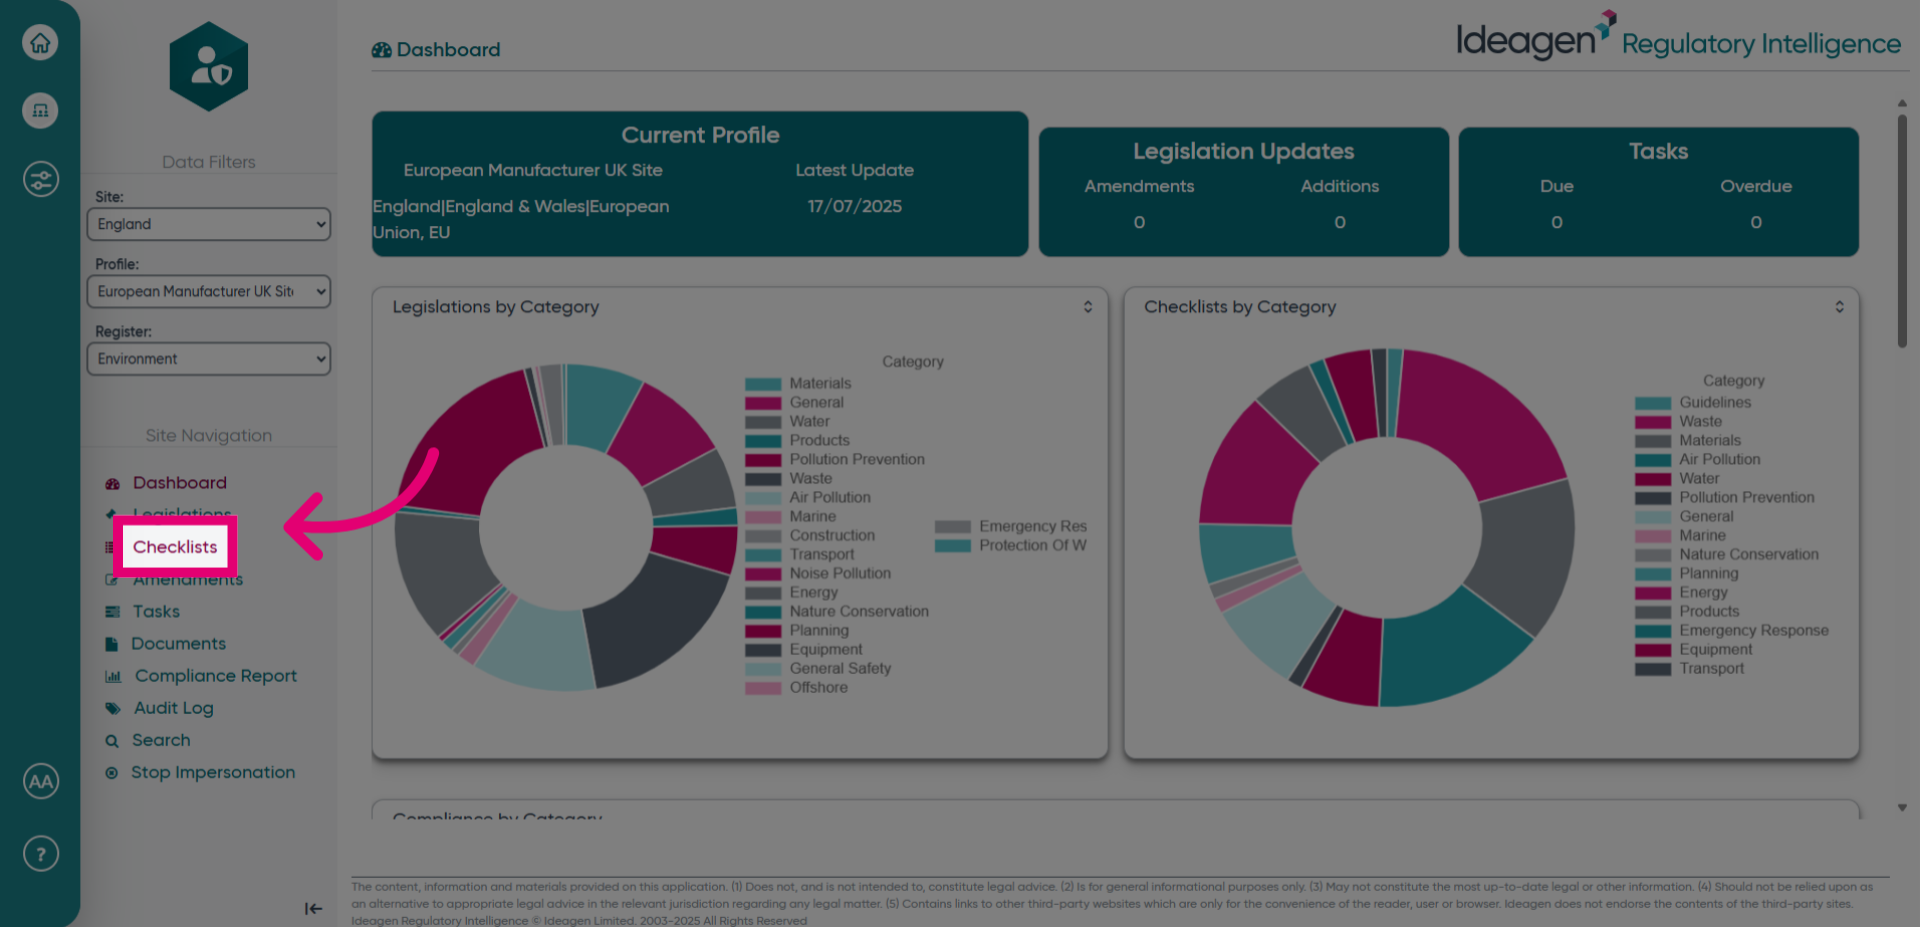
- Open the Menu.
- Click Checklists to access the section for relevant regulatory requirements.
- Select the checklist relevant to your document.
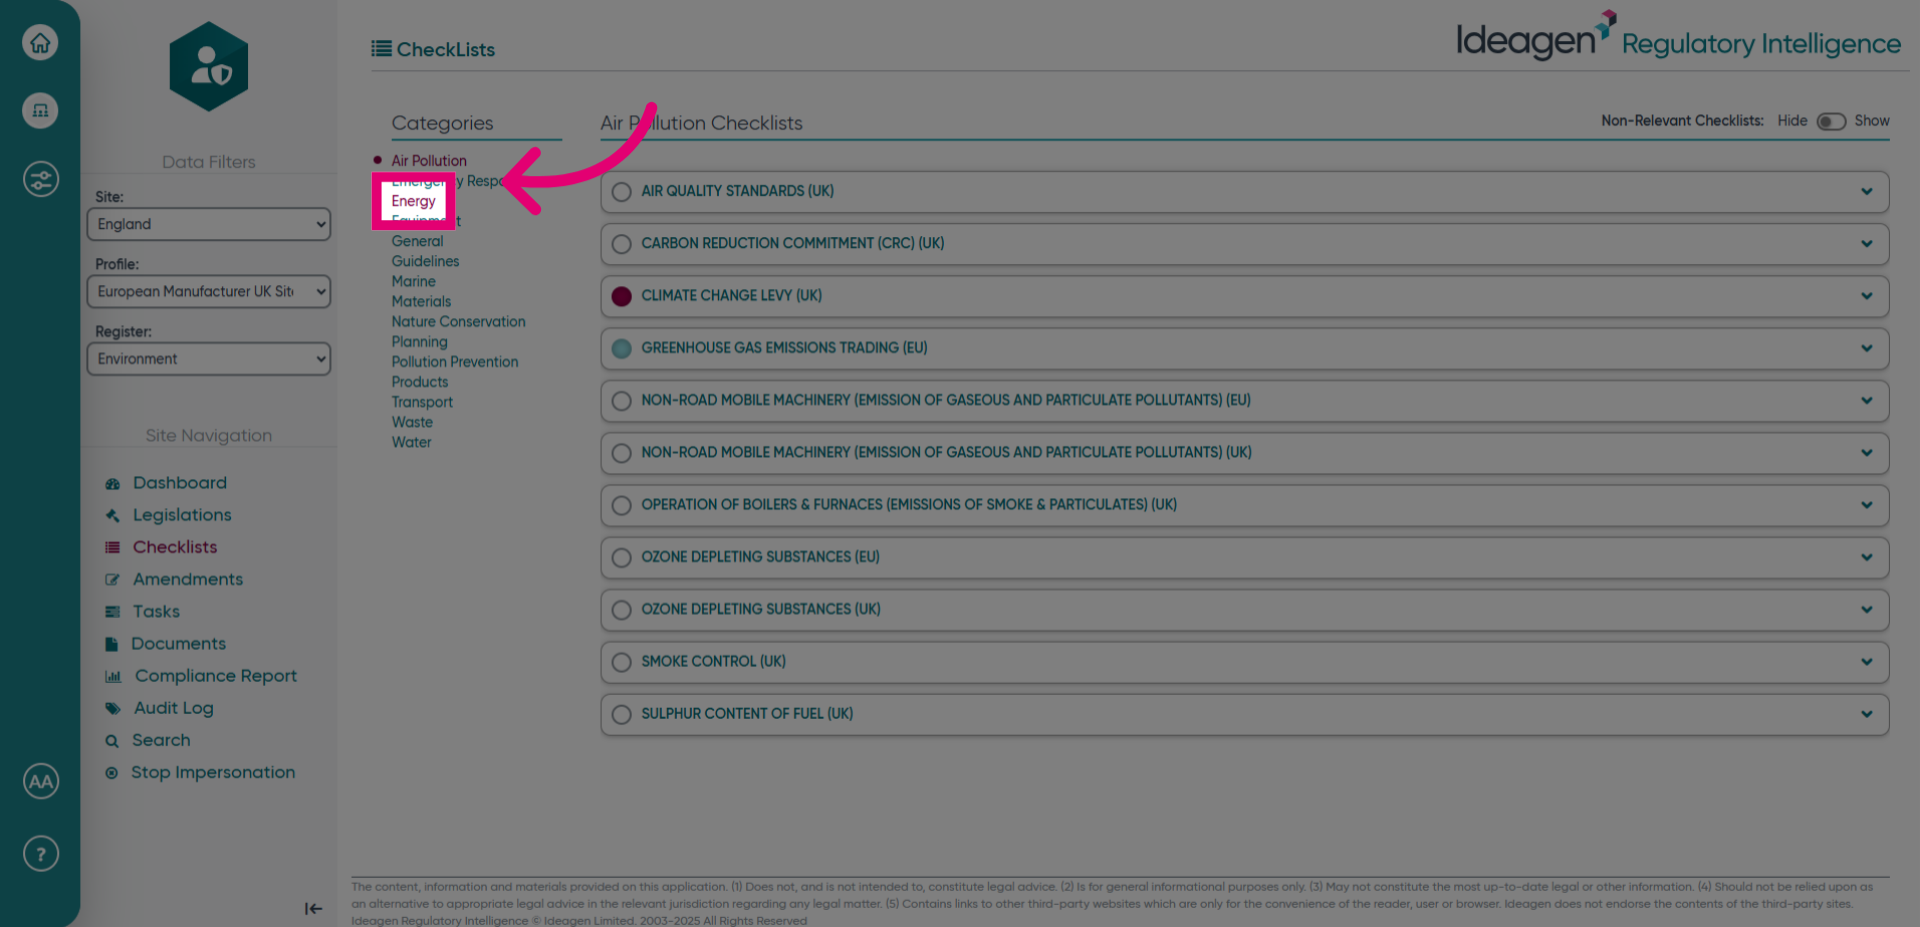
- Click the relevant checklist to open it.
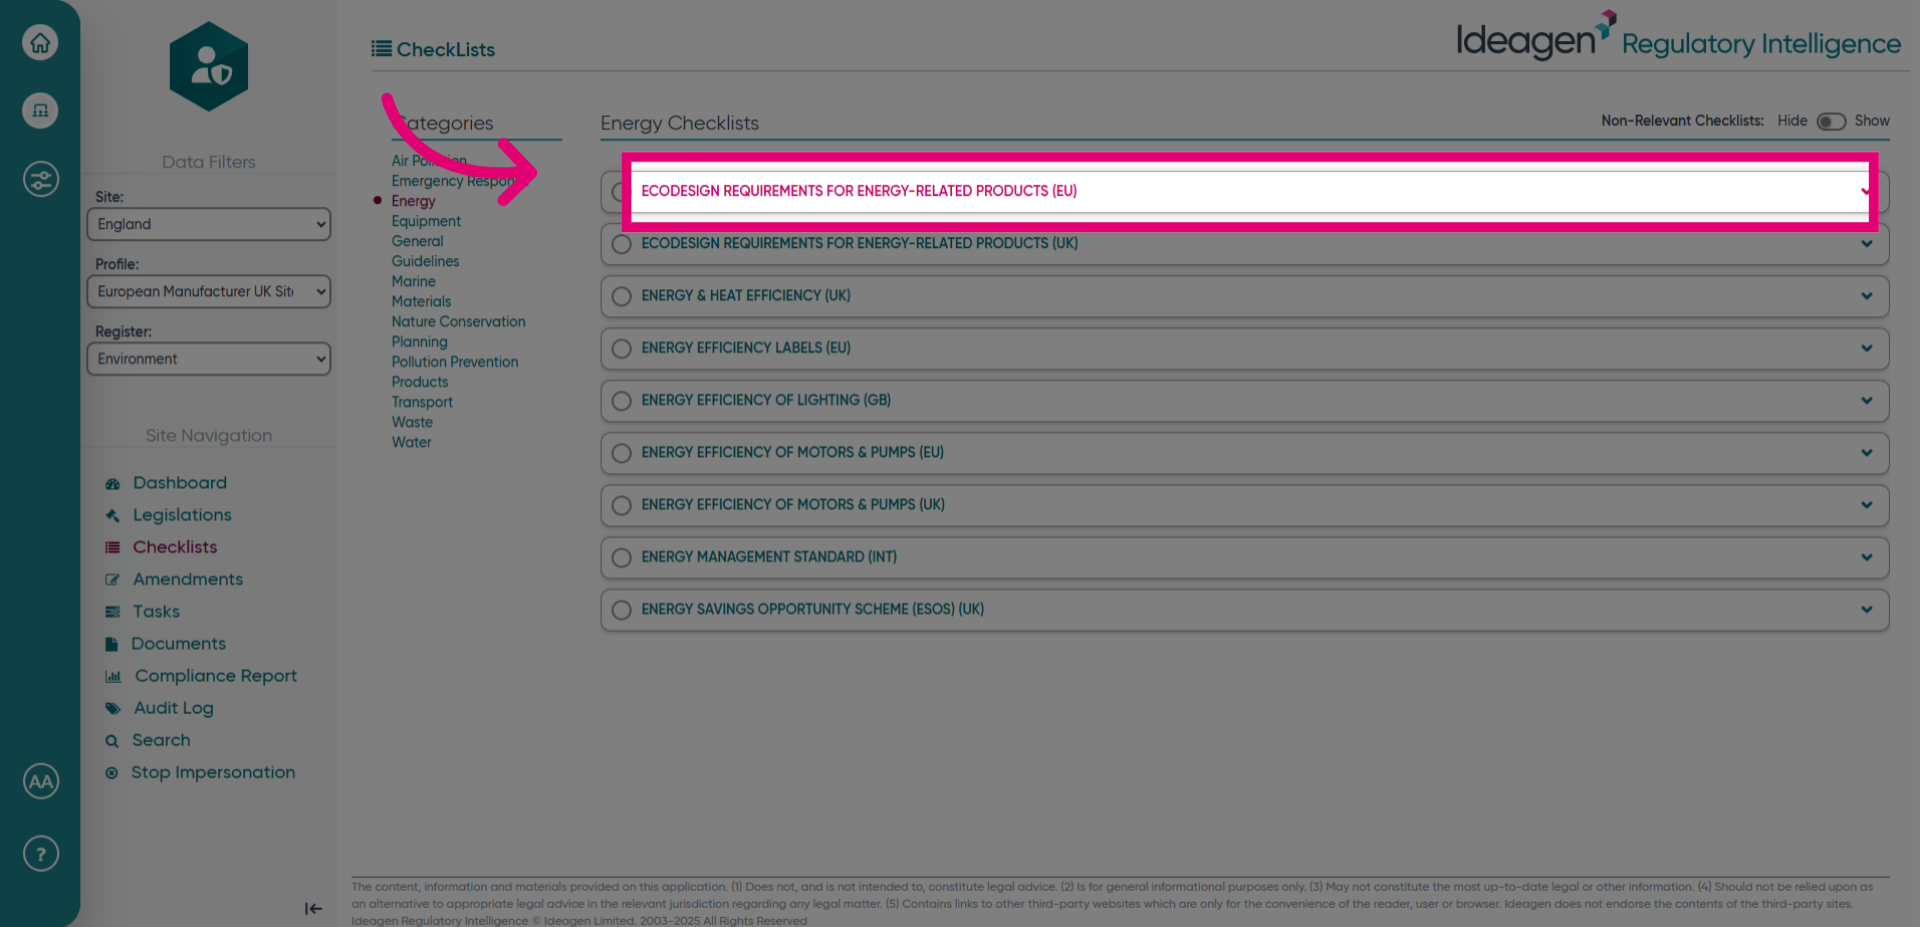
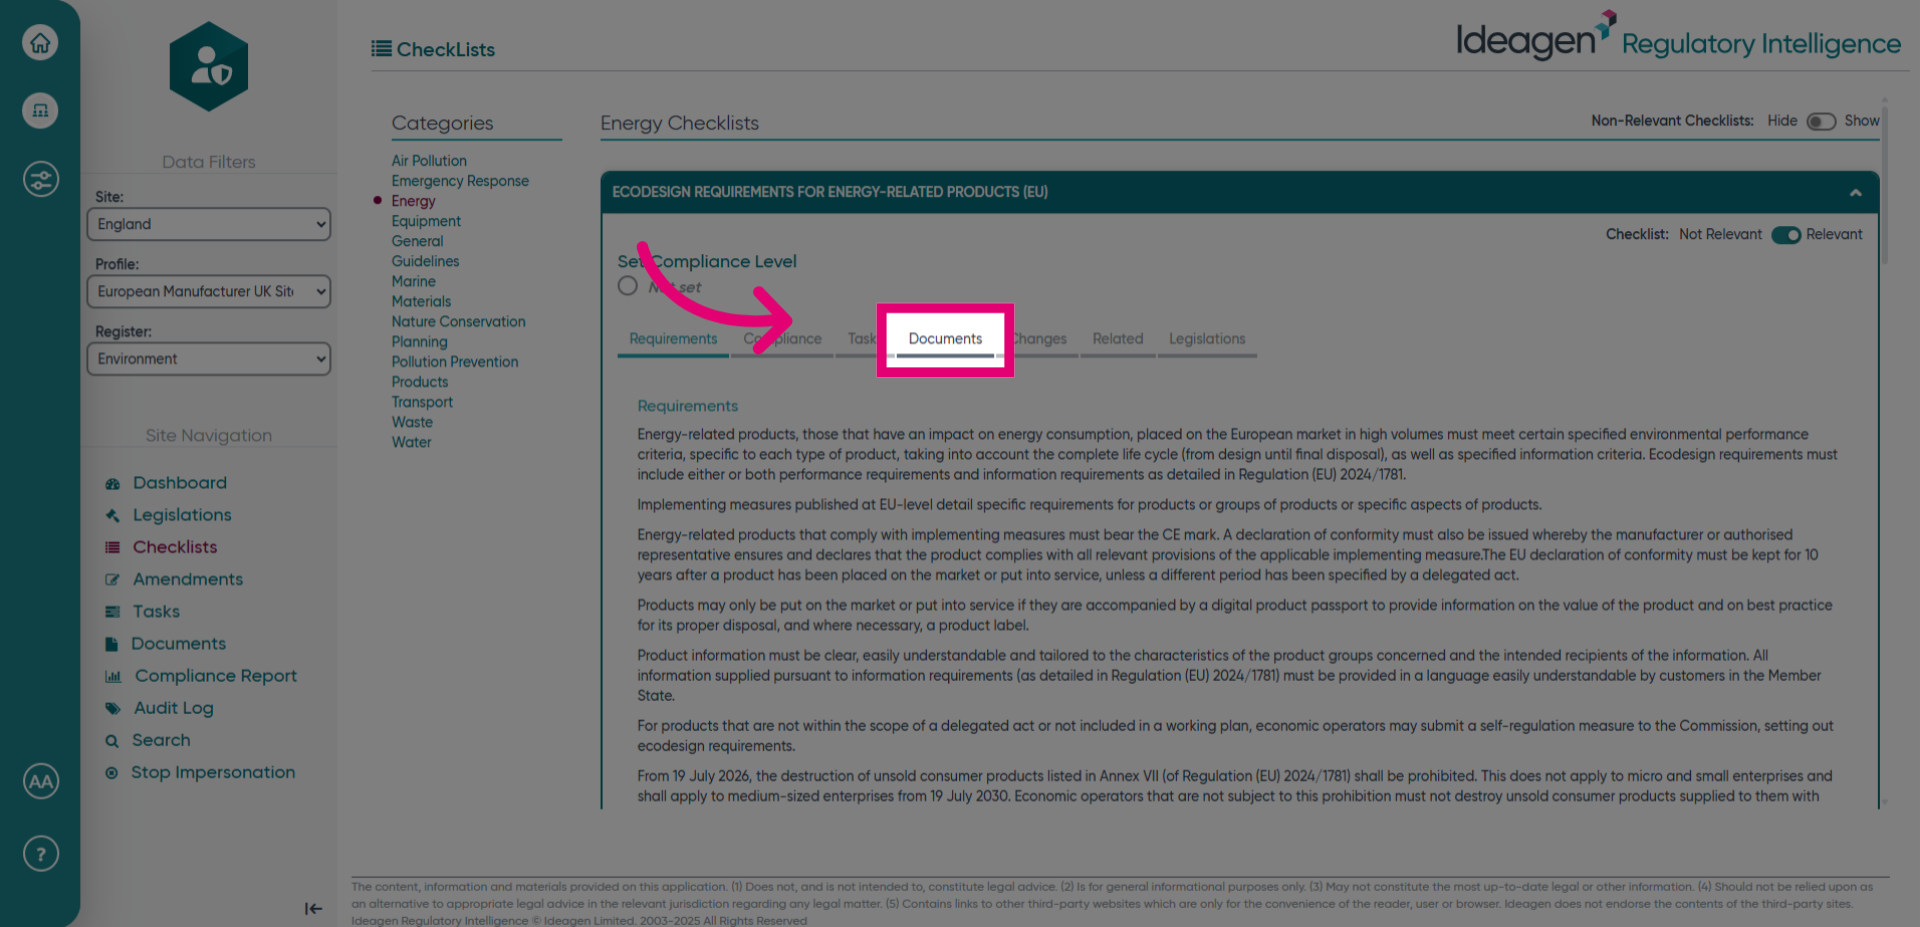
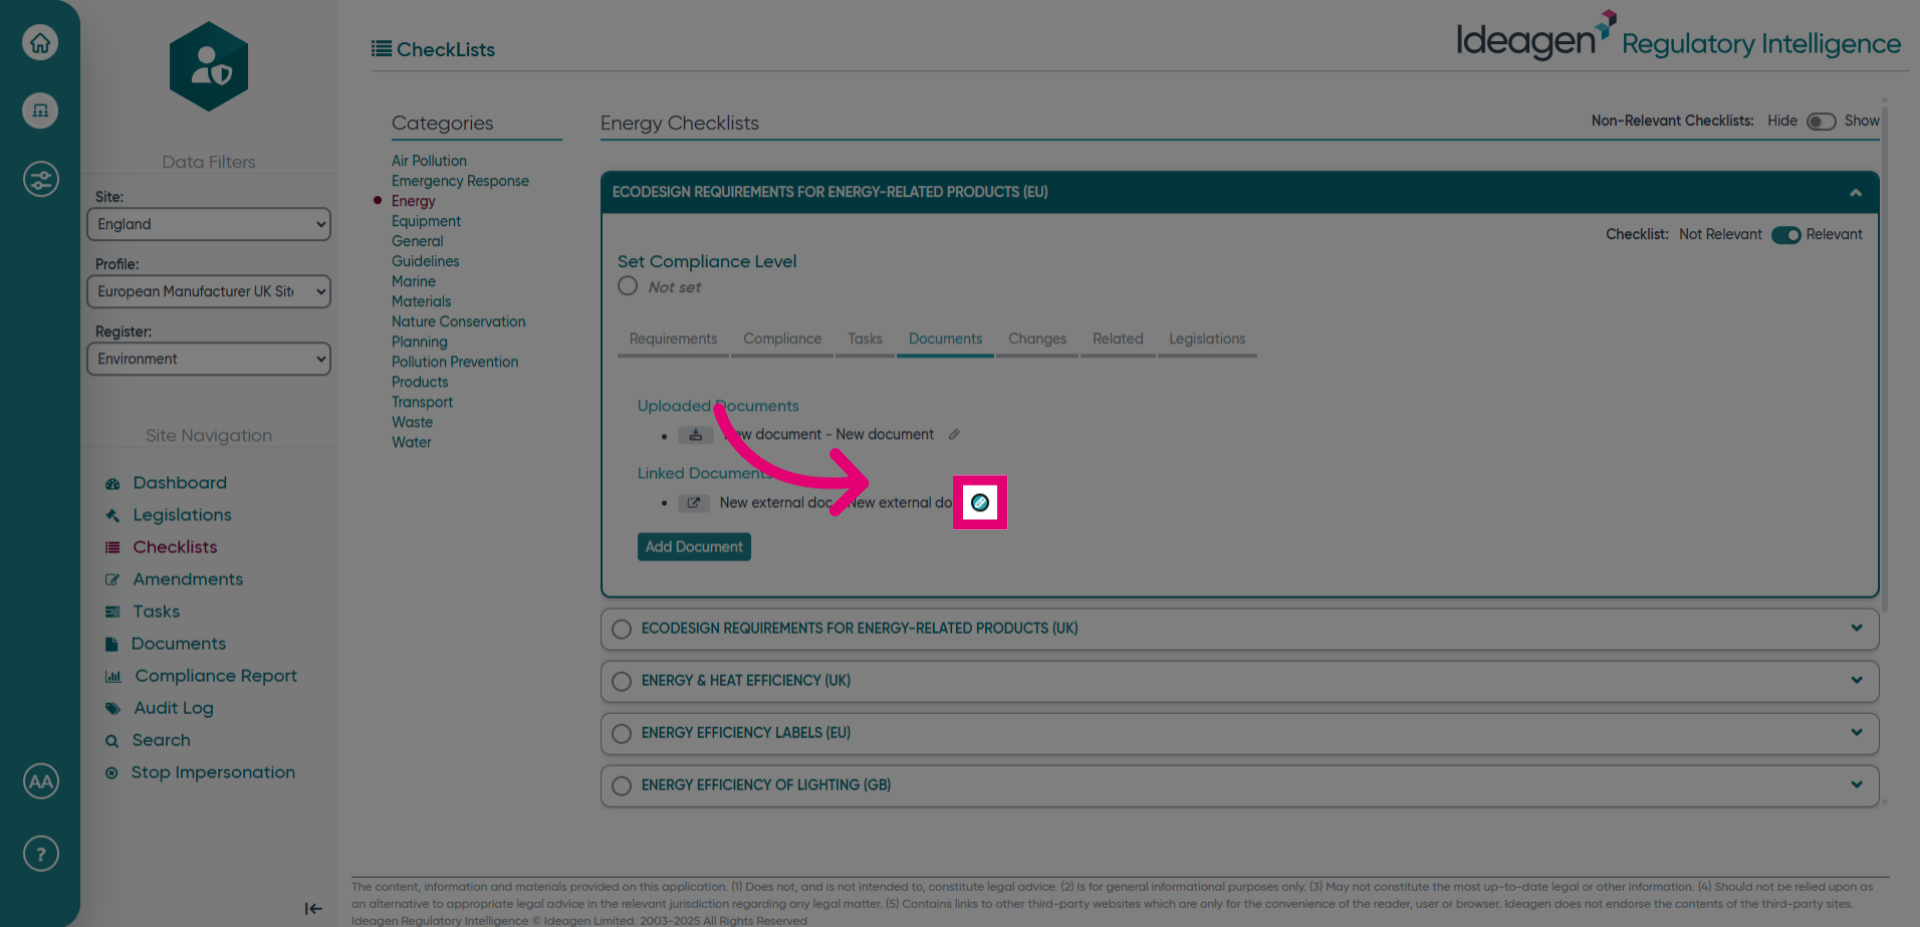
- Click Documents to manage associated files.
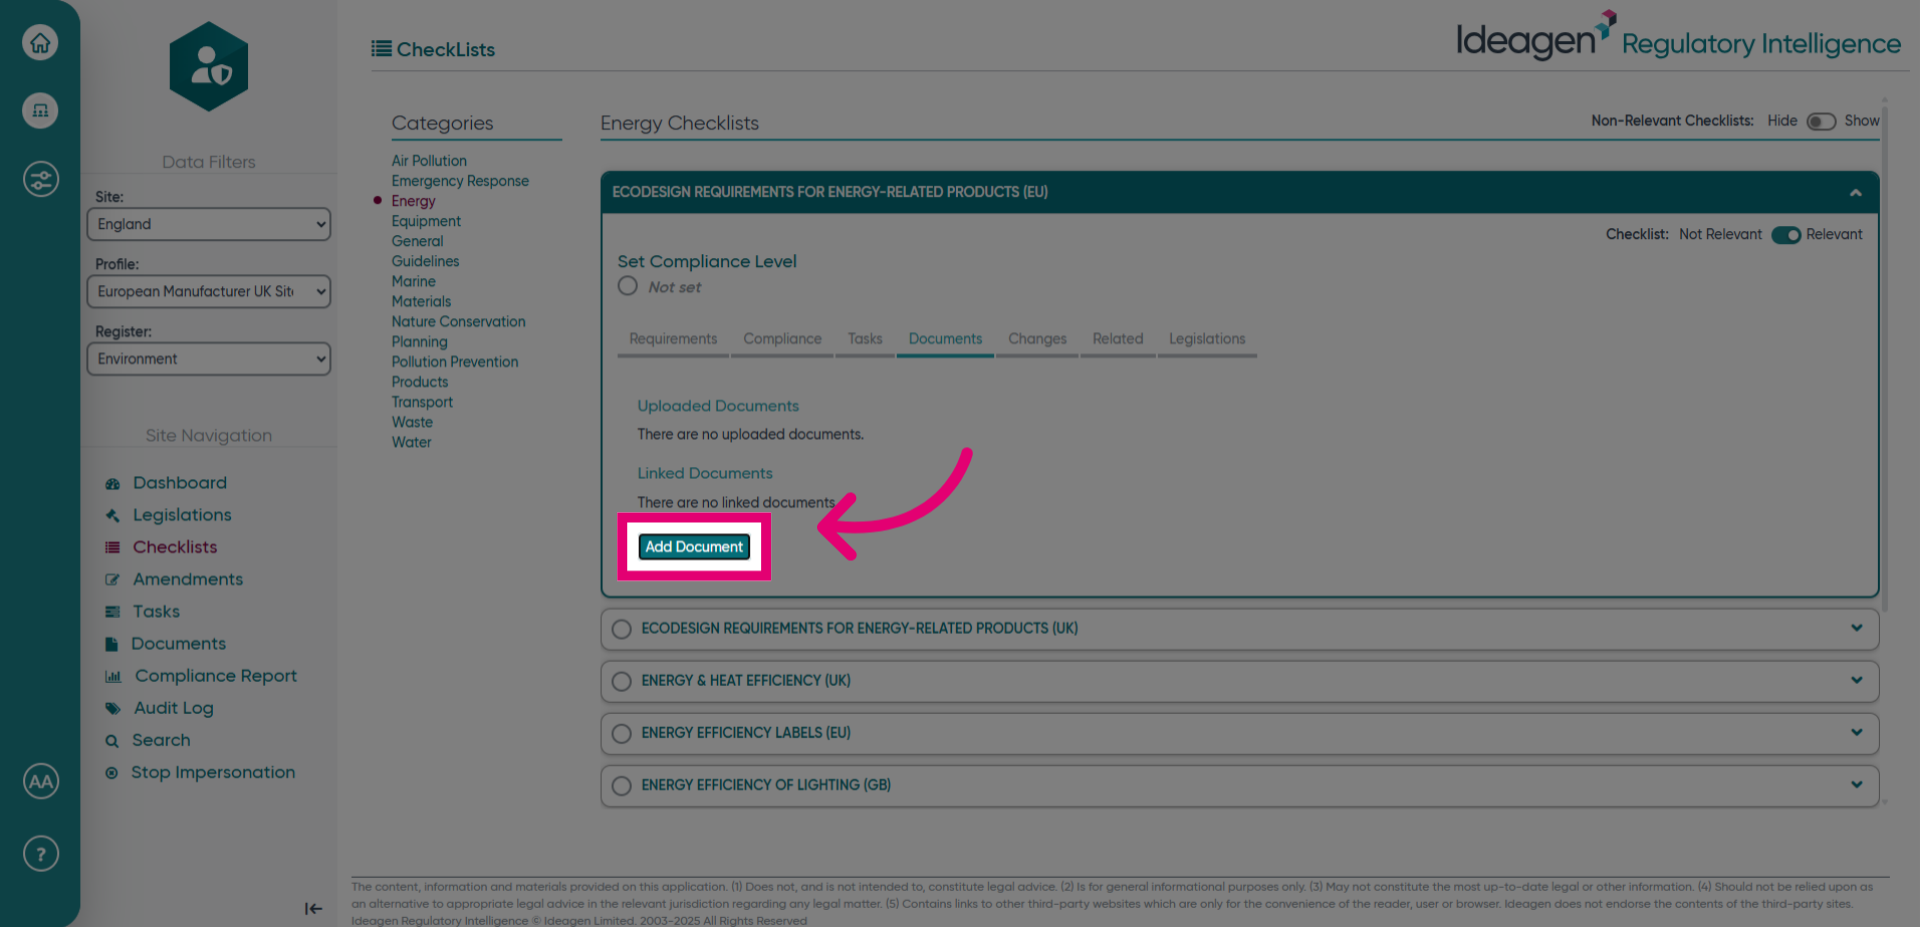
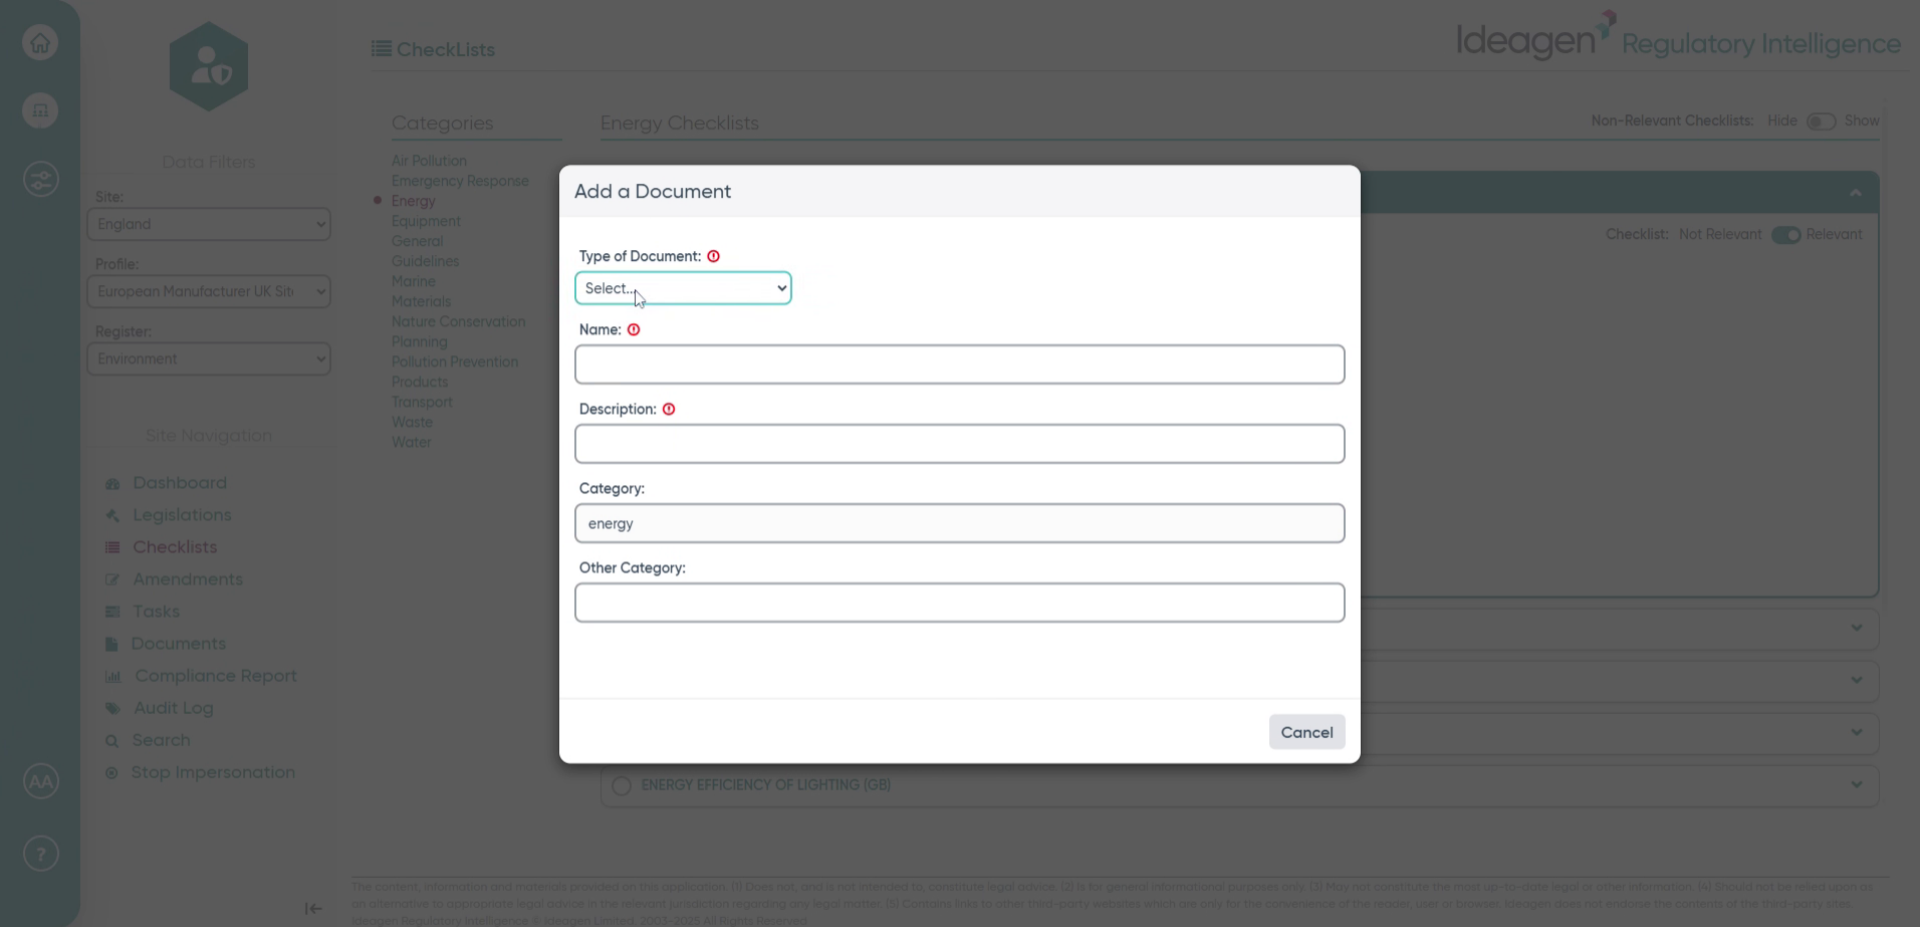
- Click Add Document to upload a new document.
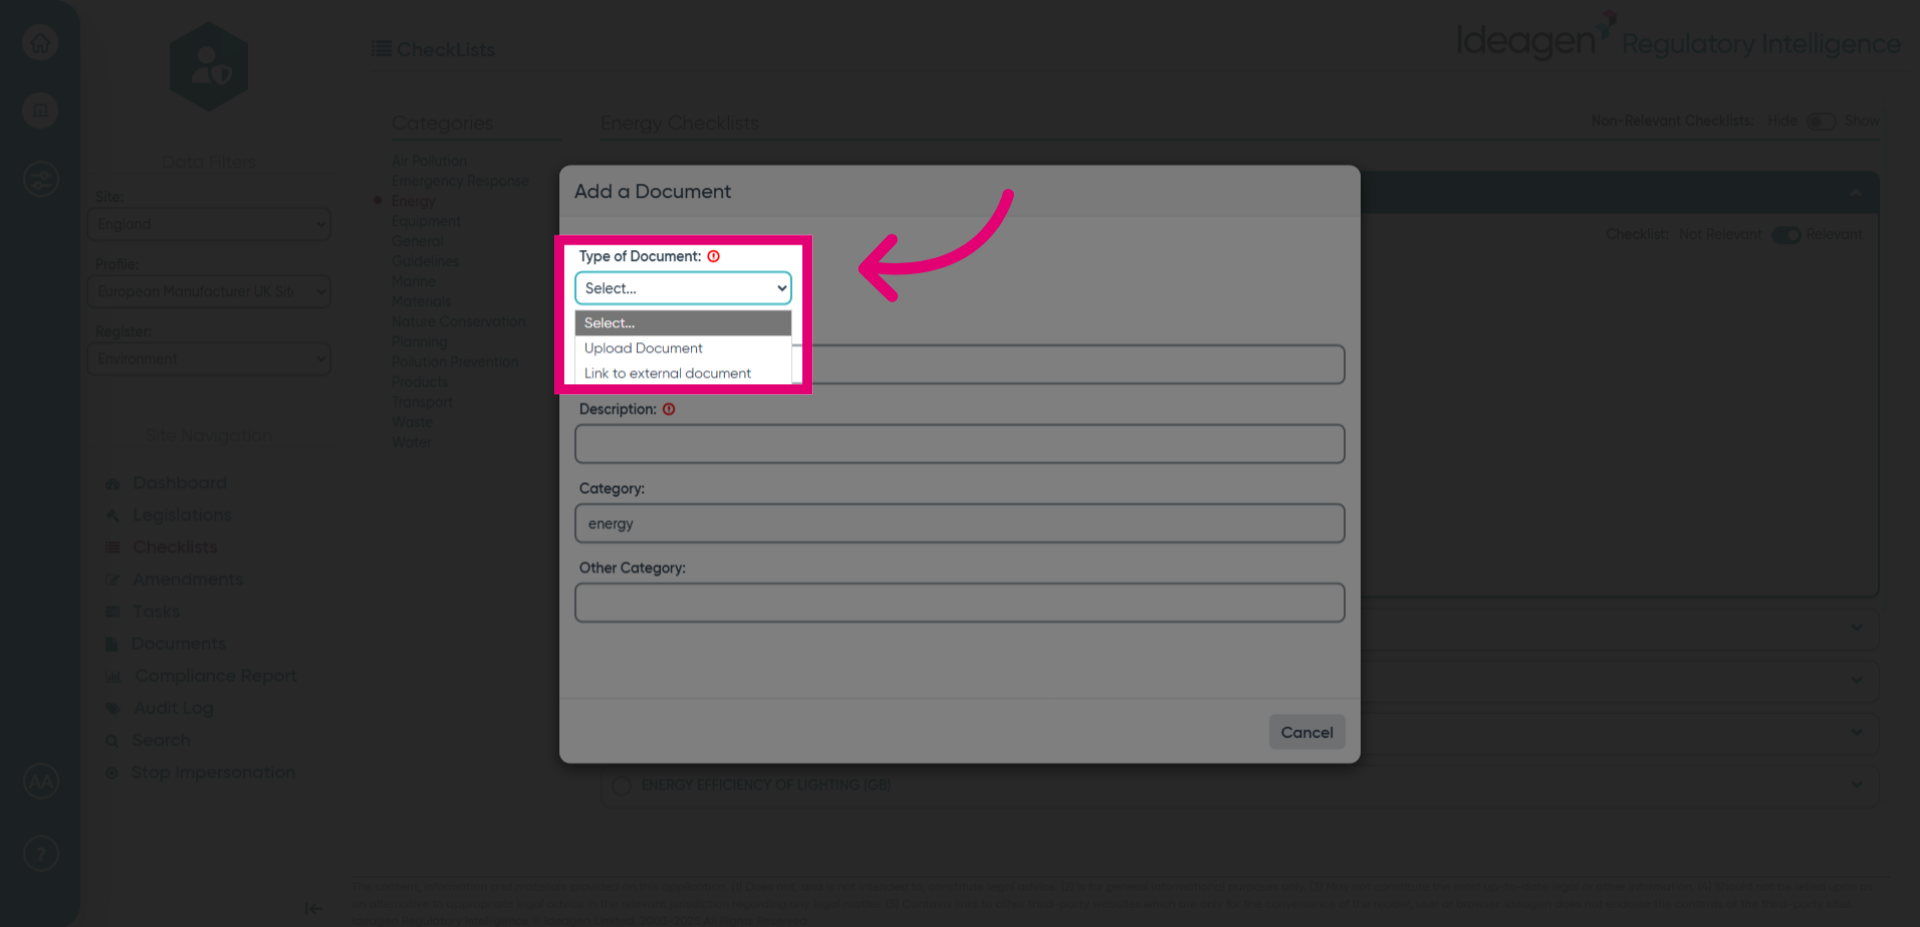
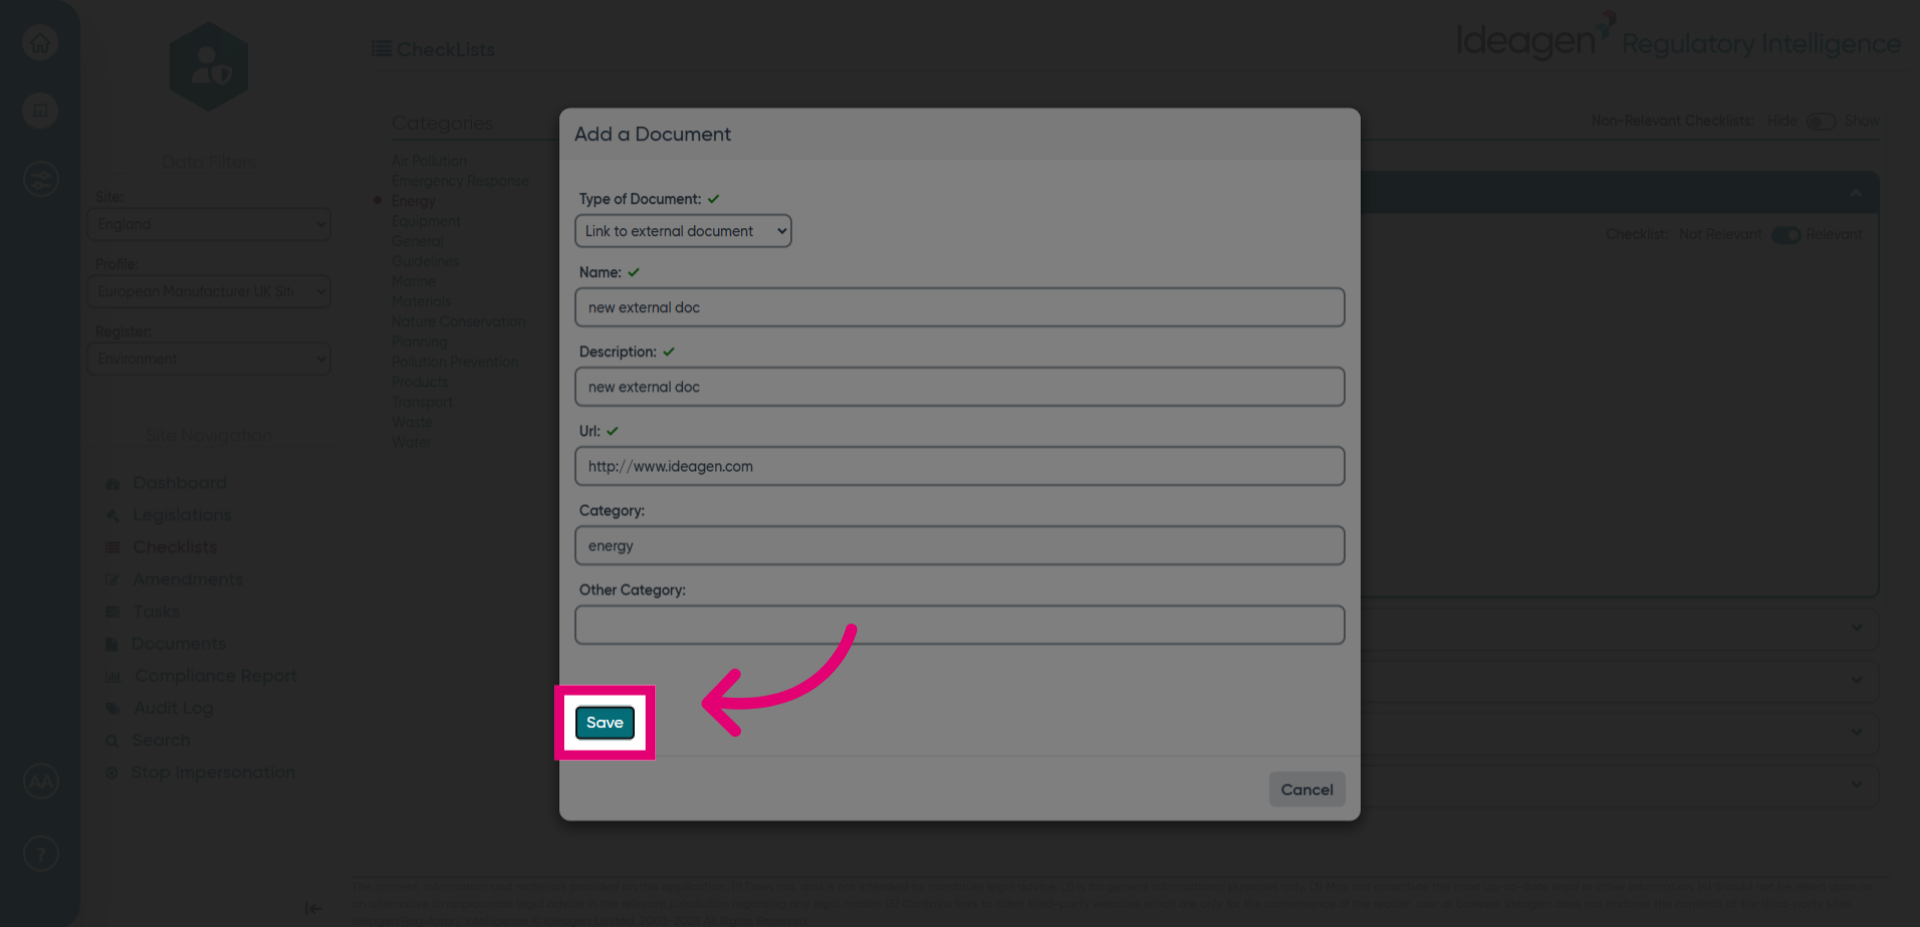
- Click Type of Documentation to choose between uploading a document or adding a link to an external document.
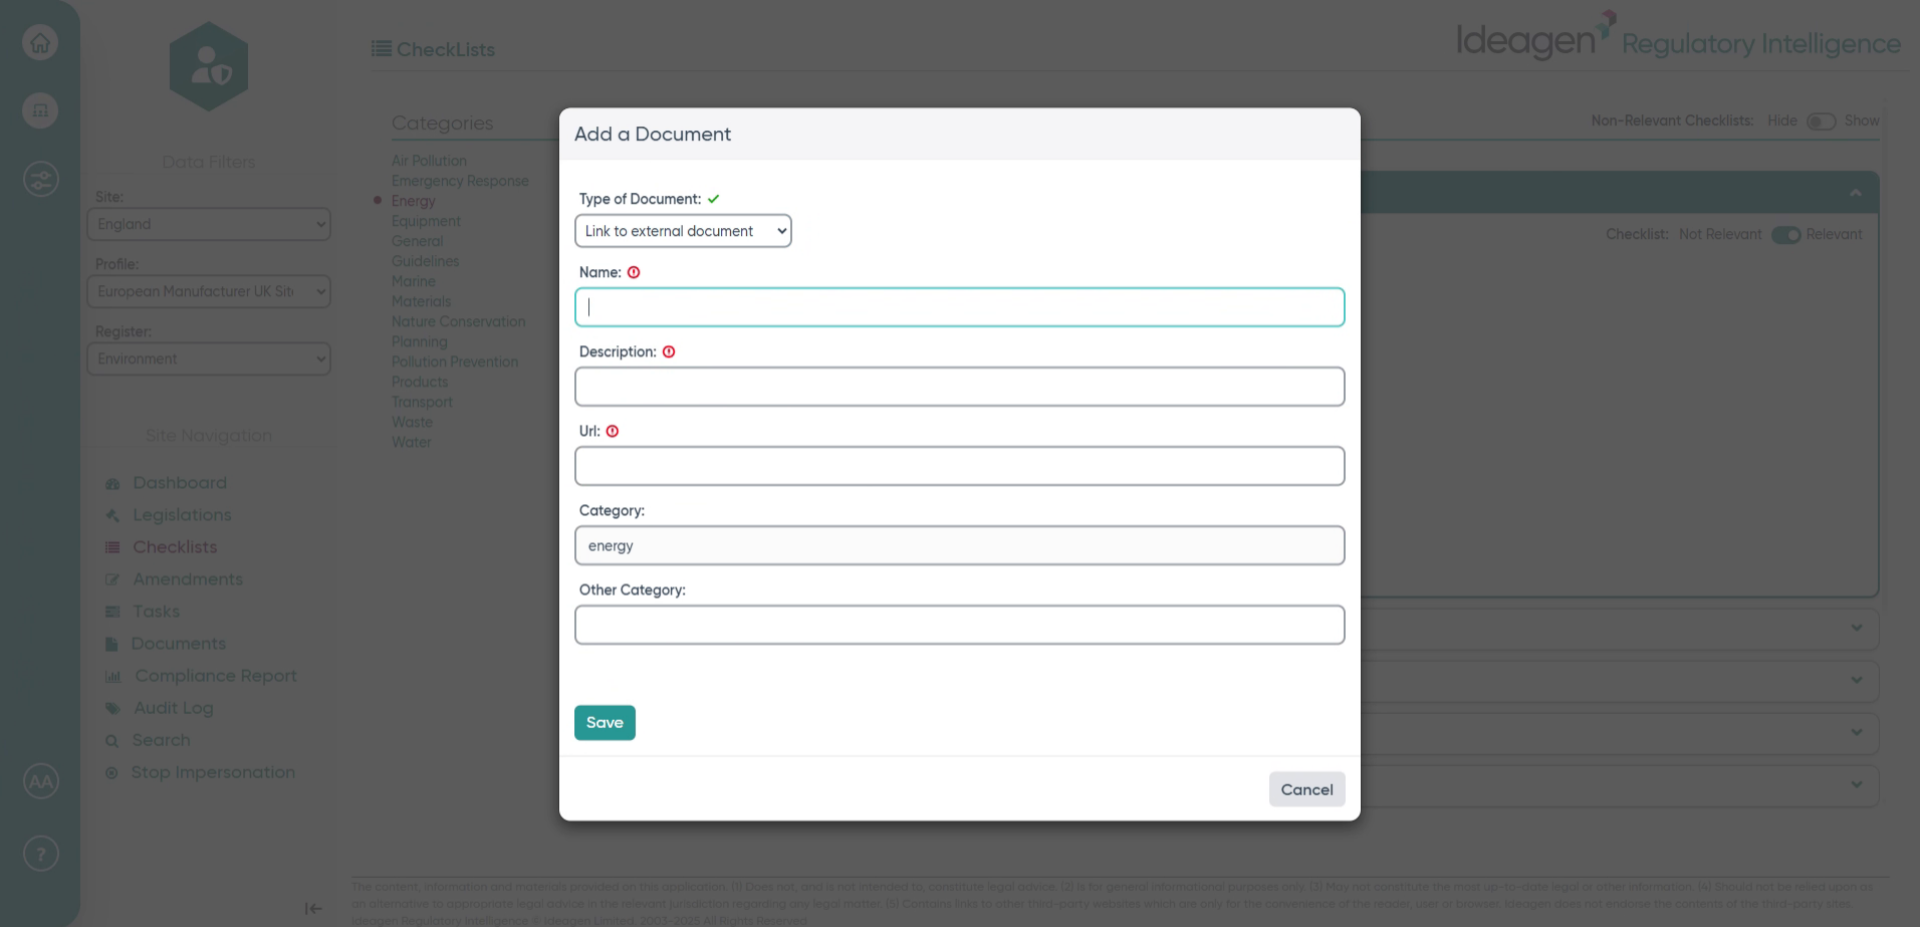
- Click the Name field to enter the document's title.
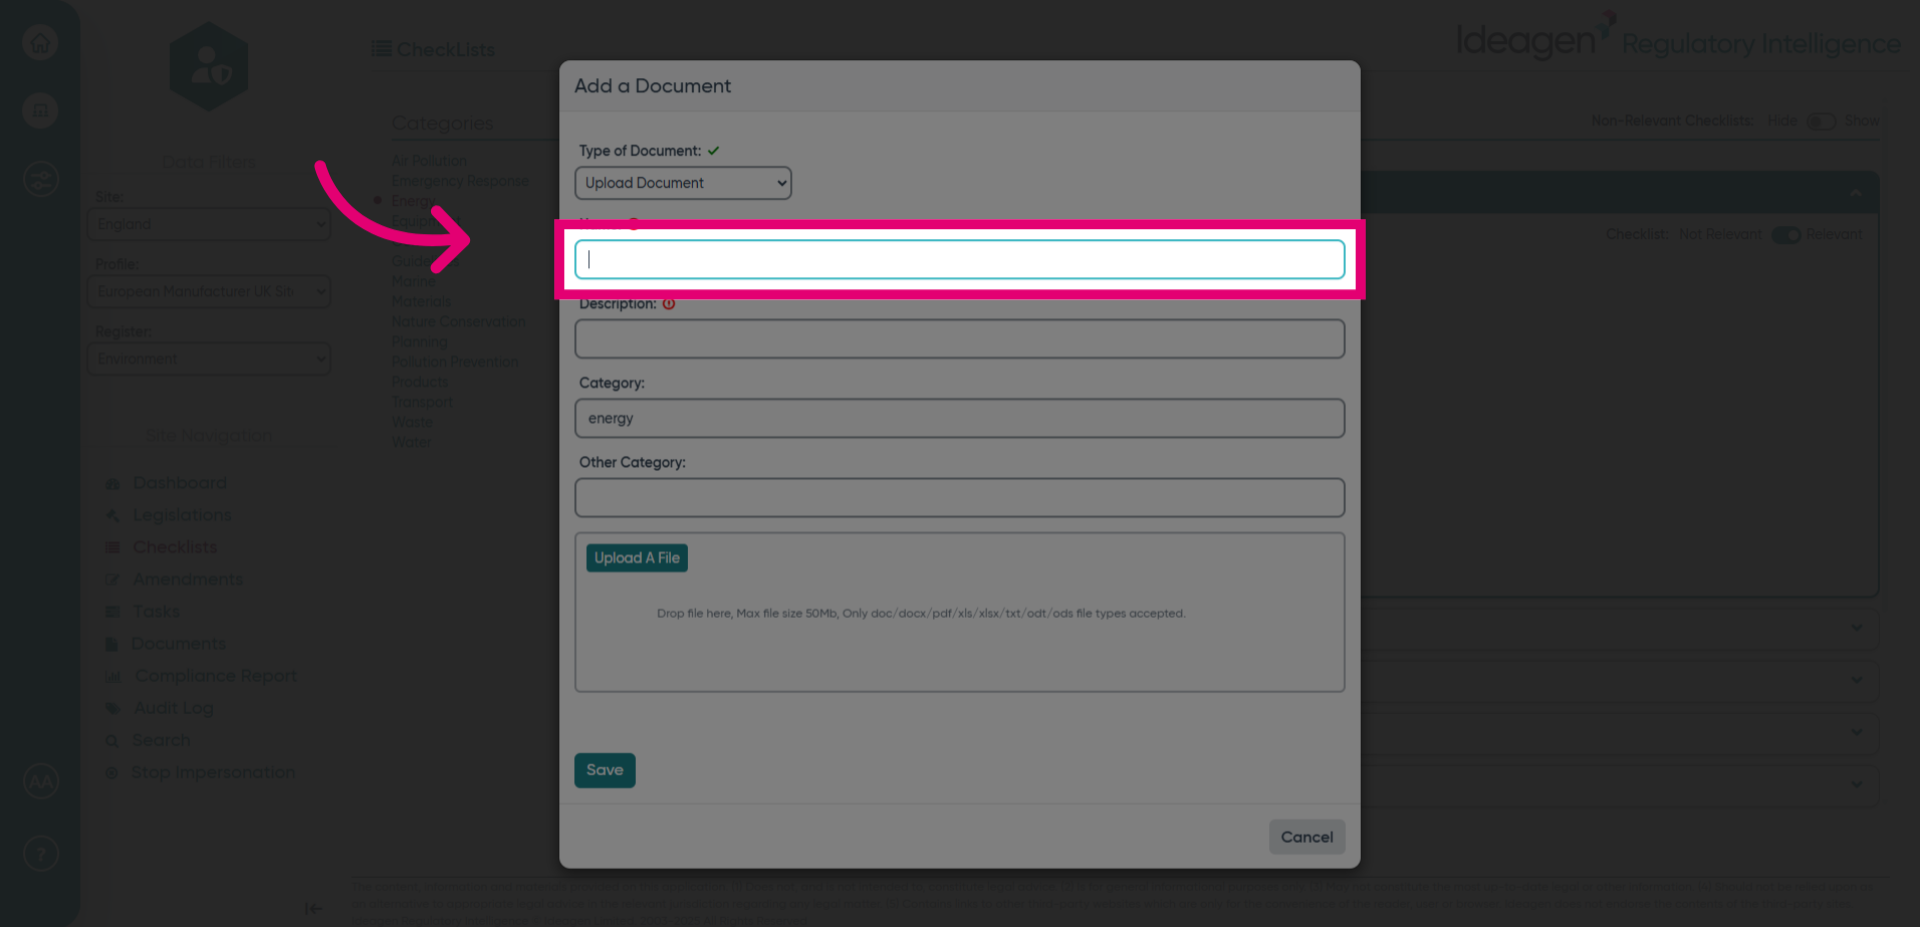
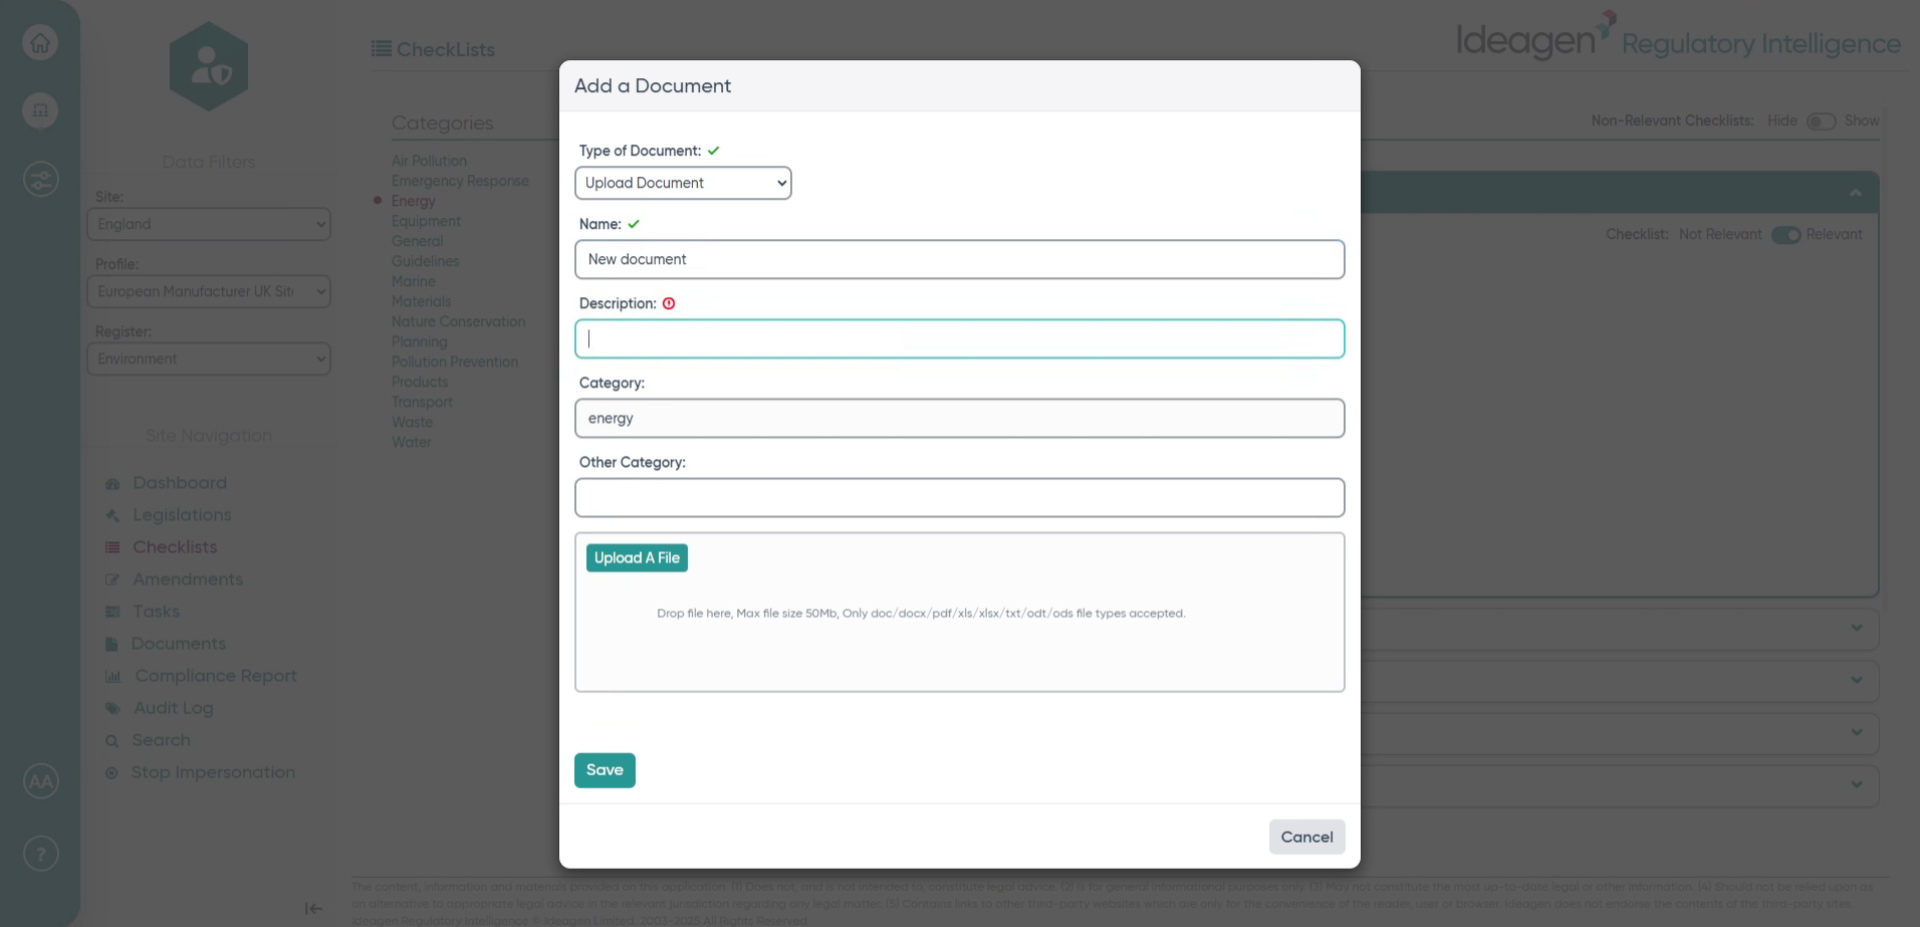
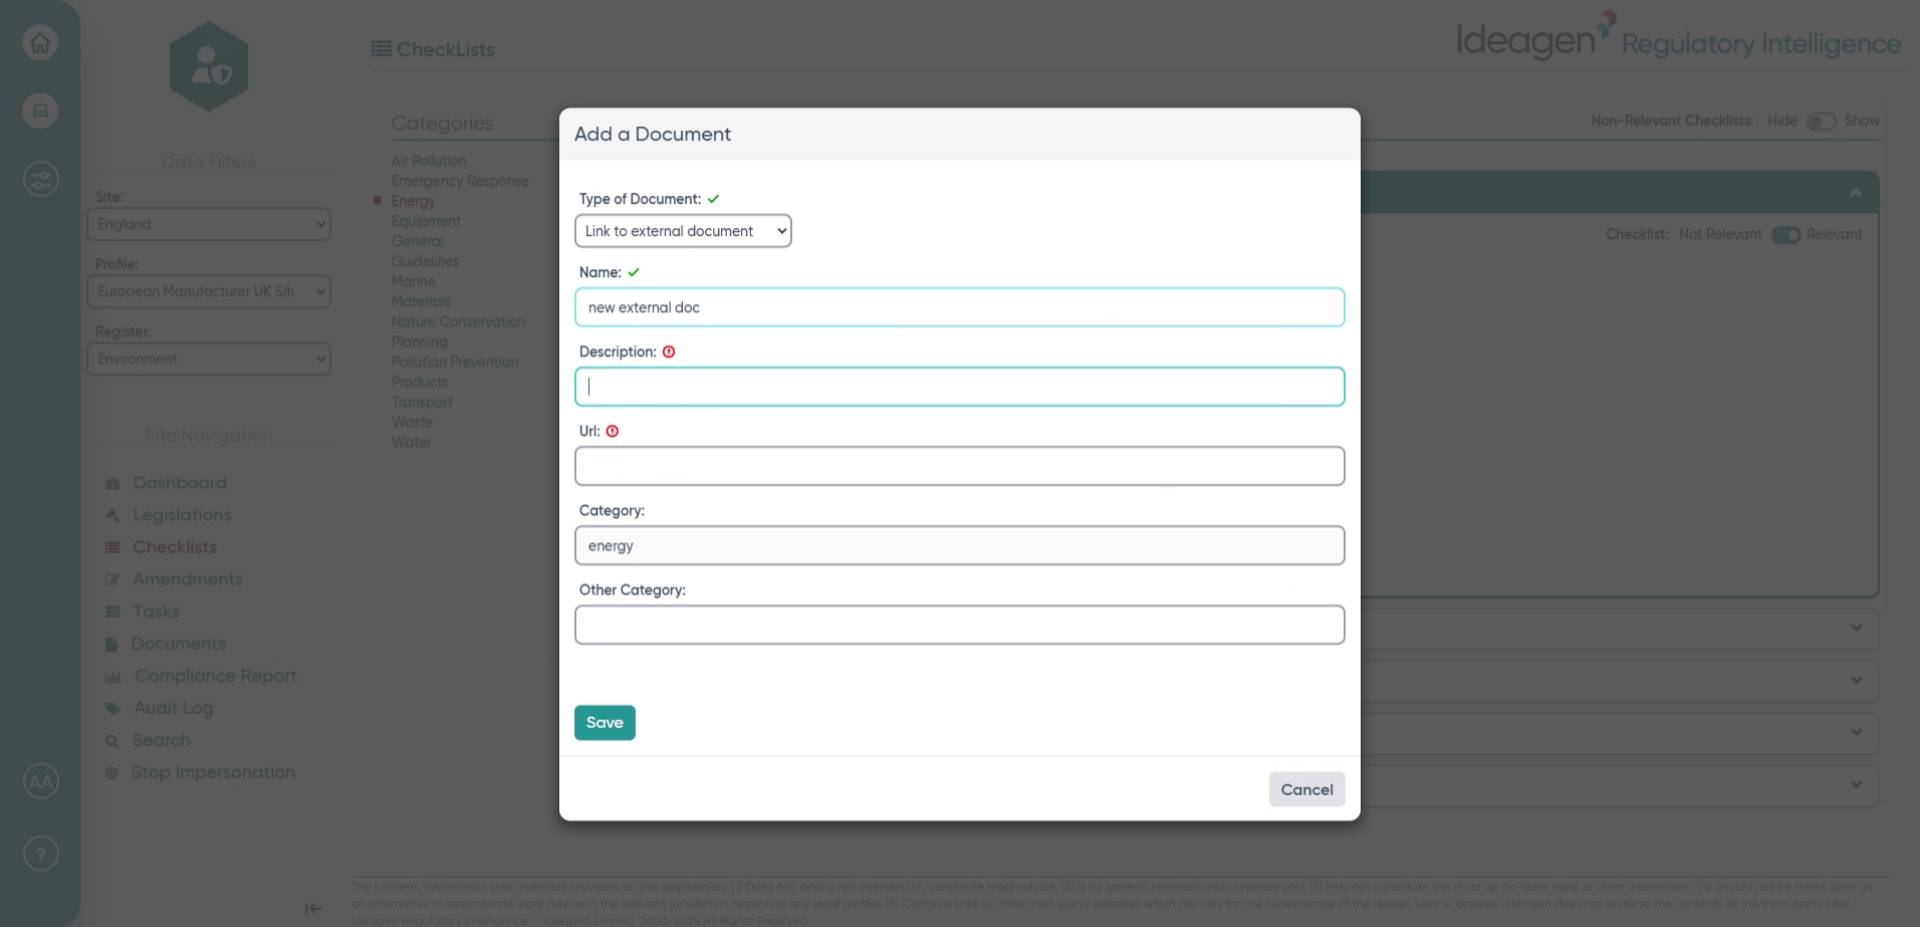
- Click the Description field to add details about the document.
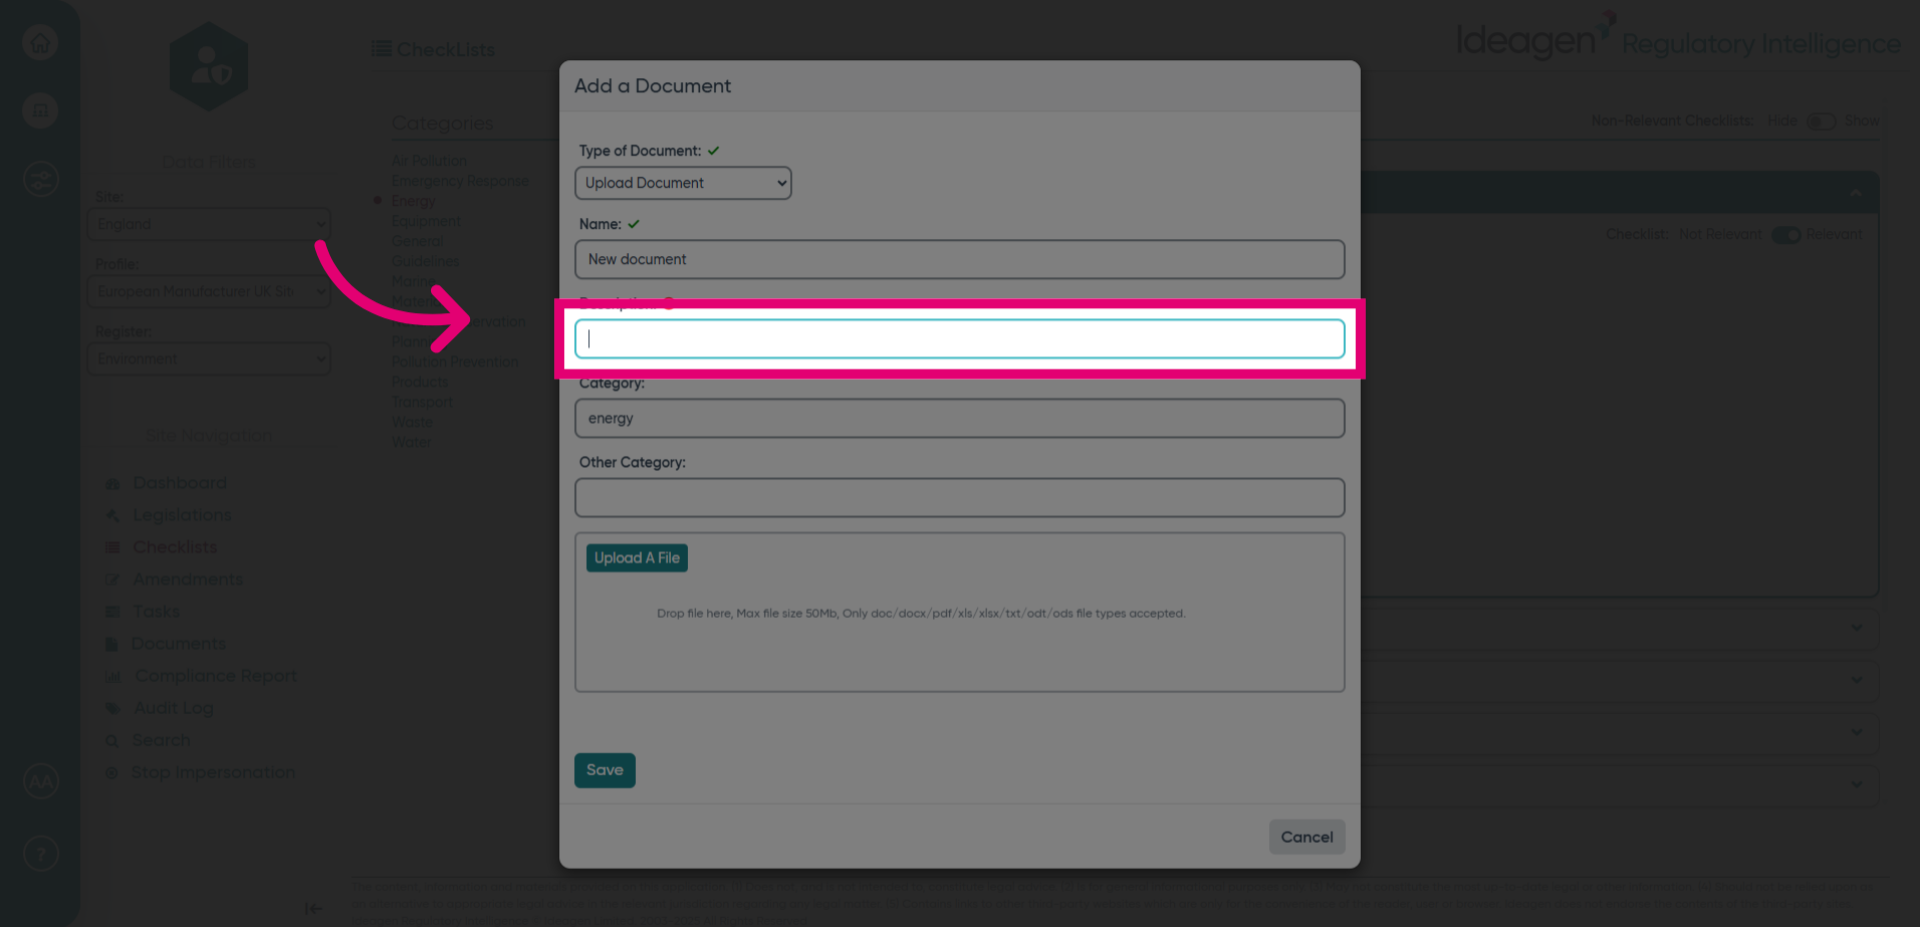
- Fill in the new document name to identify it clearly.
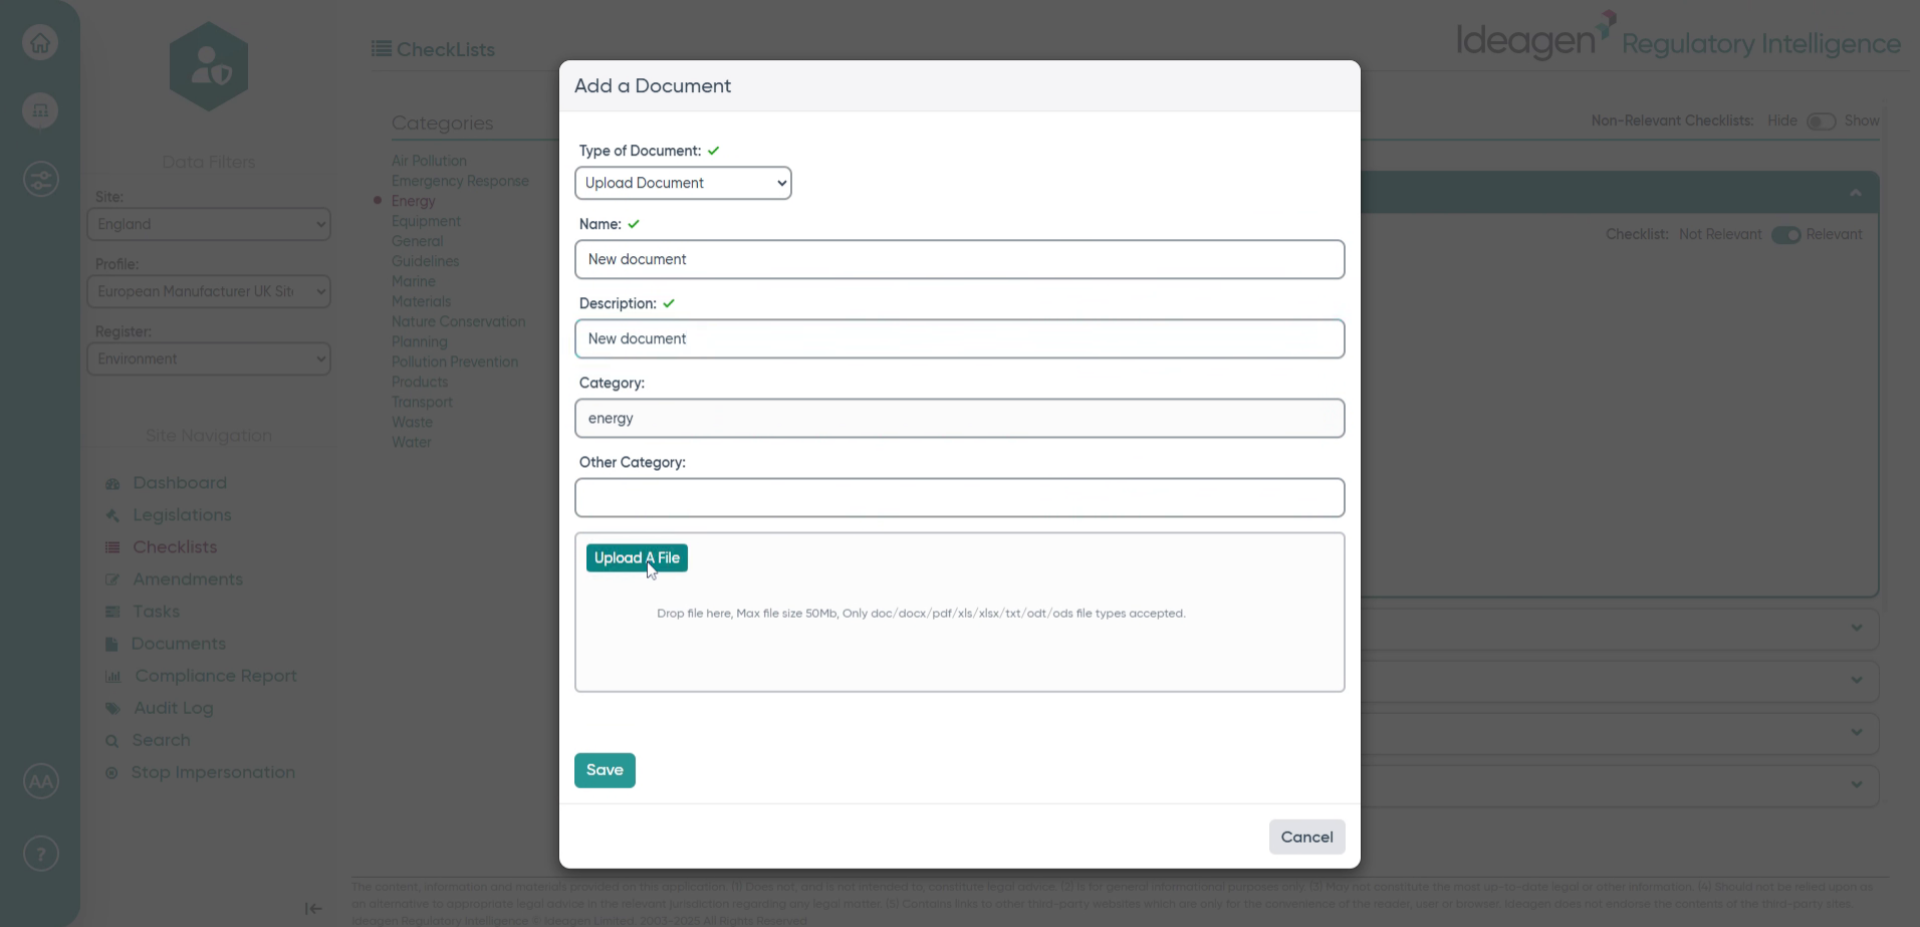
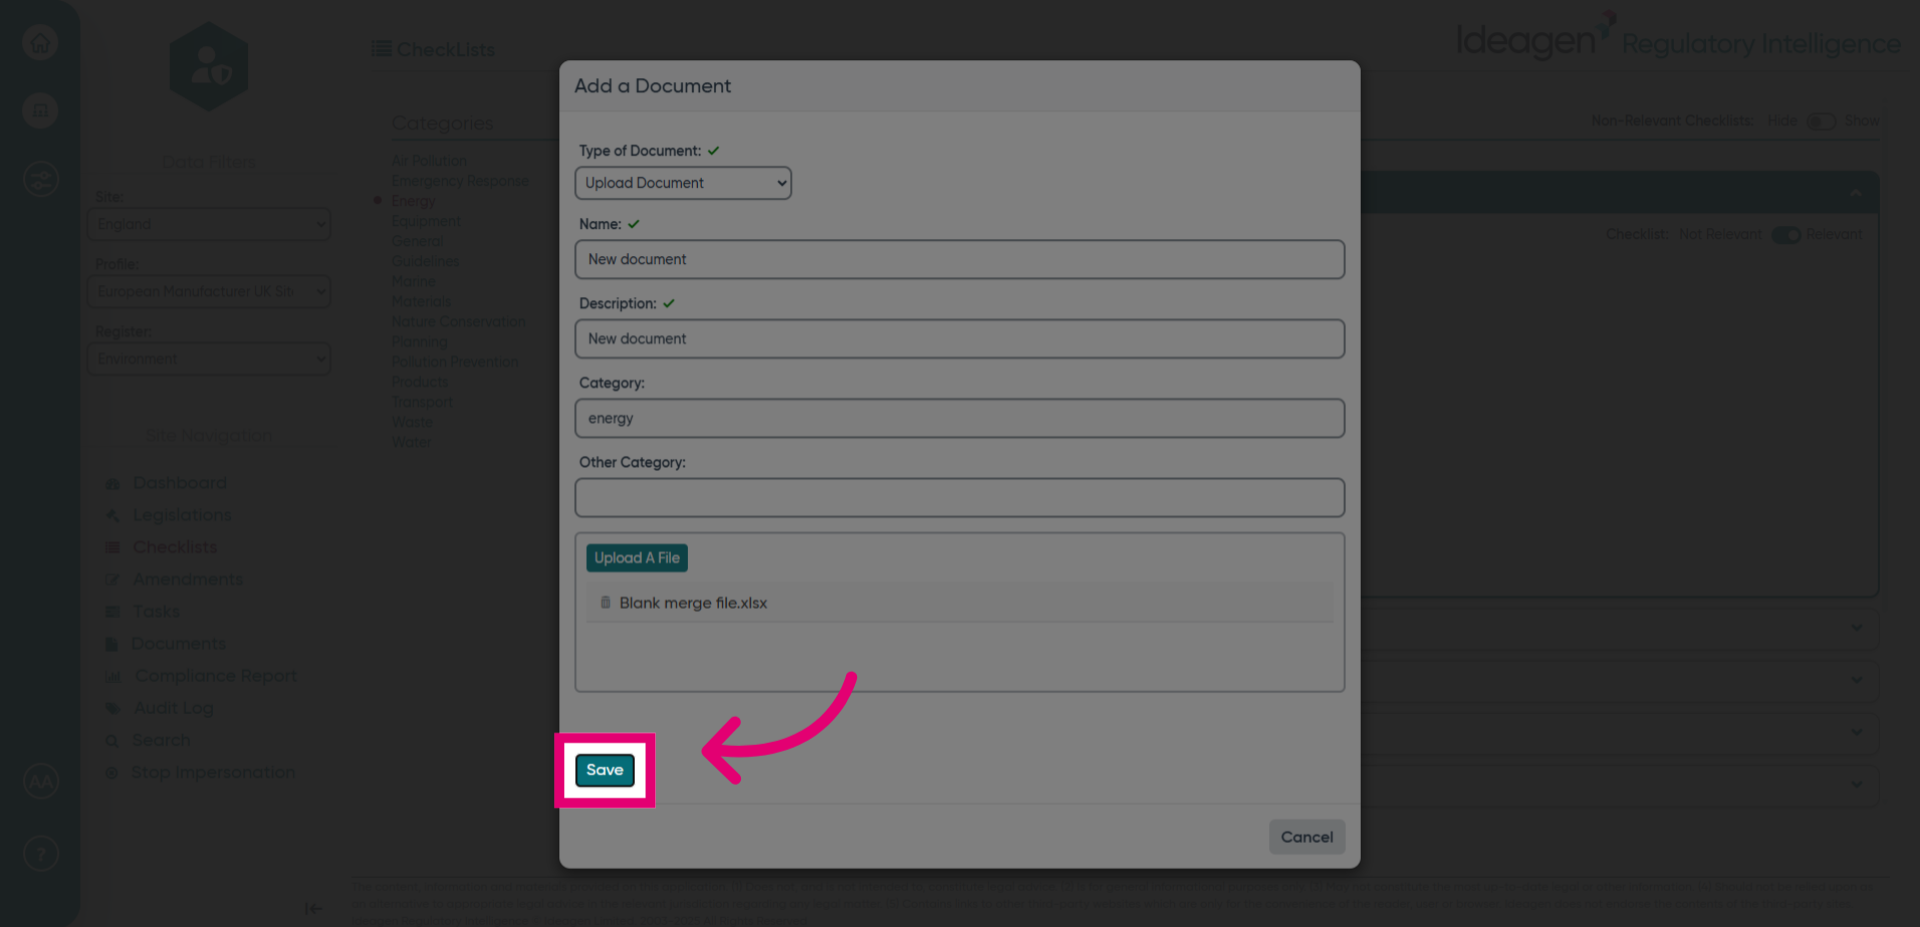
- Click the area to browse and select the file to upload.
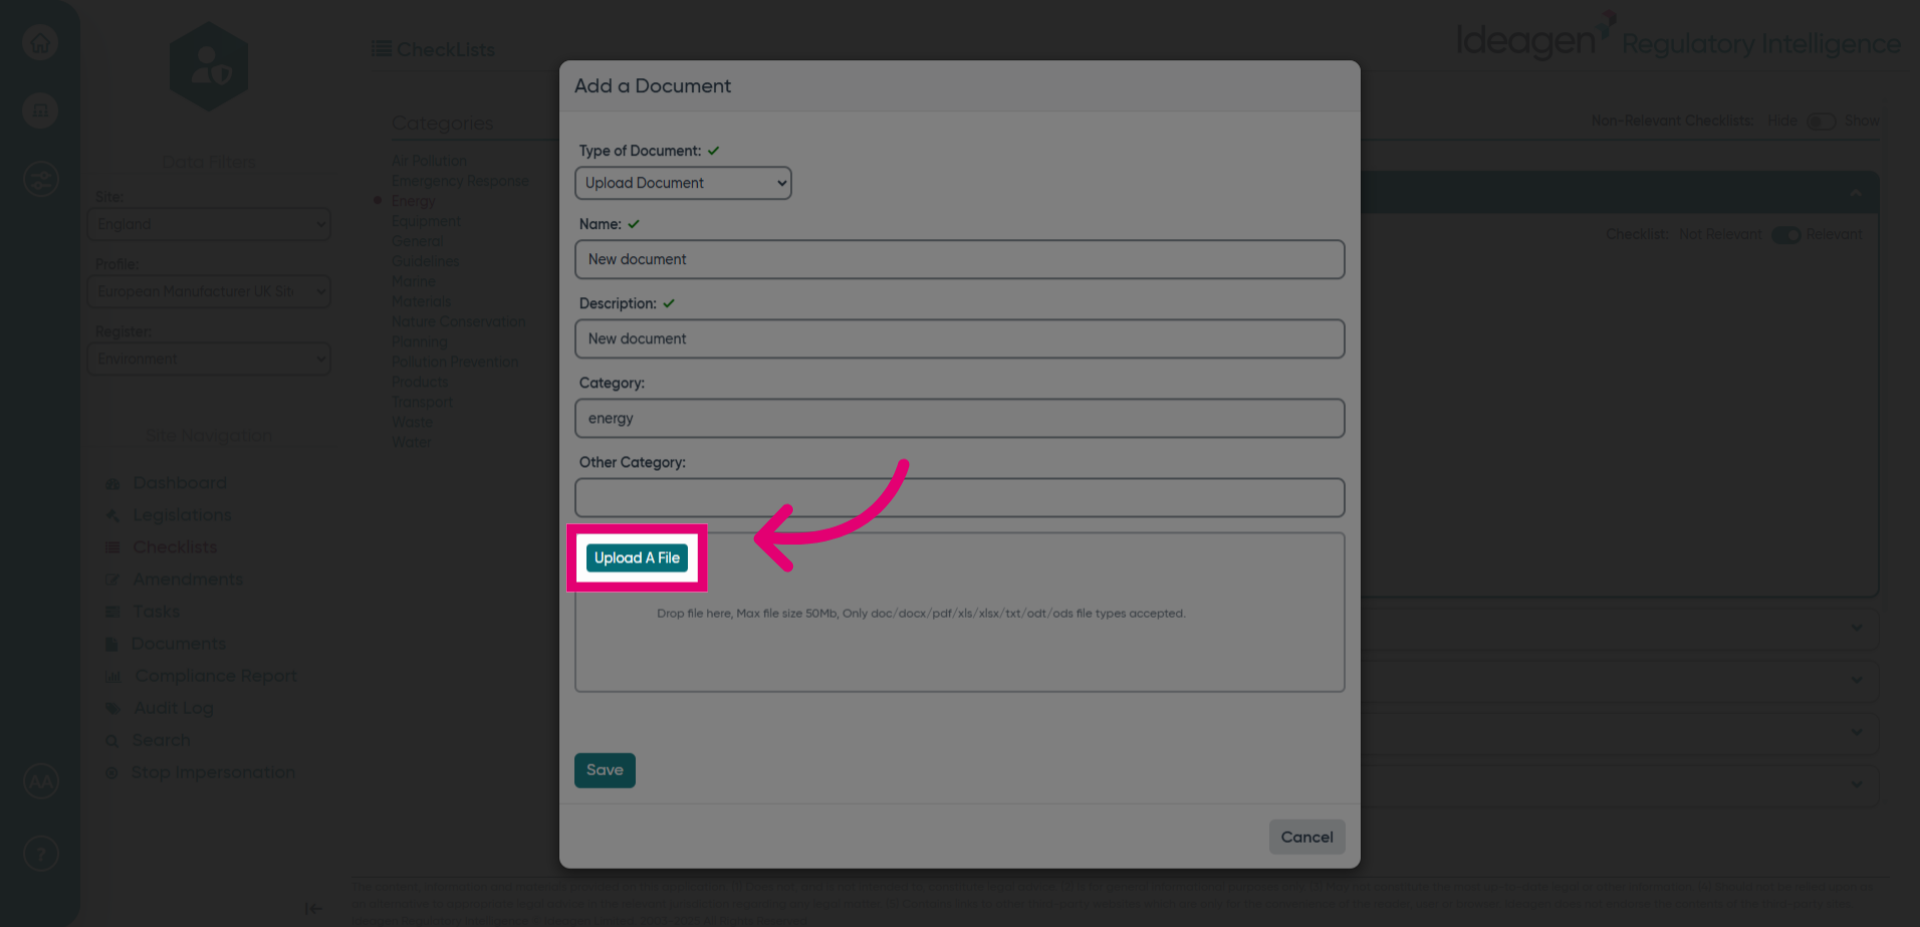
- You can upload a document here, or drag the document from your folder into the white space below.
- Click Save to upload and save the document.
- Click Add Document again to add another document.

- Select the Upload Document option from the menu for the new document.
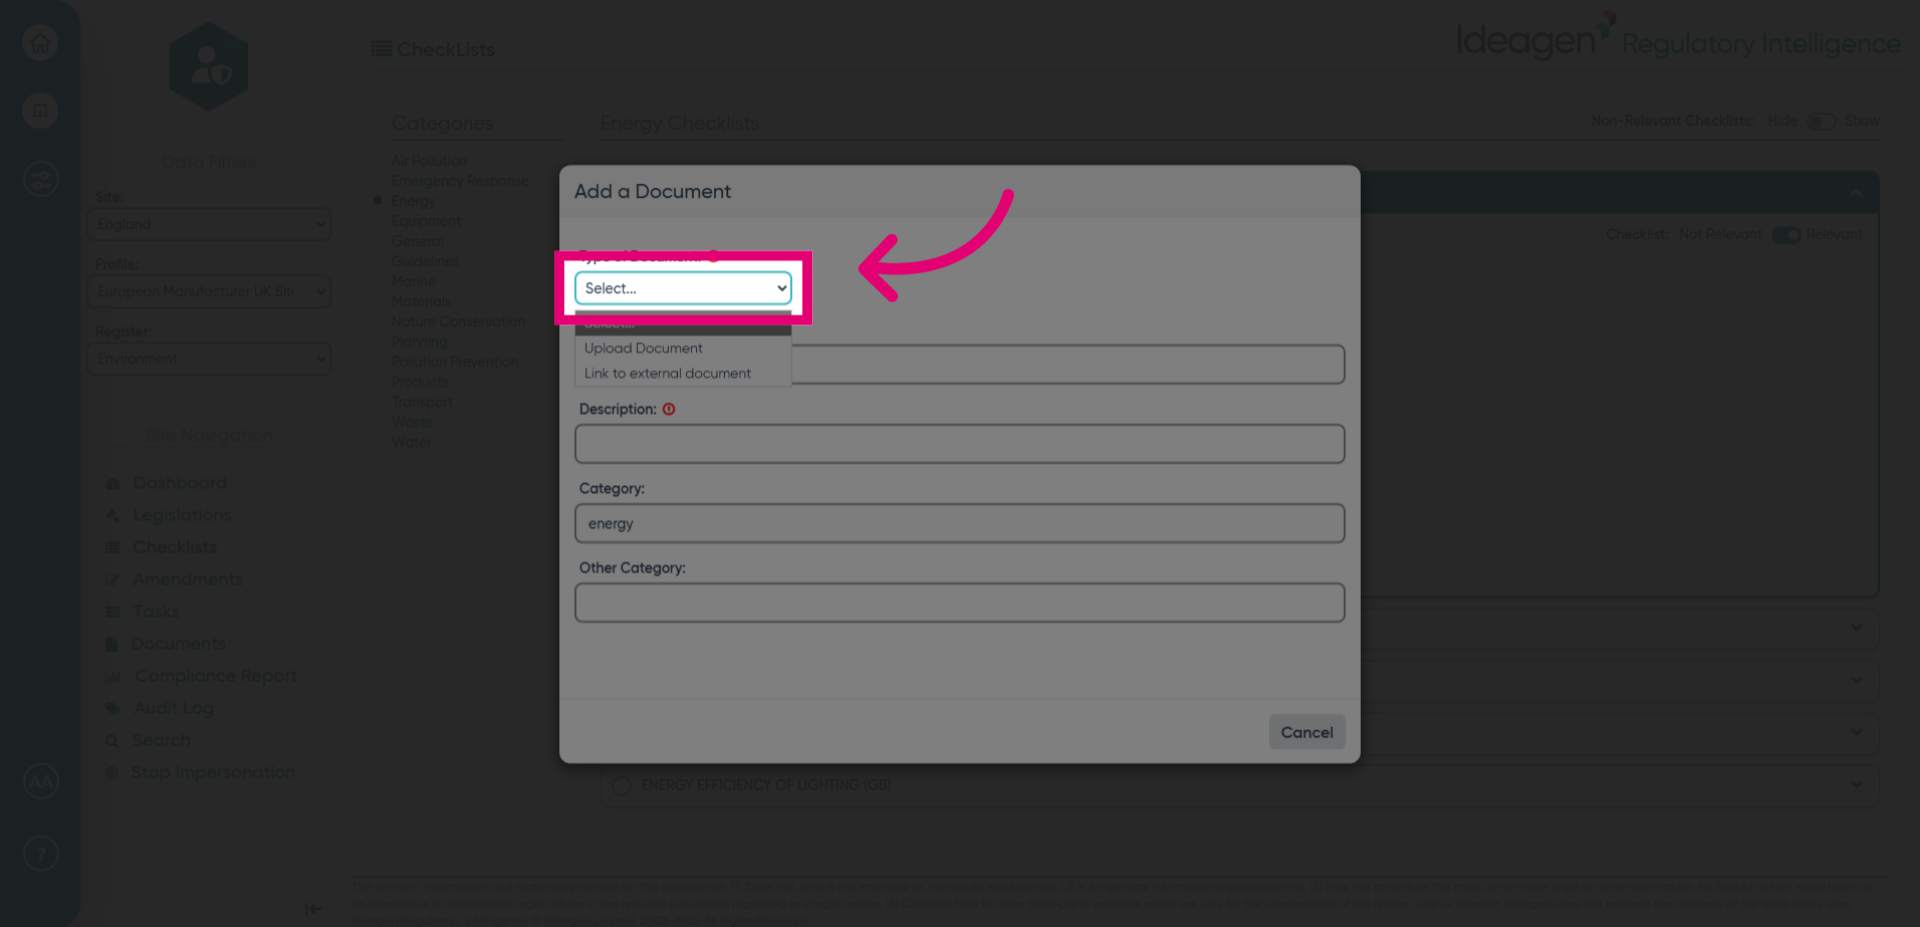
- Choose Upload Document to continue adding a file.
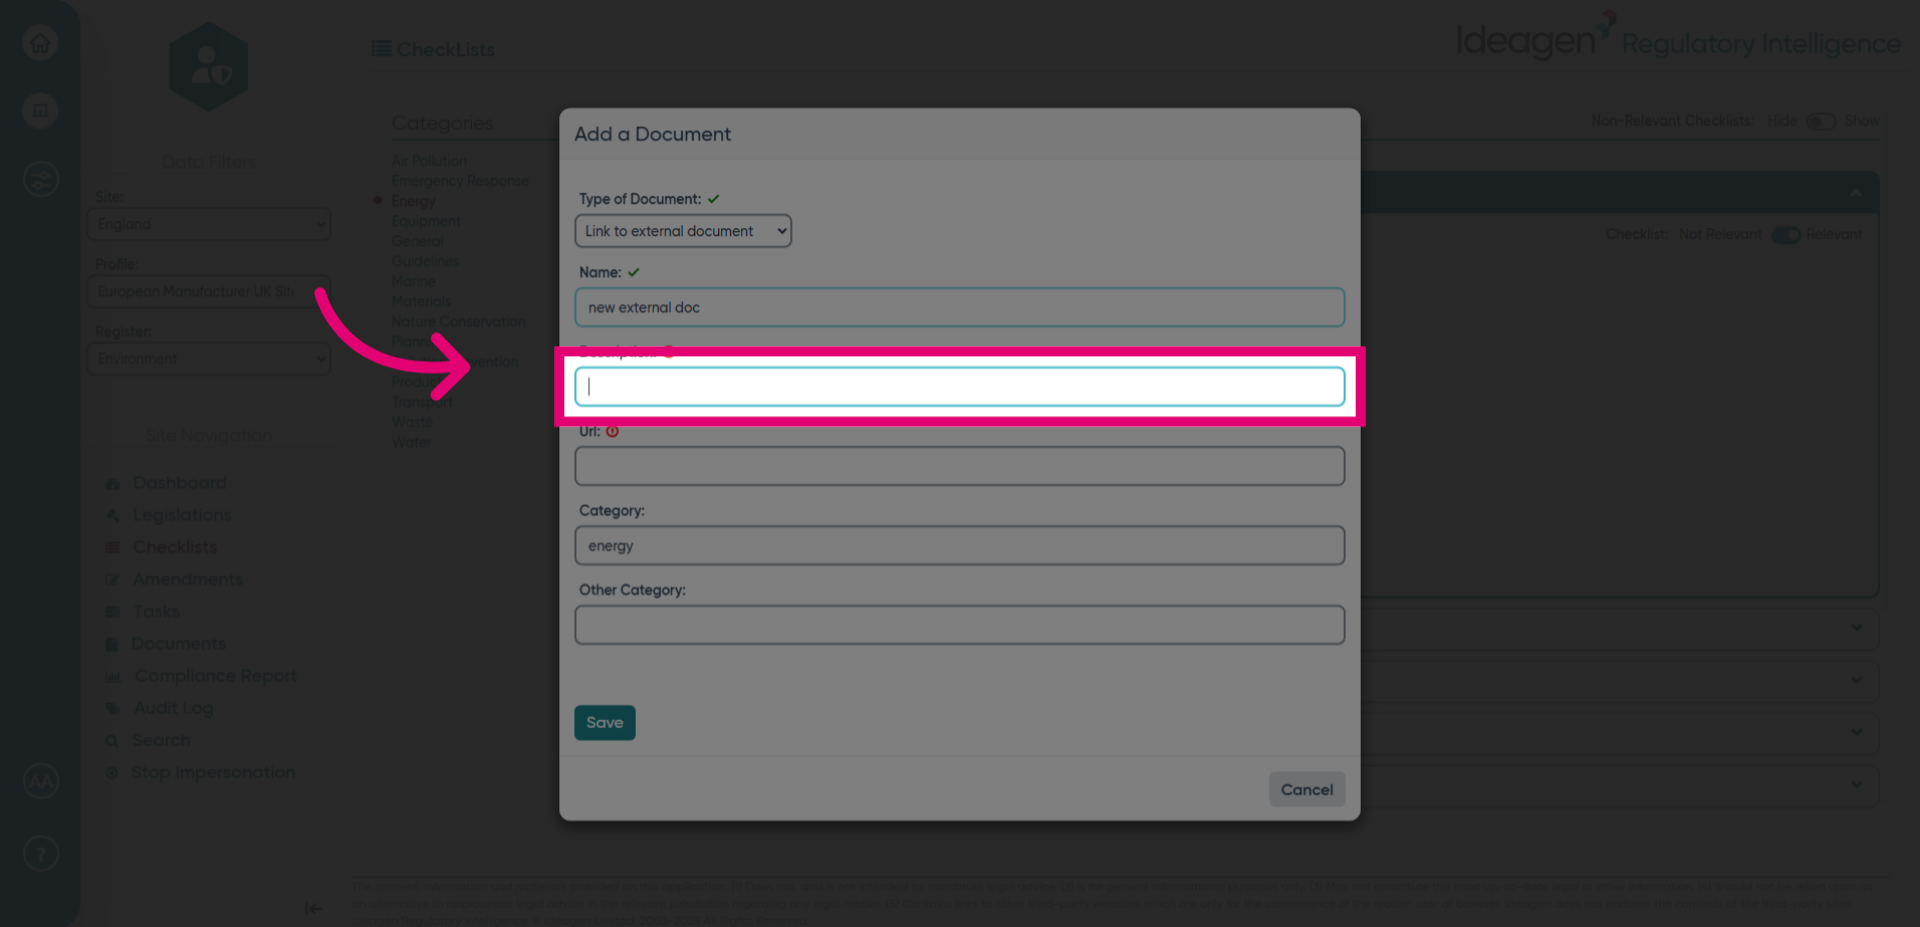
- Click the Name field to enter the title for the new document.
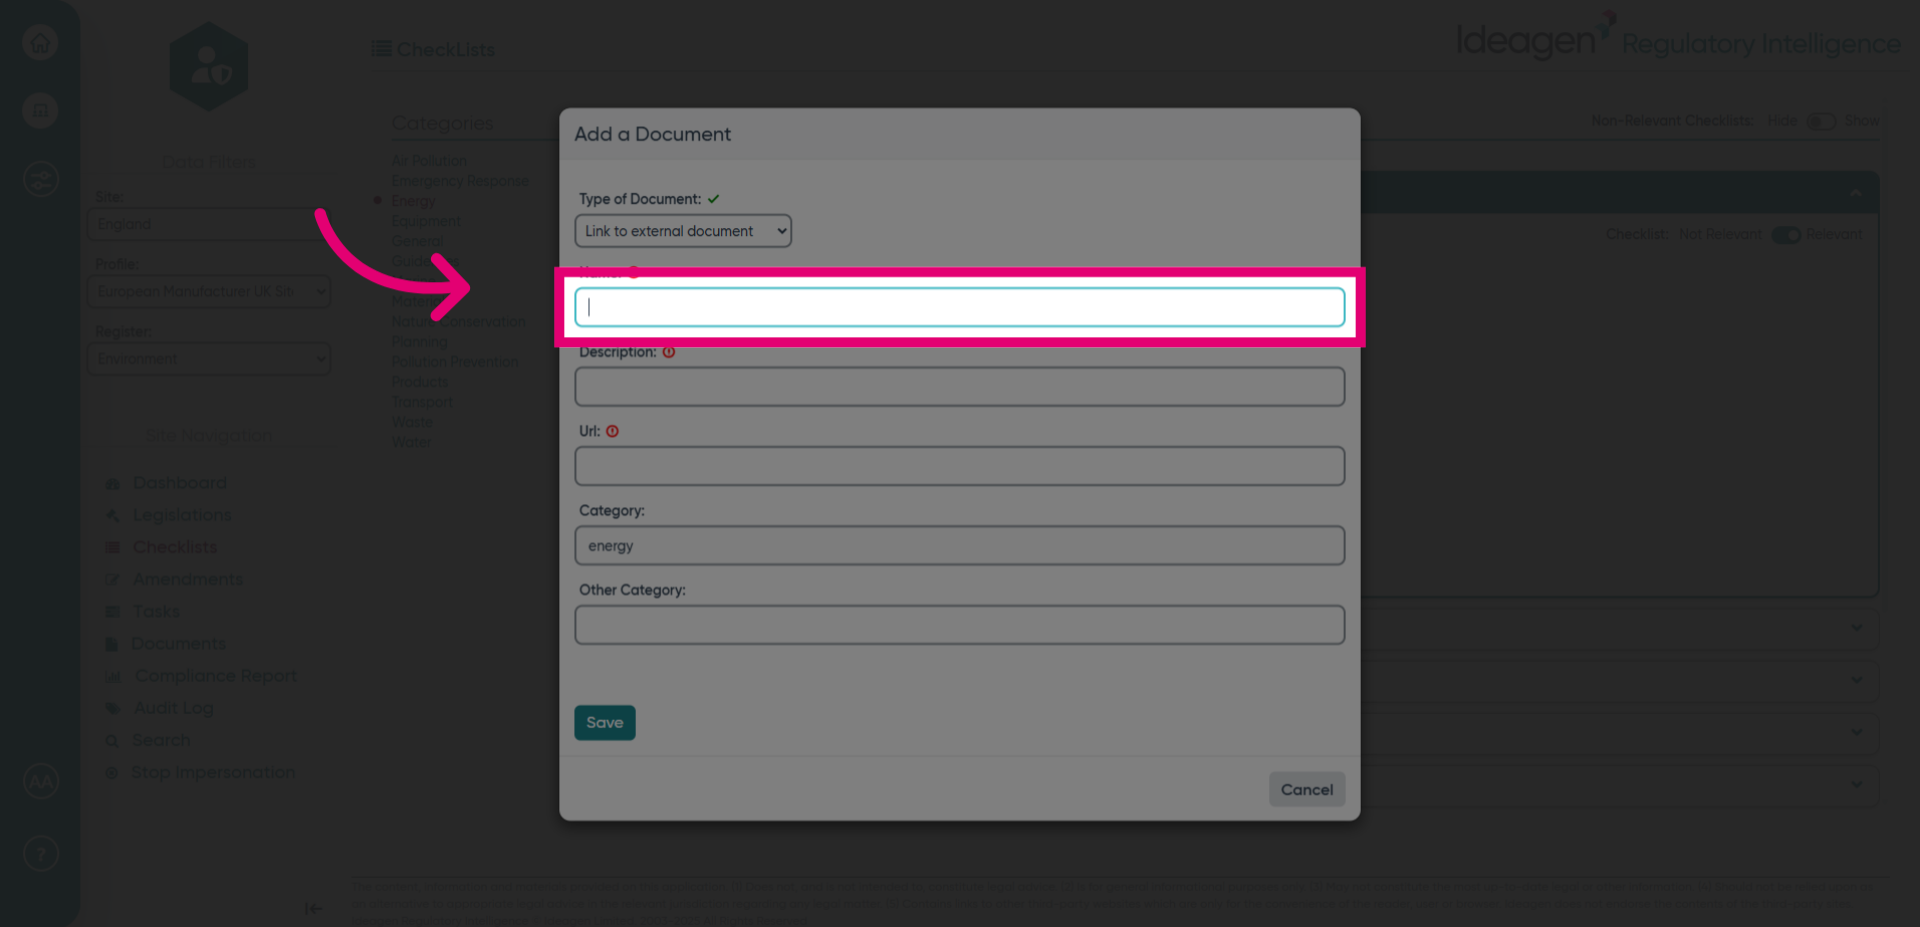
- Fill in the name for the external document to distinguish it.
- Navigate to the description field to provide more information.
- Fill in the description for the external document to clarify its content.
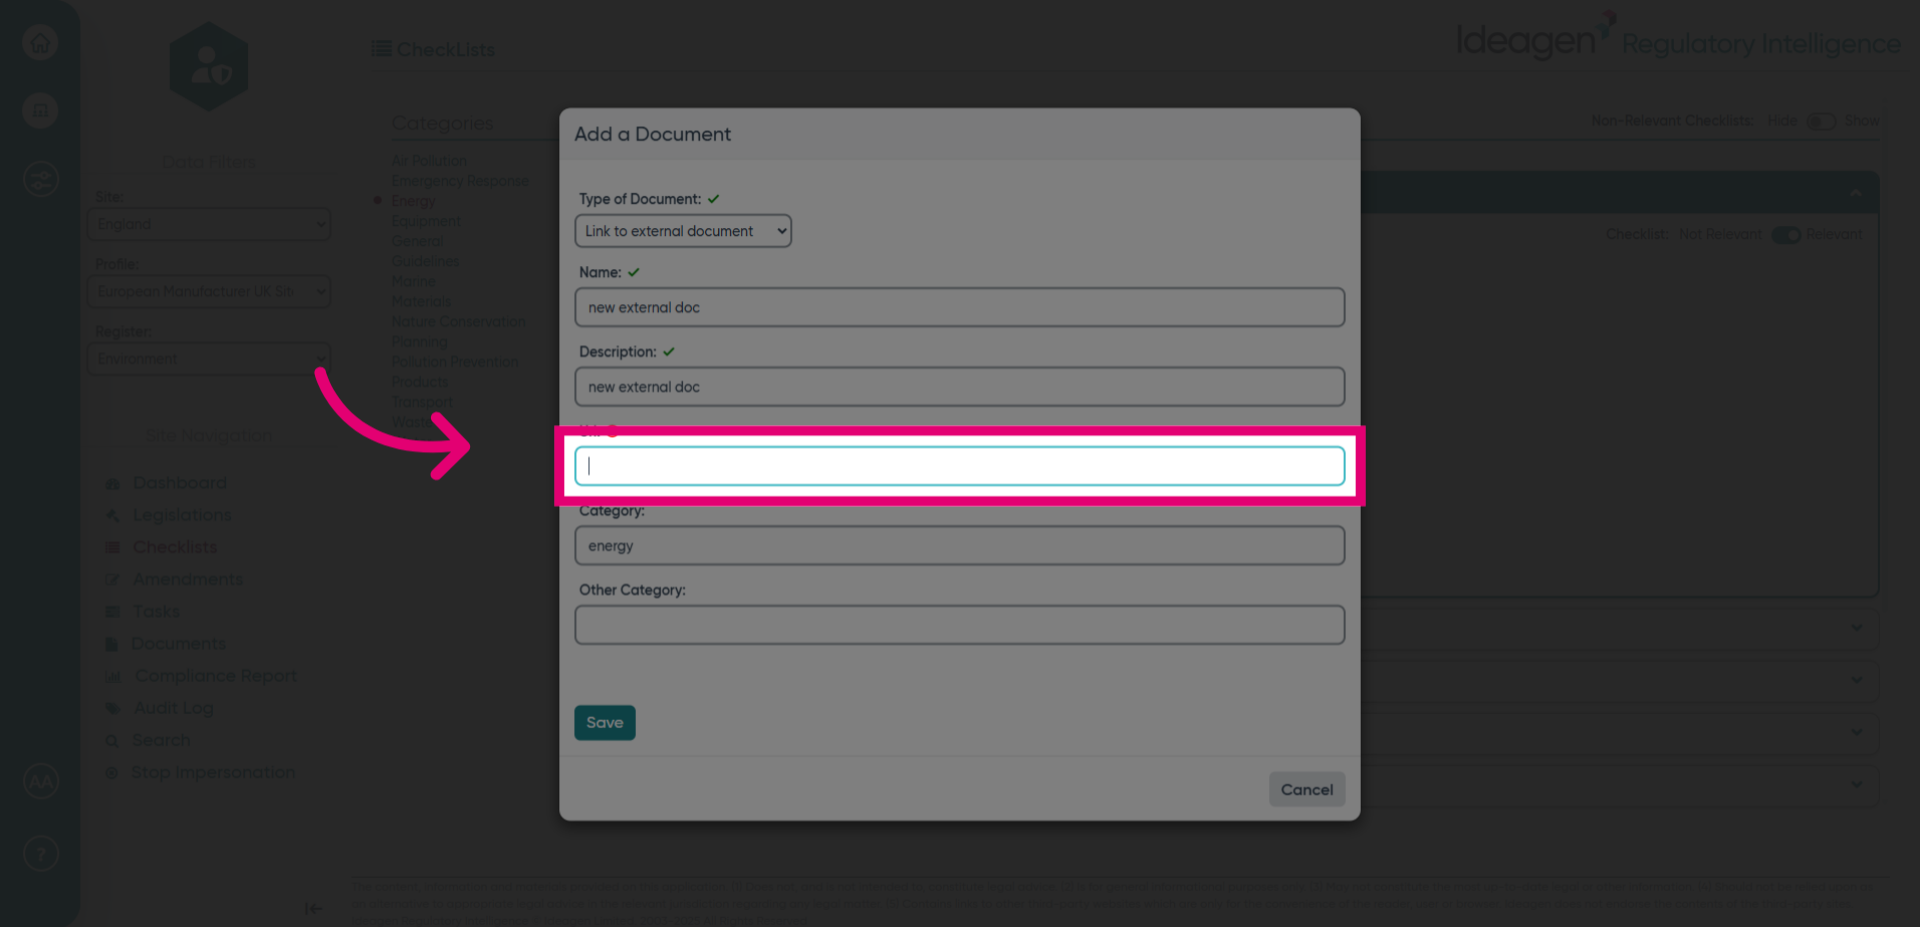
- Click the Url field to input the link for the external document.
- Click Save to confirm the changes to the external document.
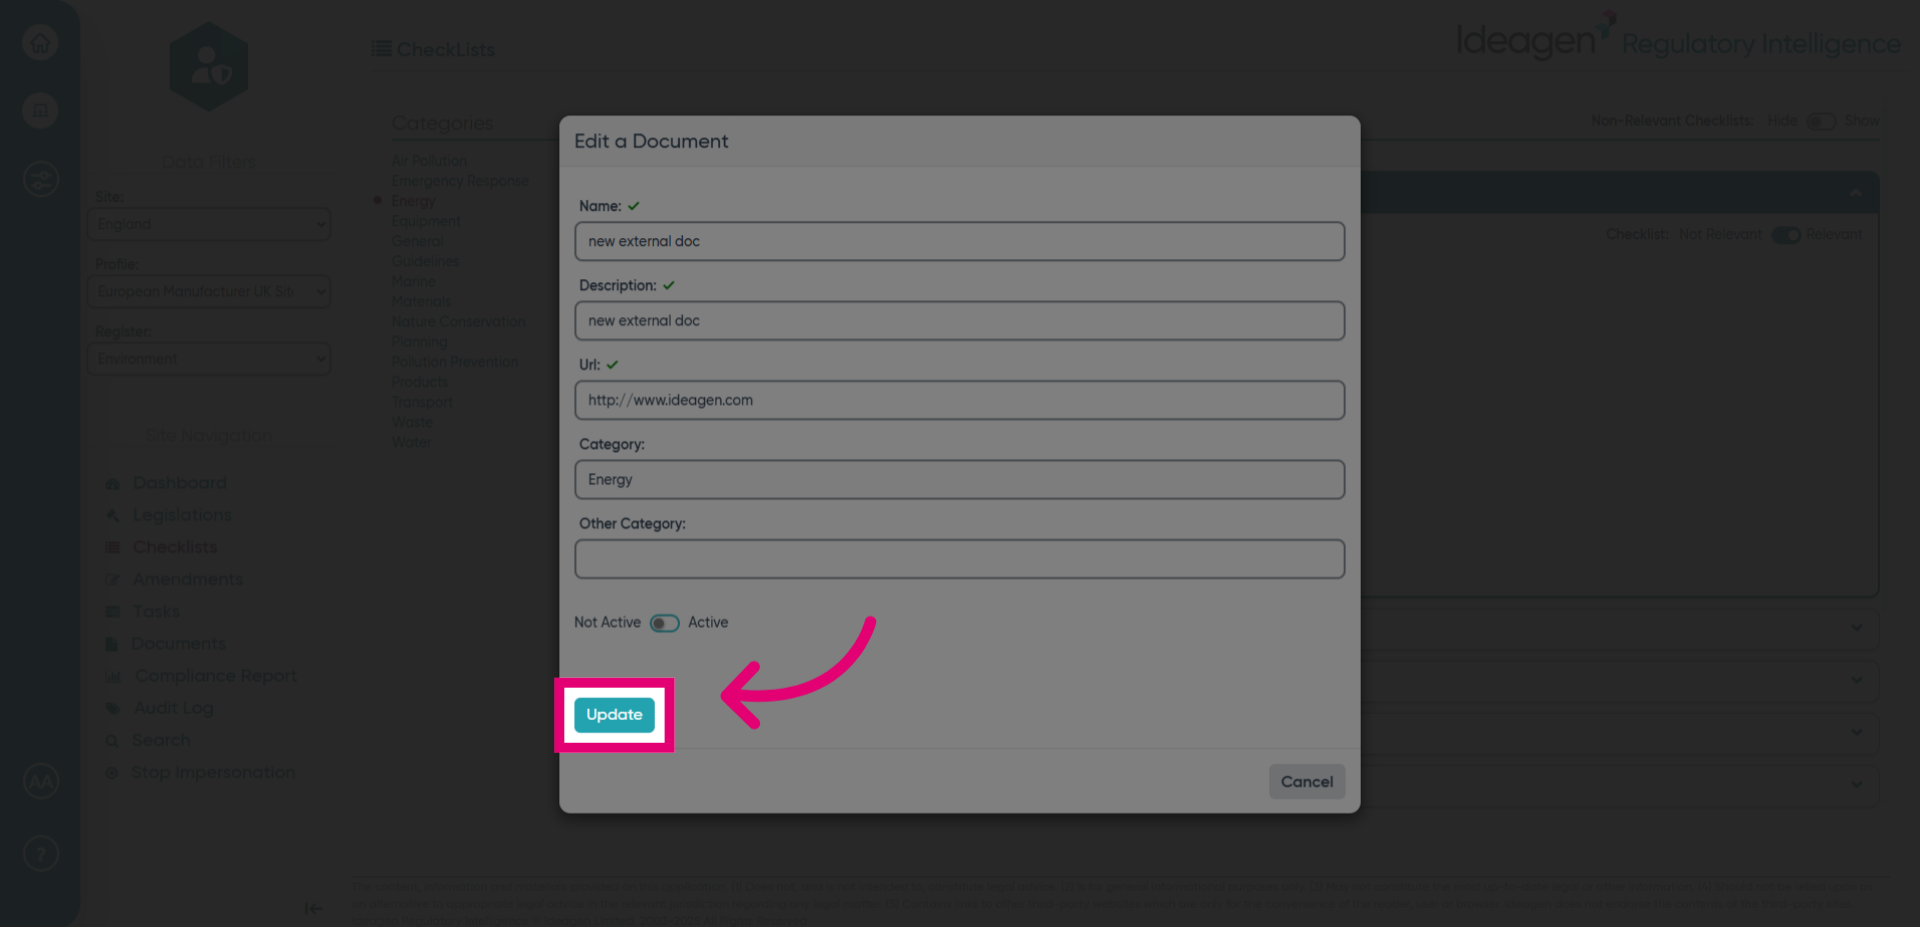
- To edit your document, click here.
- You can edit any of the fields you filled in previously, or use the toggle at the bottom to make the document inactive or active.
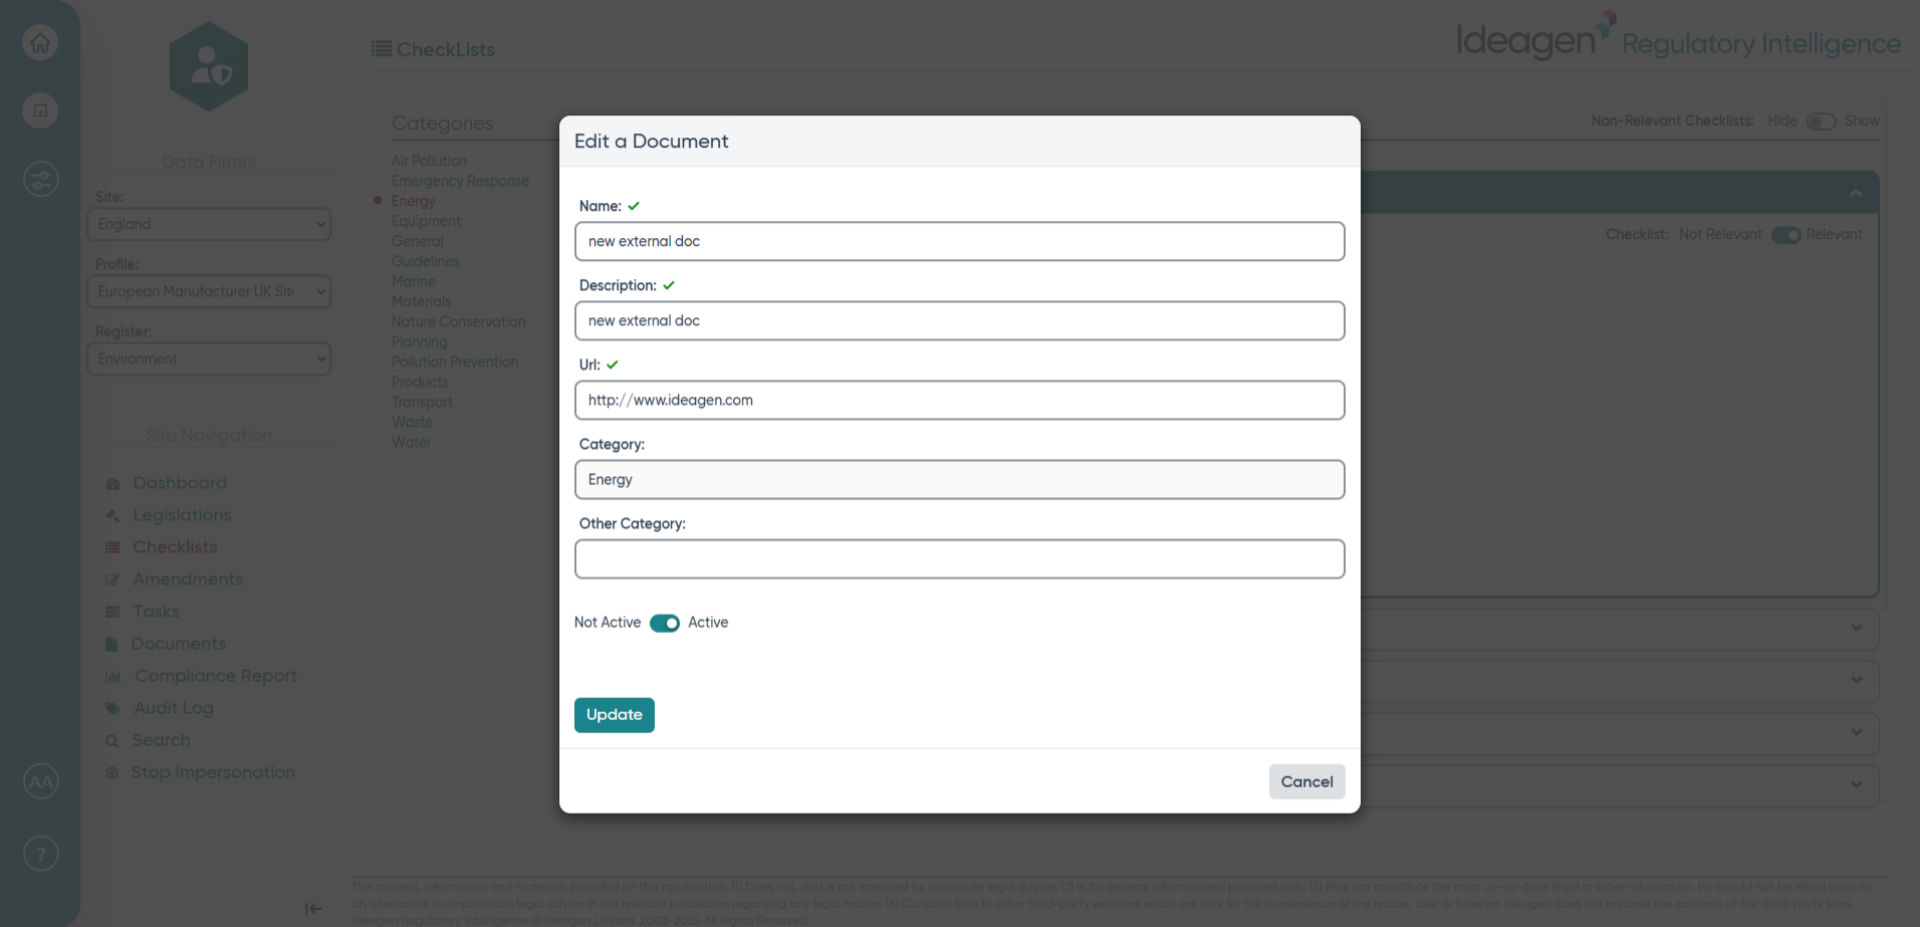
- Click Update to apply changes to the document.