New article
Recently updated
Adding a custom logo theme

Who is this article for?
Administrators that need to add a custom logo.
Administrator permissions are required.
This tutorial guides you through adding a new logo to your Regulatory Intelligence by creating and applying a custom theme.
1. Adding a custom logo theme
1.1 Video
1.2 Steps
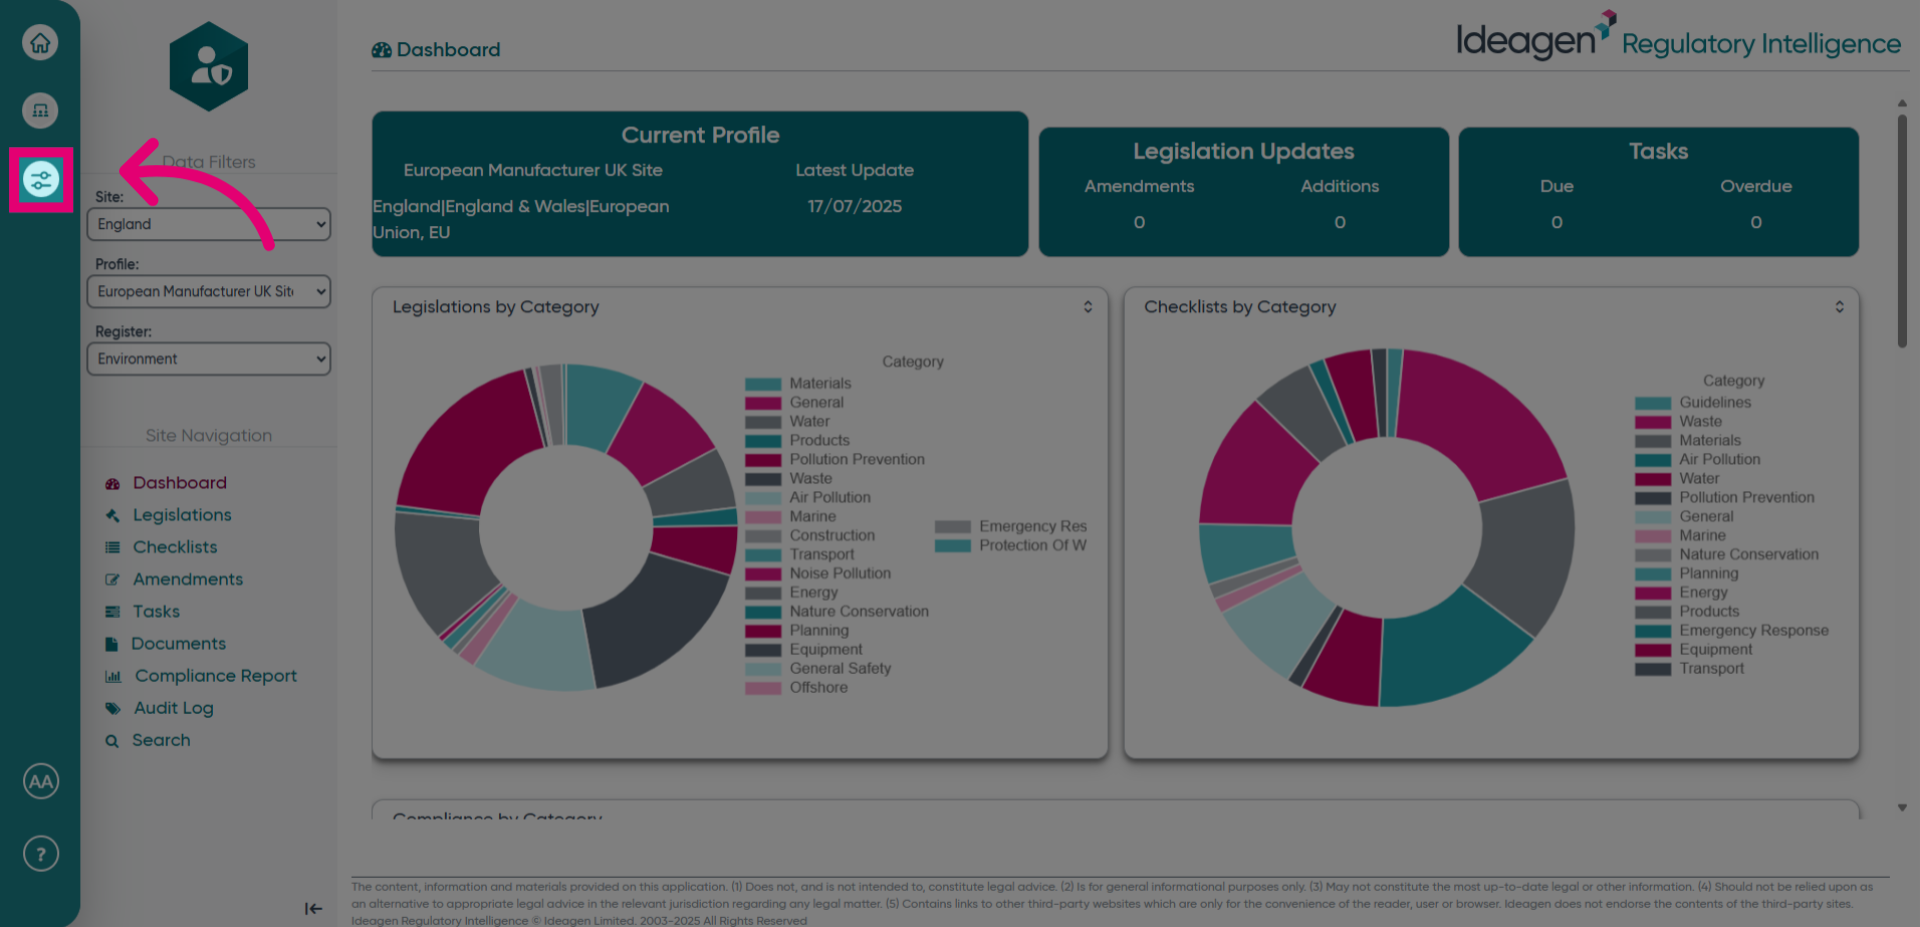
- Open the Menu.
- Click the button to access the admin panel.
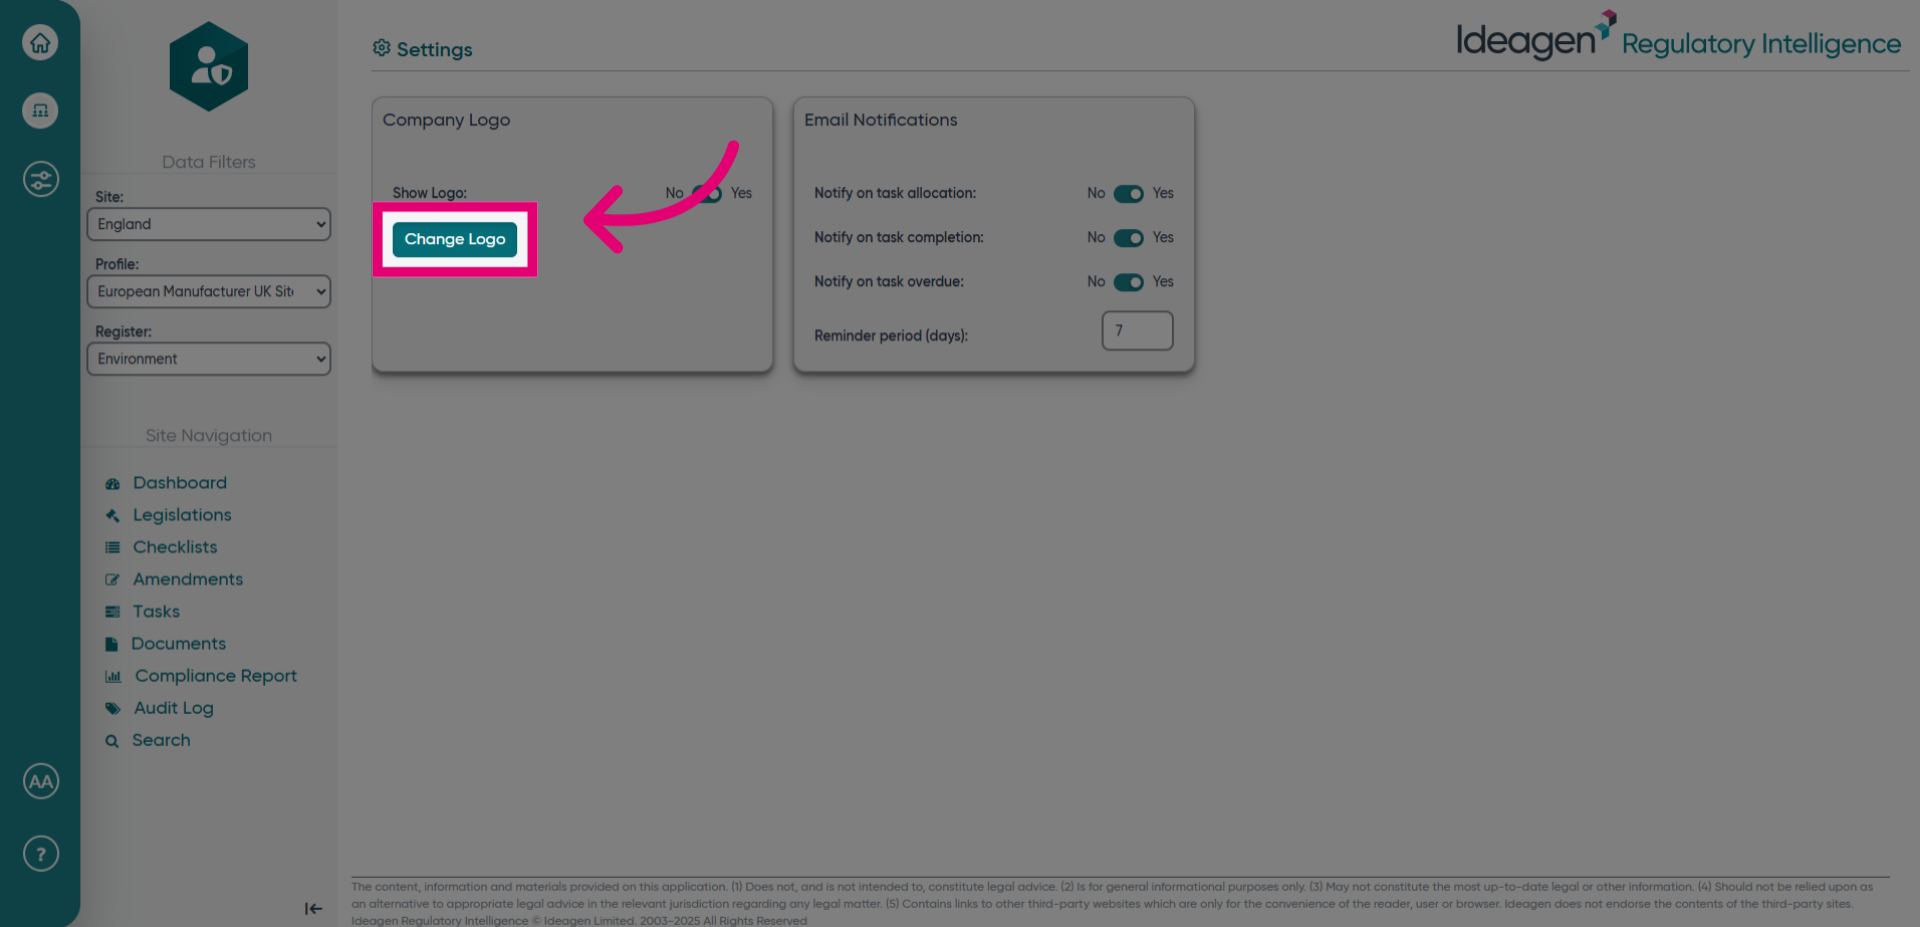
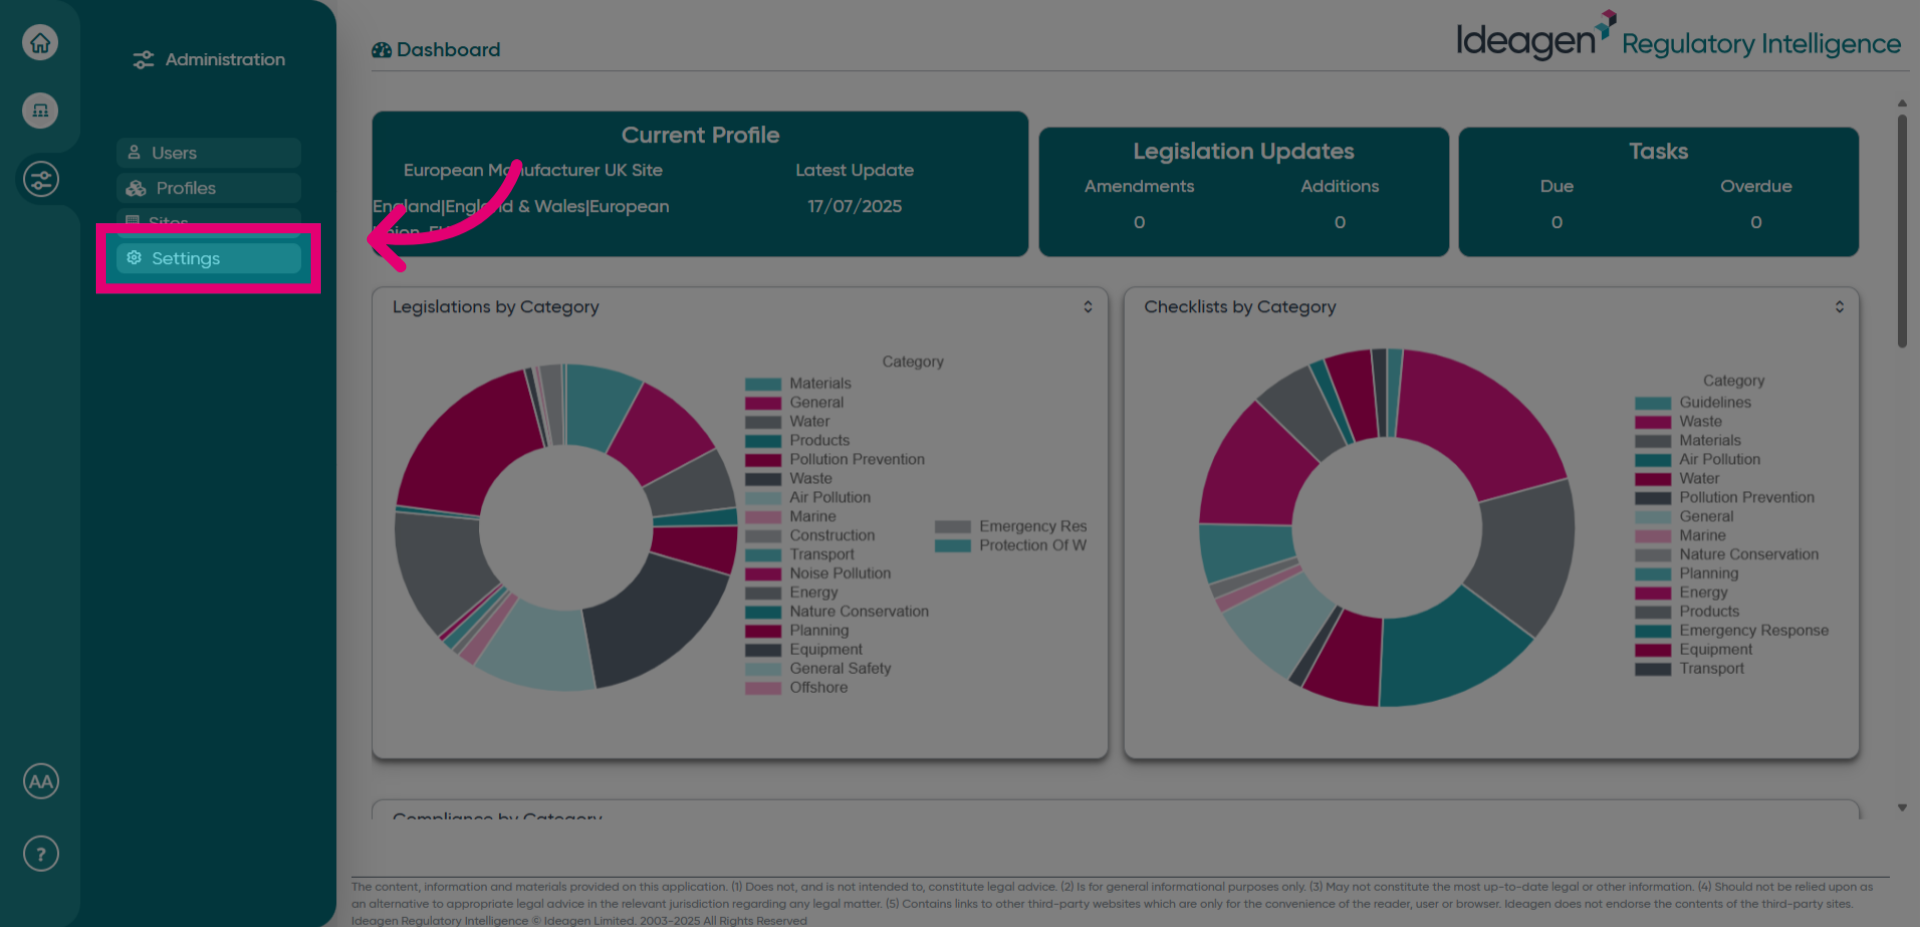
- Select Settings to access configuration options where you can manage themes and logos.

- Click Change Logo to initiate the process of updating your current logo.
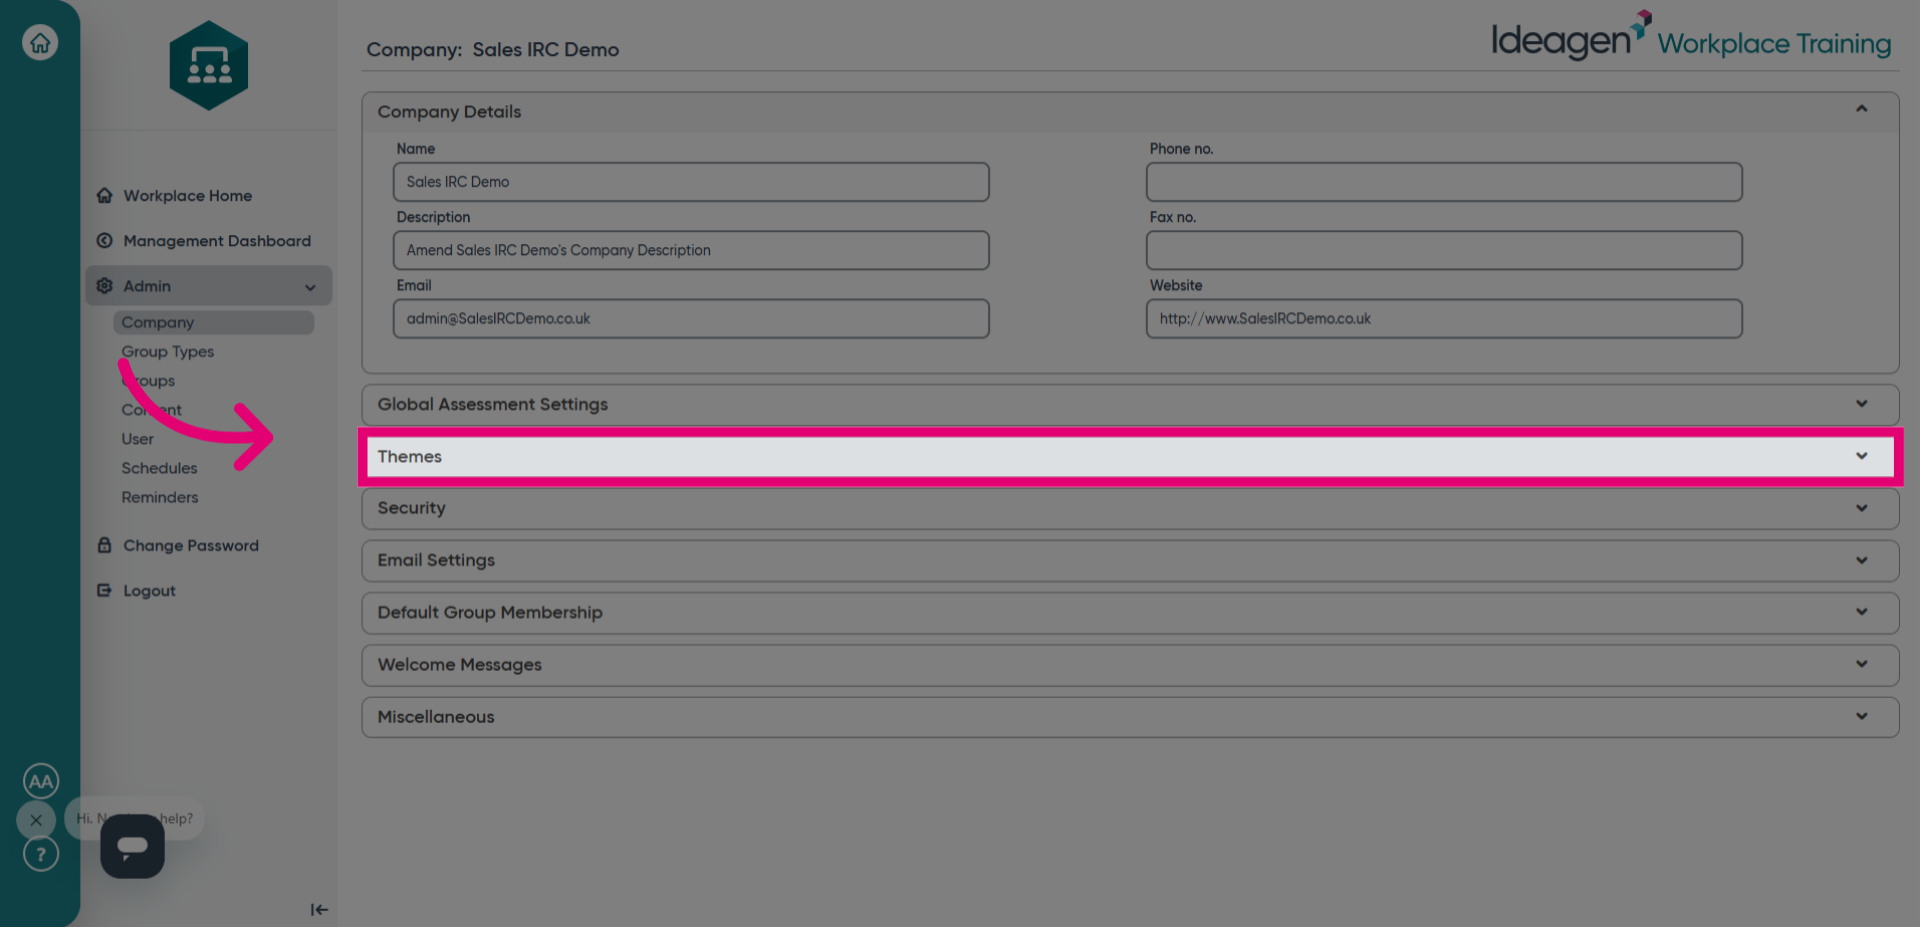
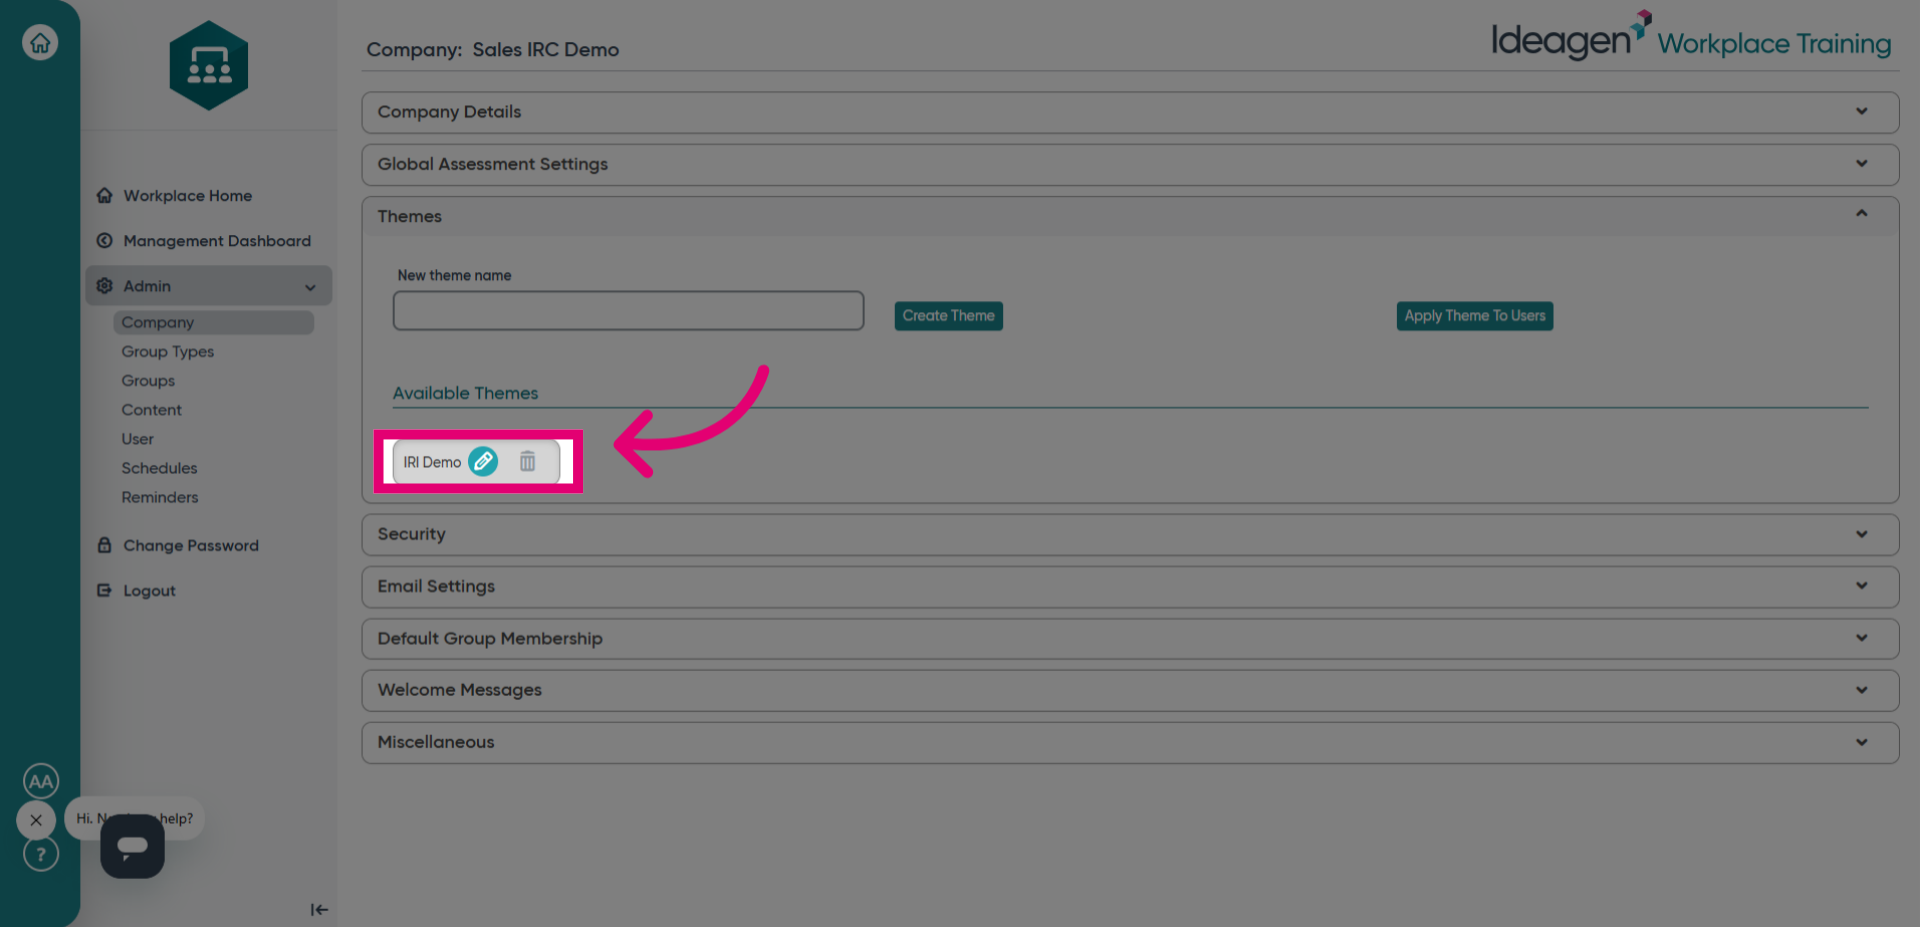
- Navigate to the Themes section to manage and create new visual themes for your workspace.
- Select the field labeled New theme name to prepare for naming your new theme.
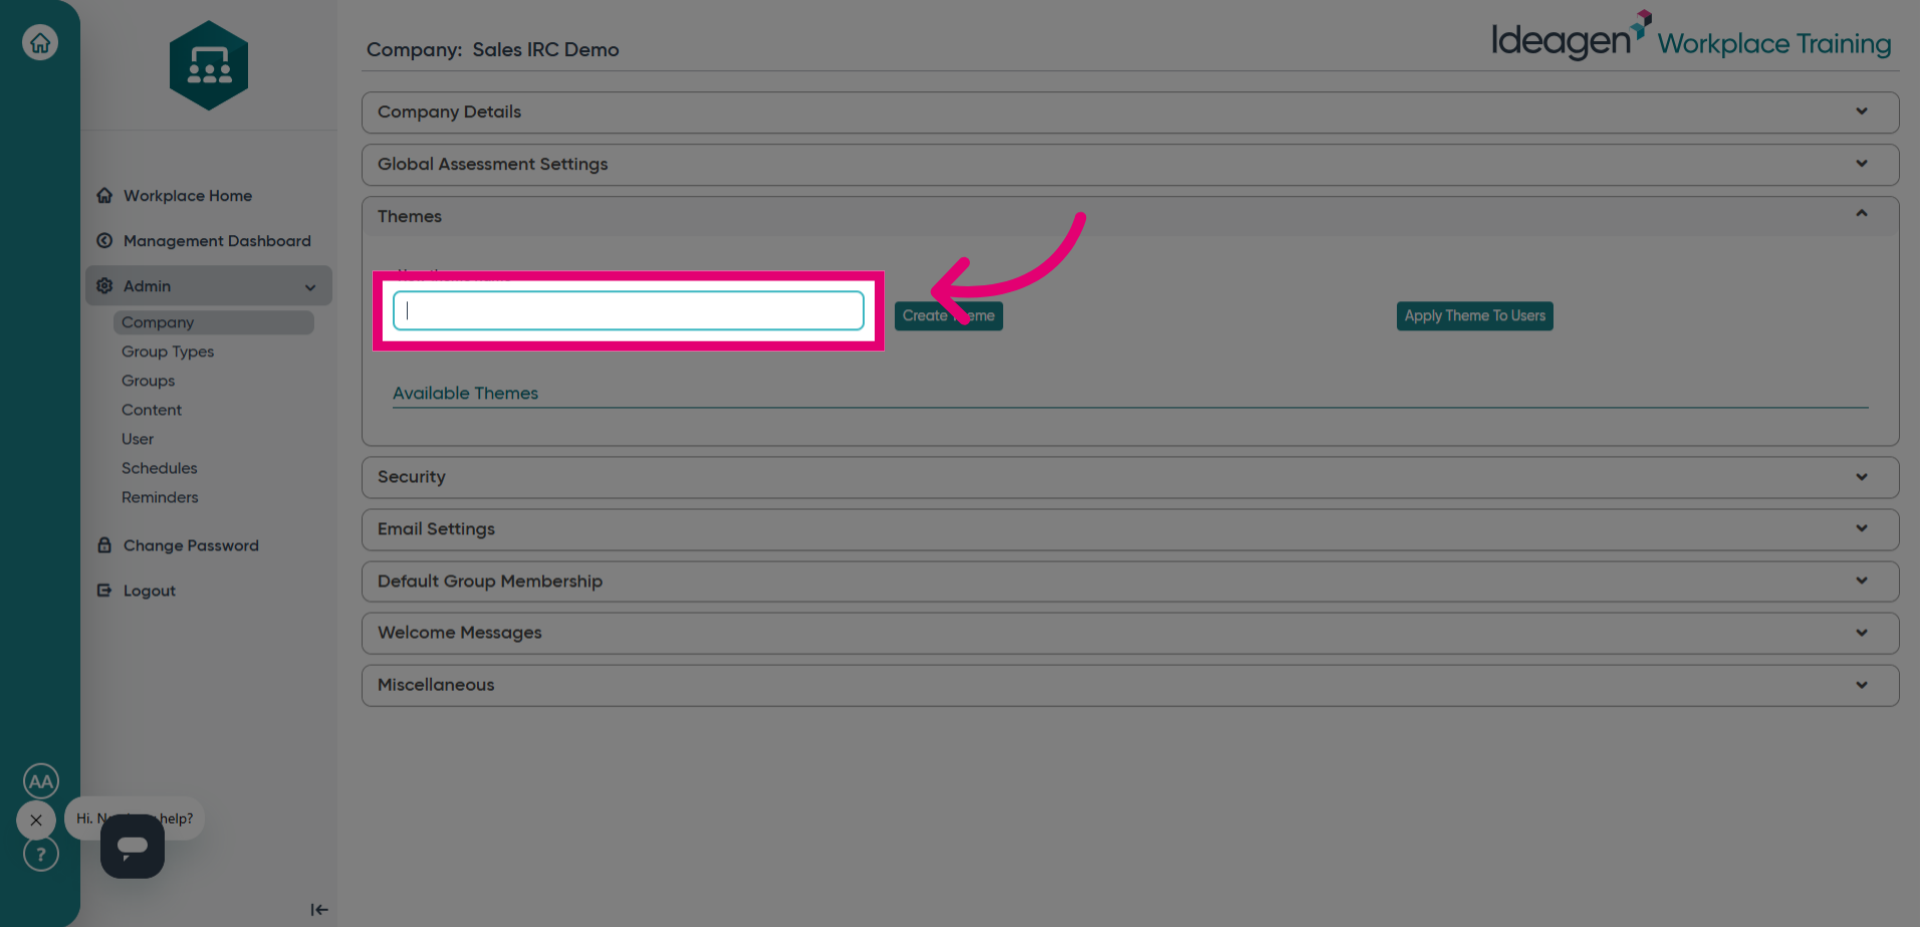
- Fill in the theme name field to identify your new custom theme.
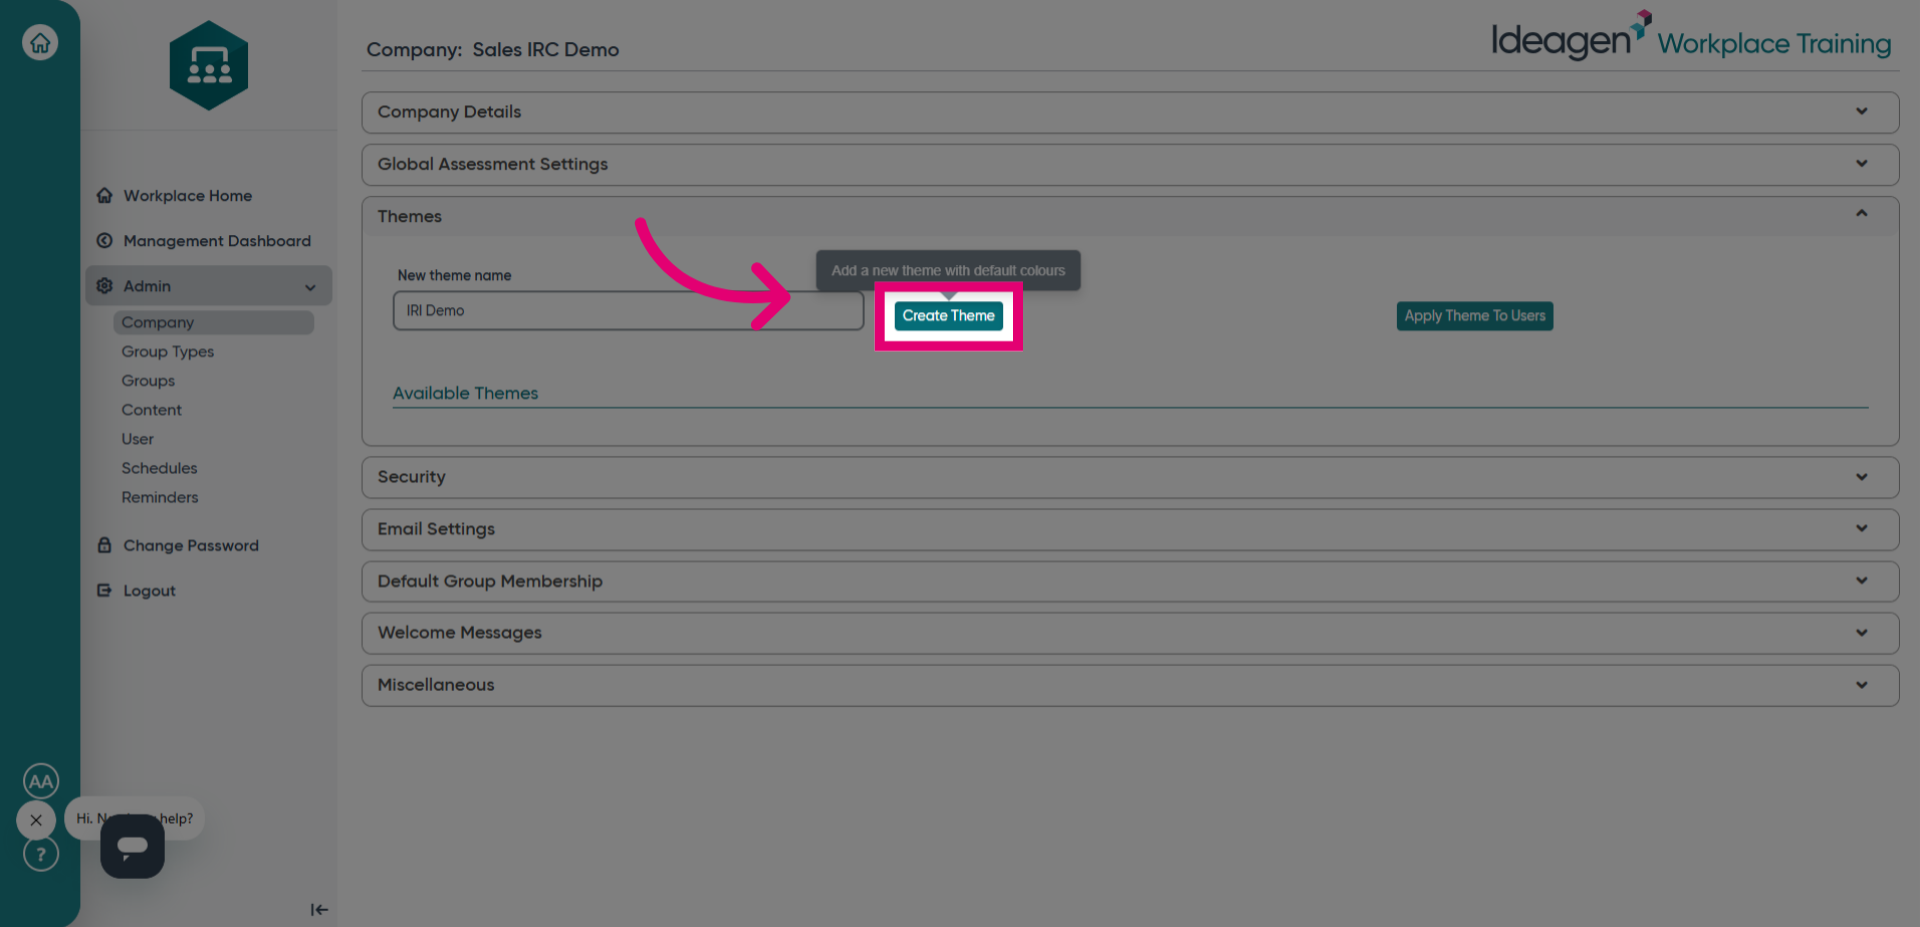
- Click Create Theme to save the new theme with the specified name.
- Click the designated area to proceed with customizing the newly created theme.
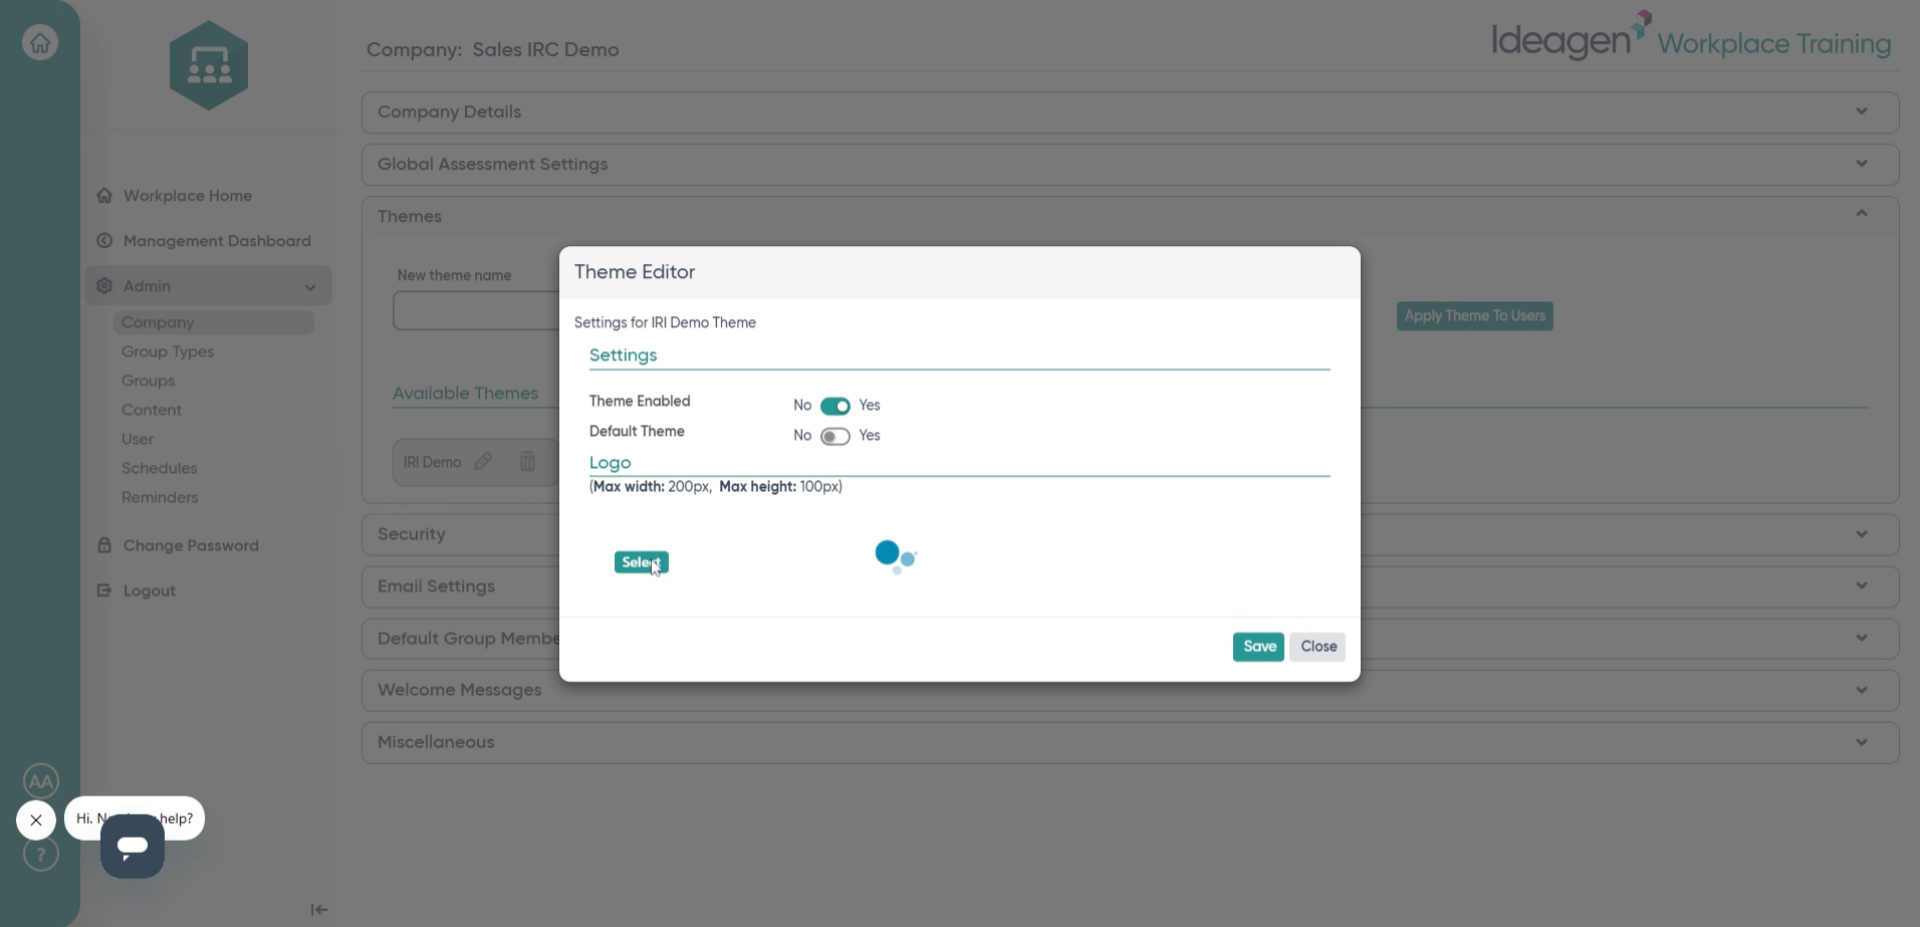
- Choose Select to specify the logo file for your theme.
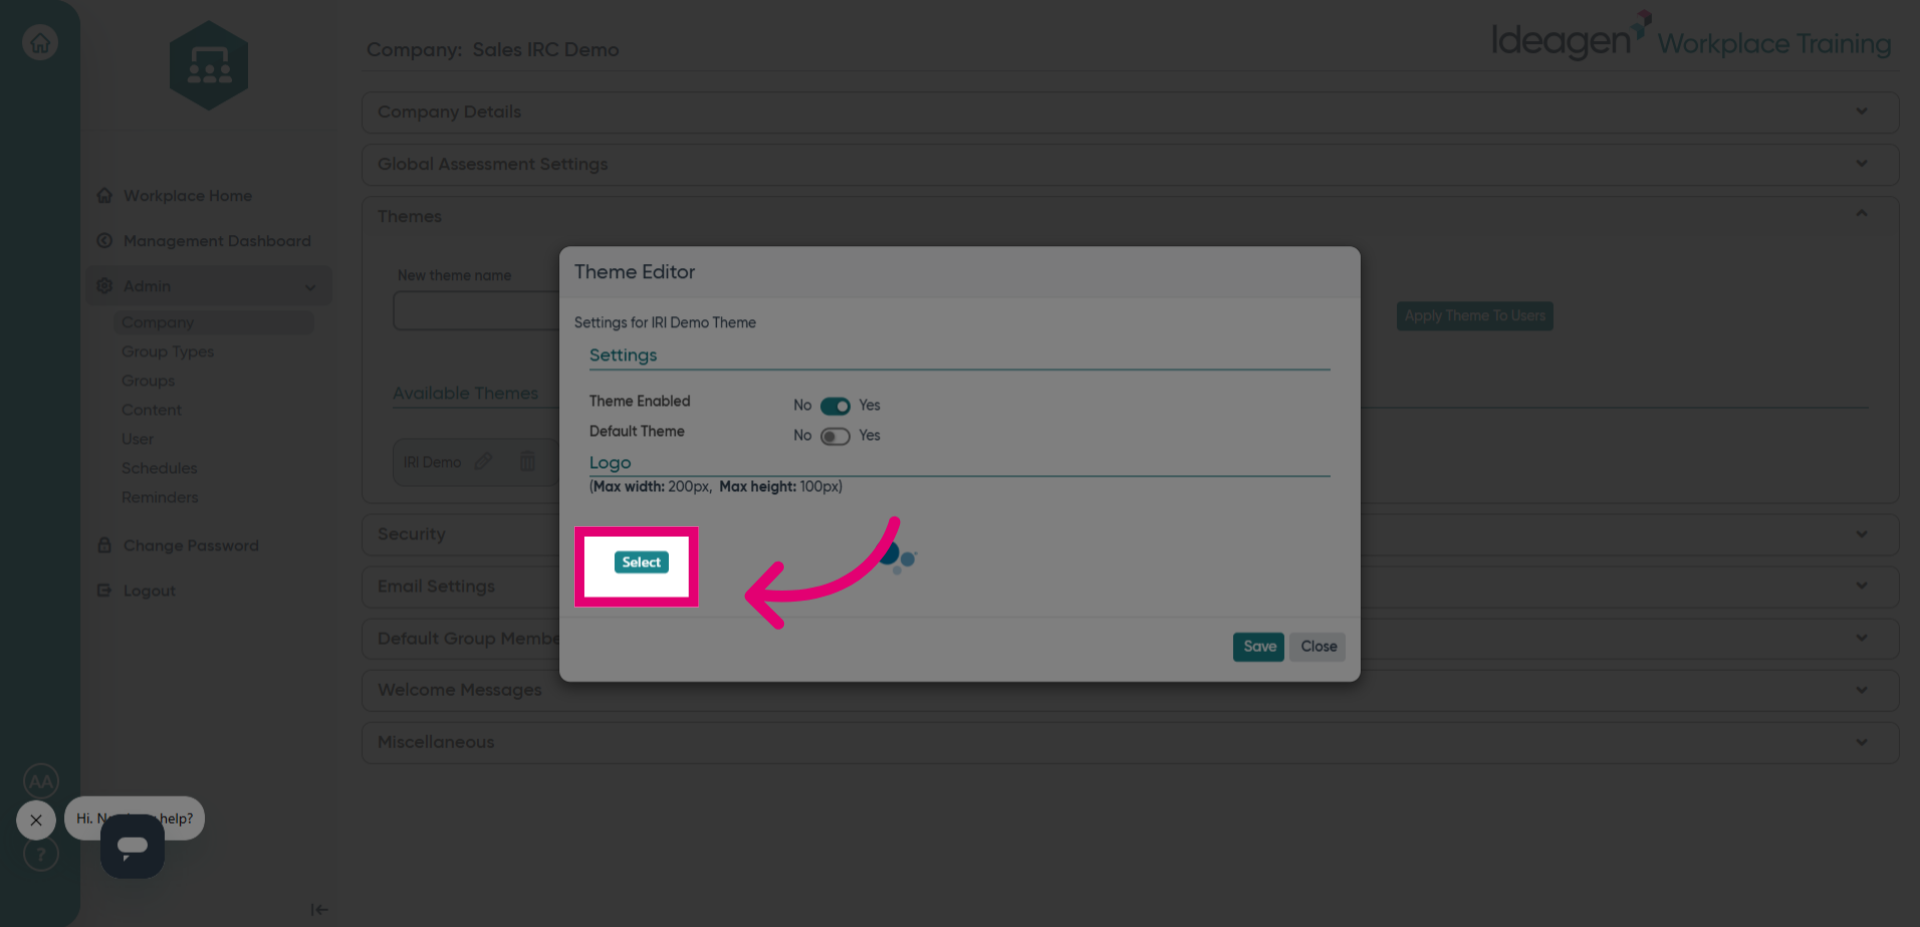
- Fill in the file path by selecting your logo image file from your computer, ensuring it is the correct logo you want to upload.
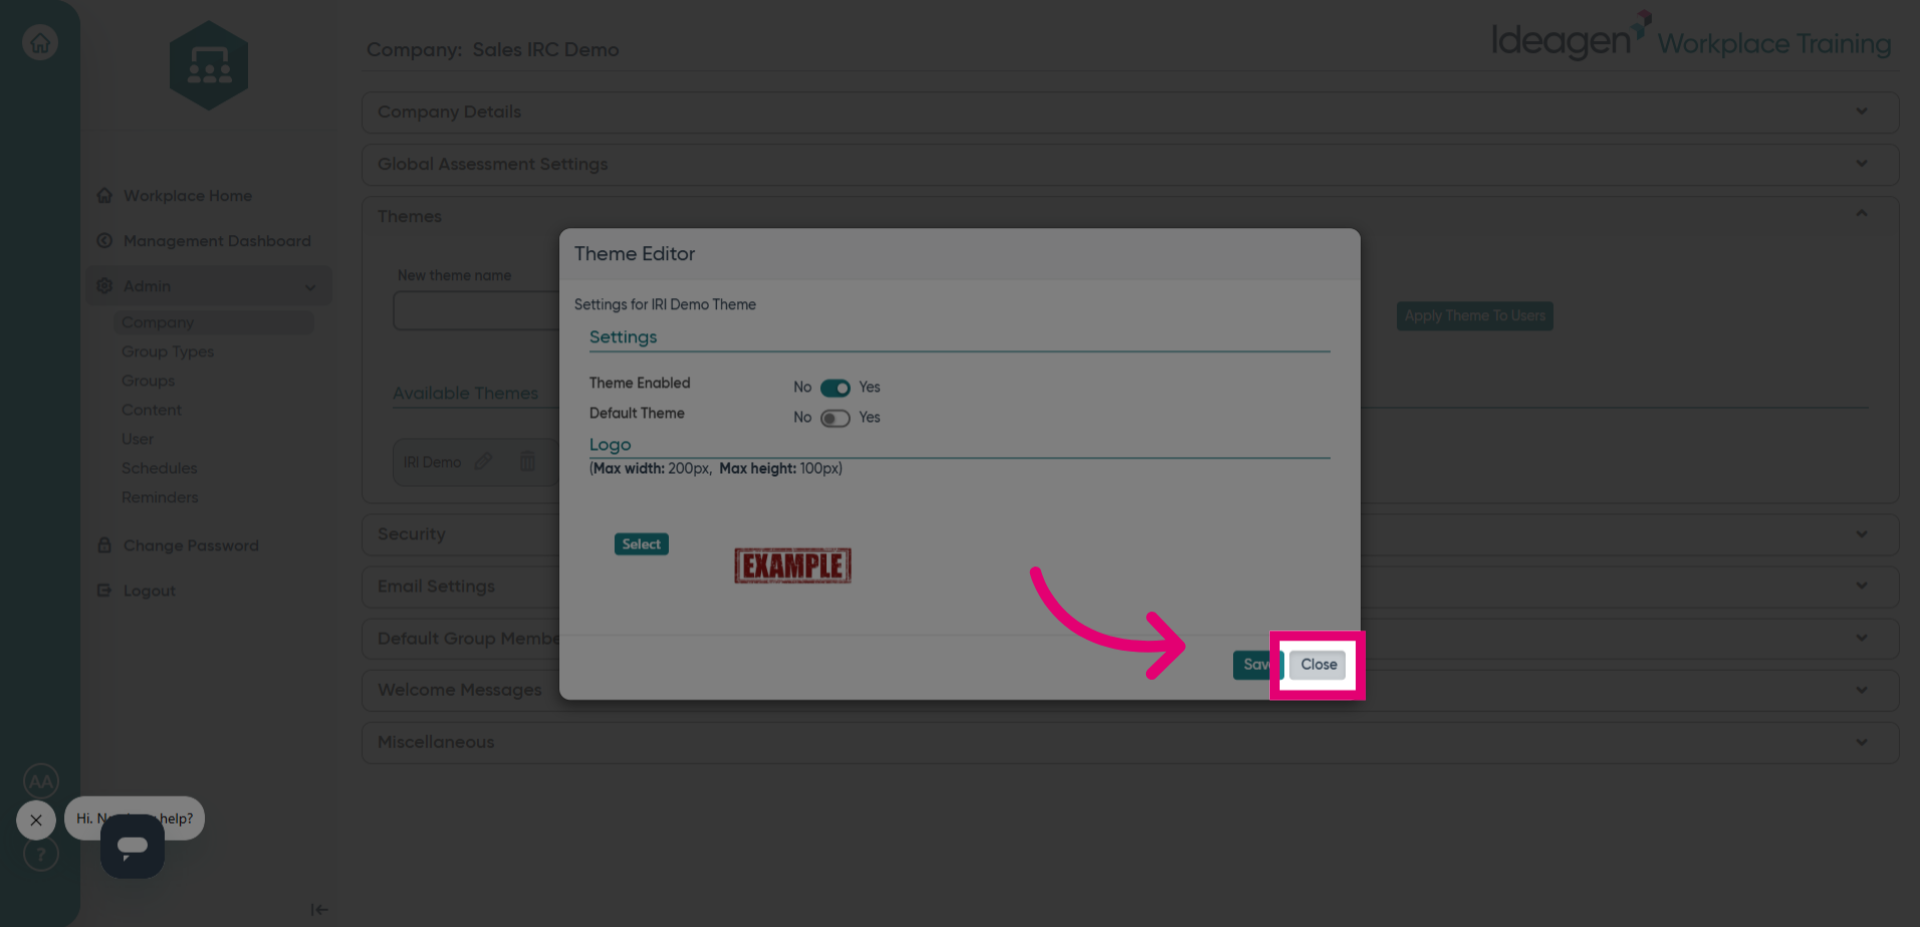
- Click Save to apply the selected logo to your new theme.

- Click Close to exit the logo upload interface and return to the theme settings.
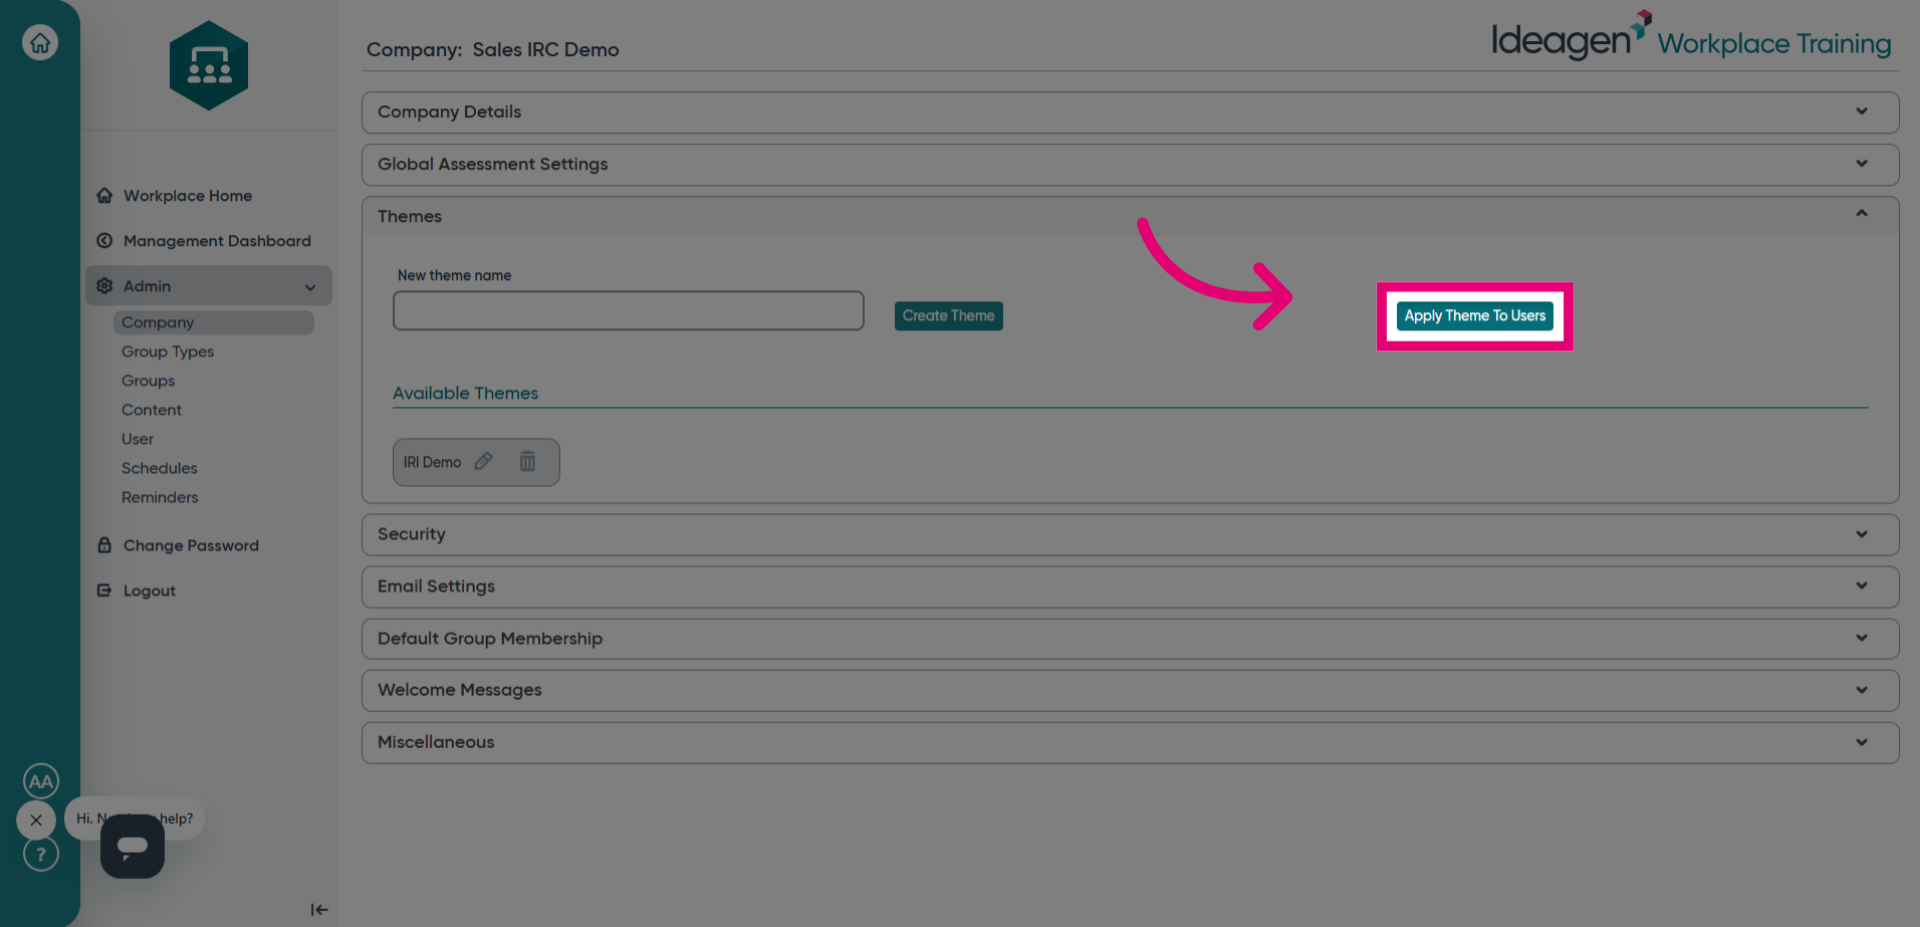
- Click Apply Theme to Users to distribute the new theme and logo to all users.
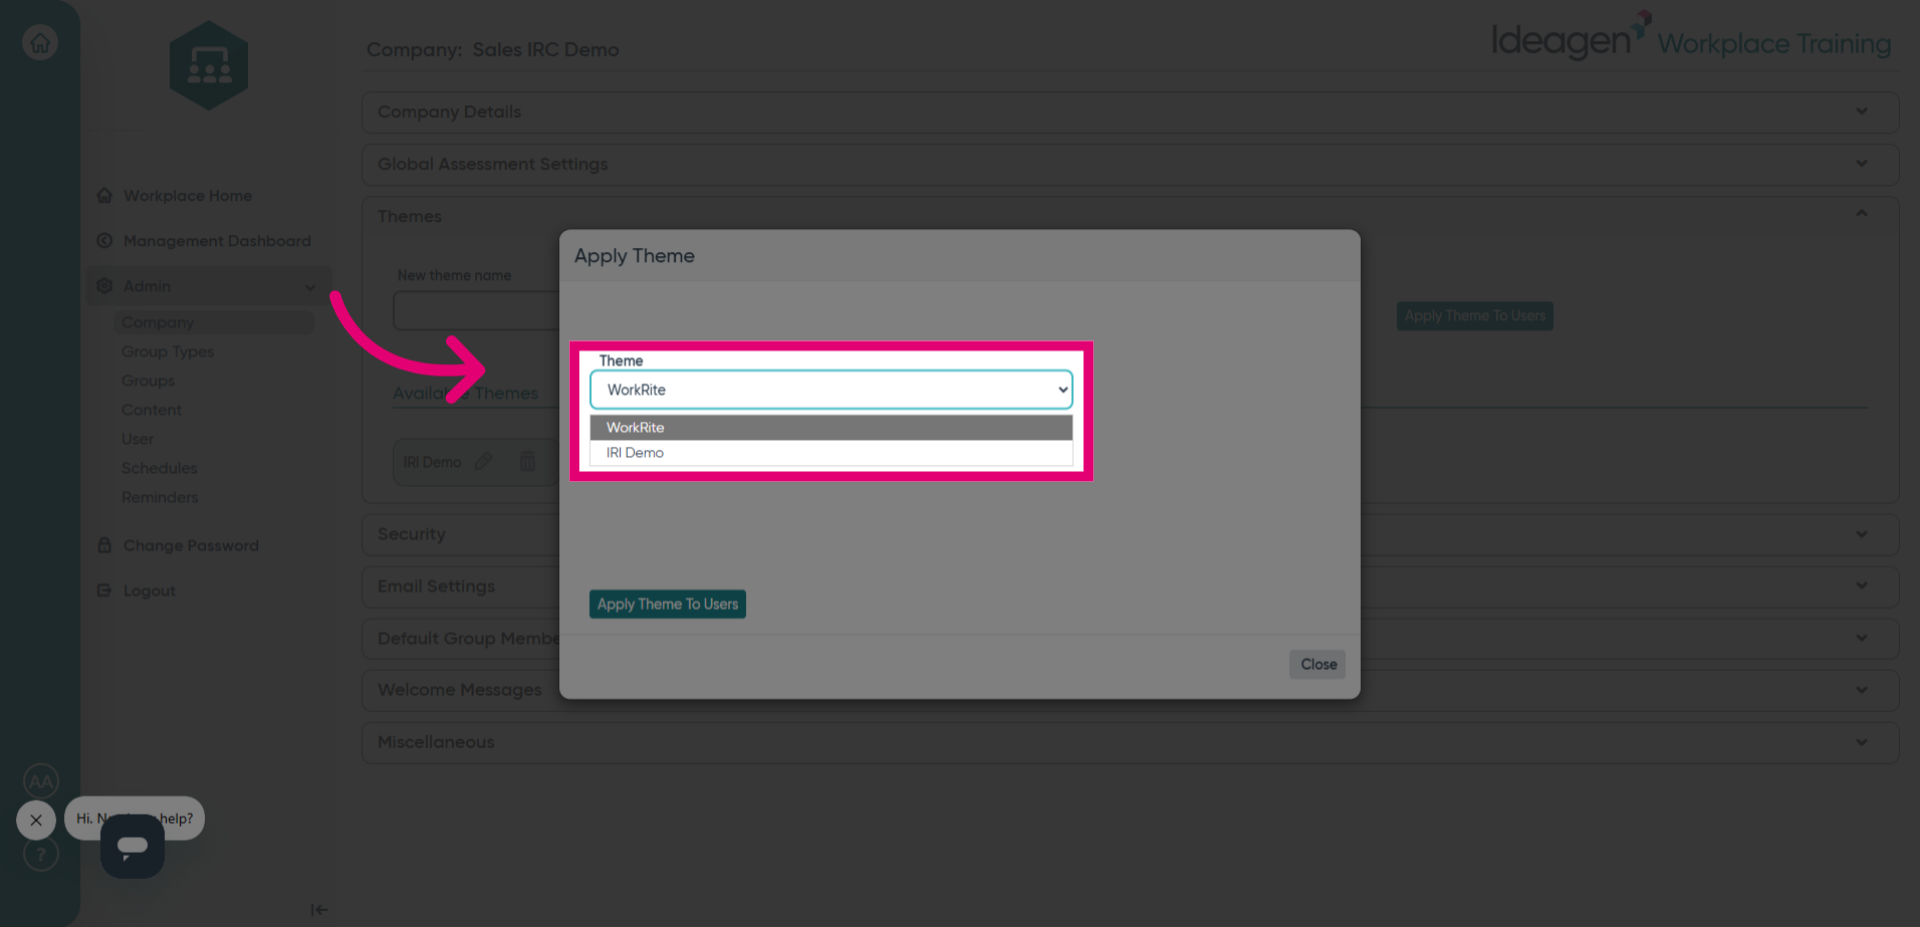
- Select the Theme dropdown and choose your newly created theme name from the options.
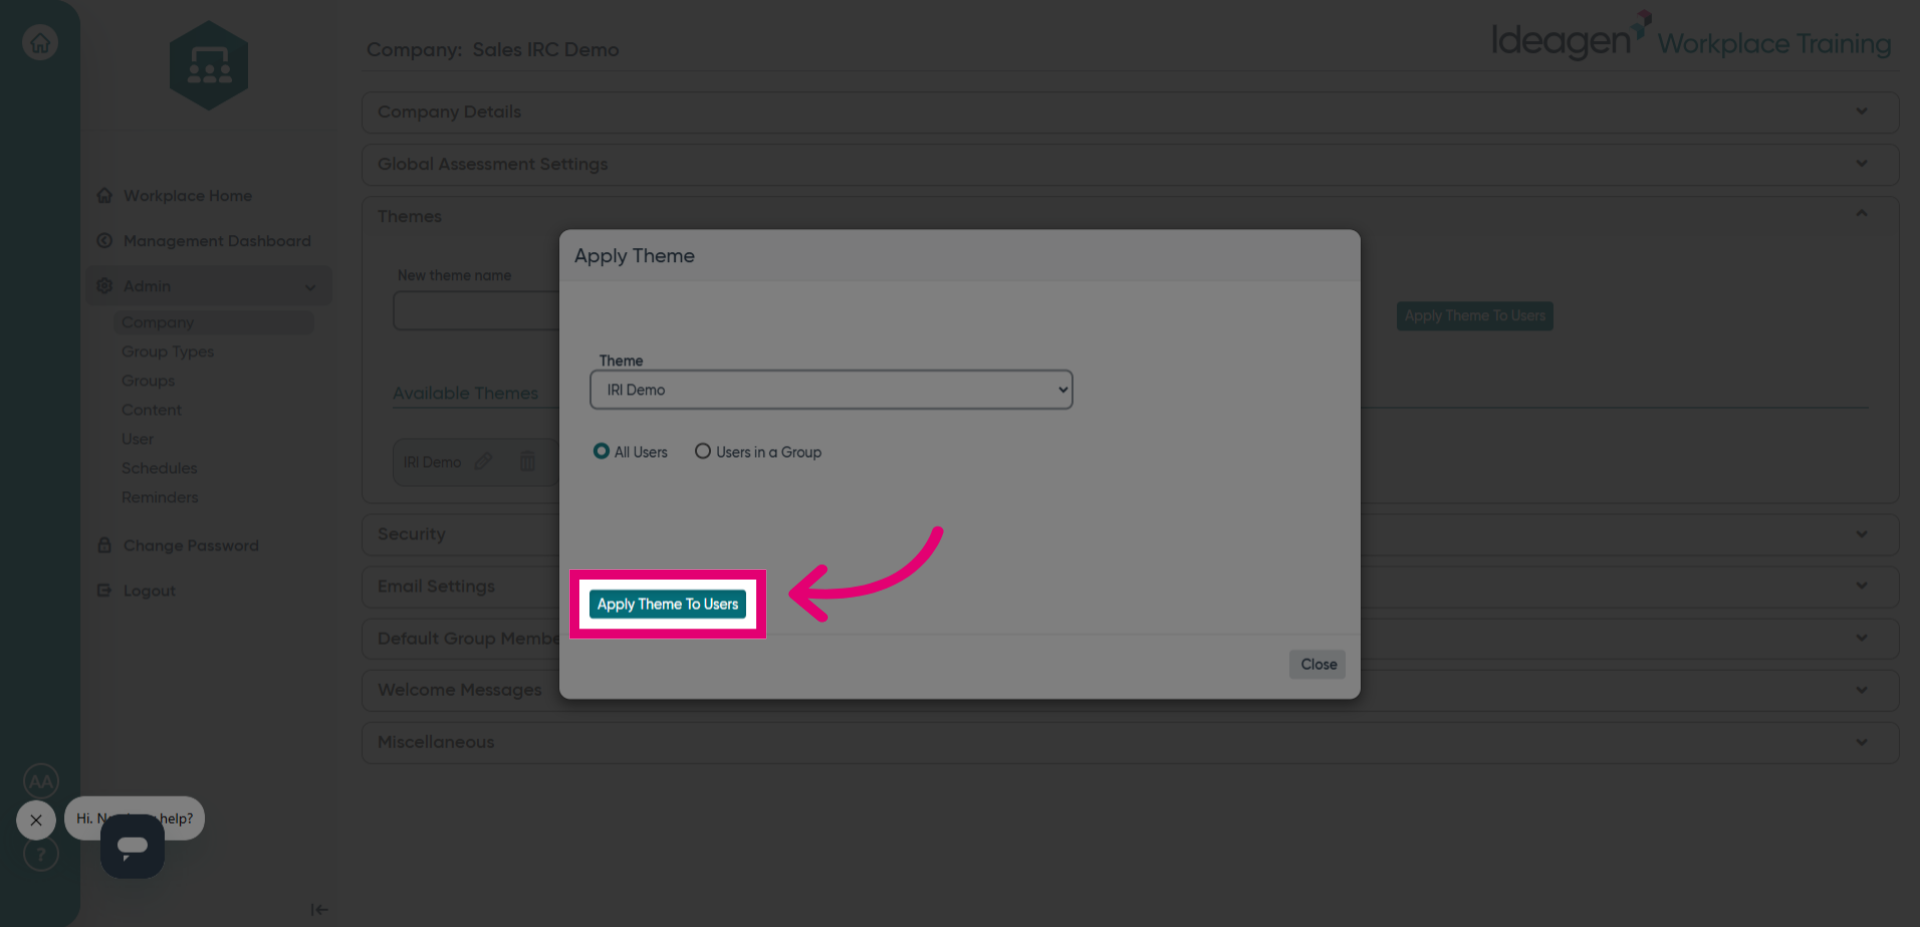
- Click Apply theme to Users again to finalize the theme application across user accounts.
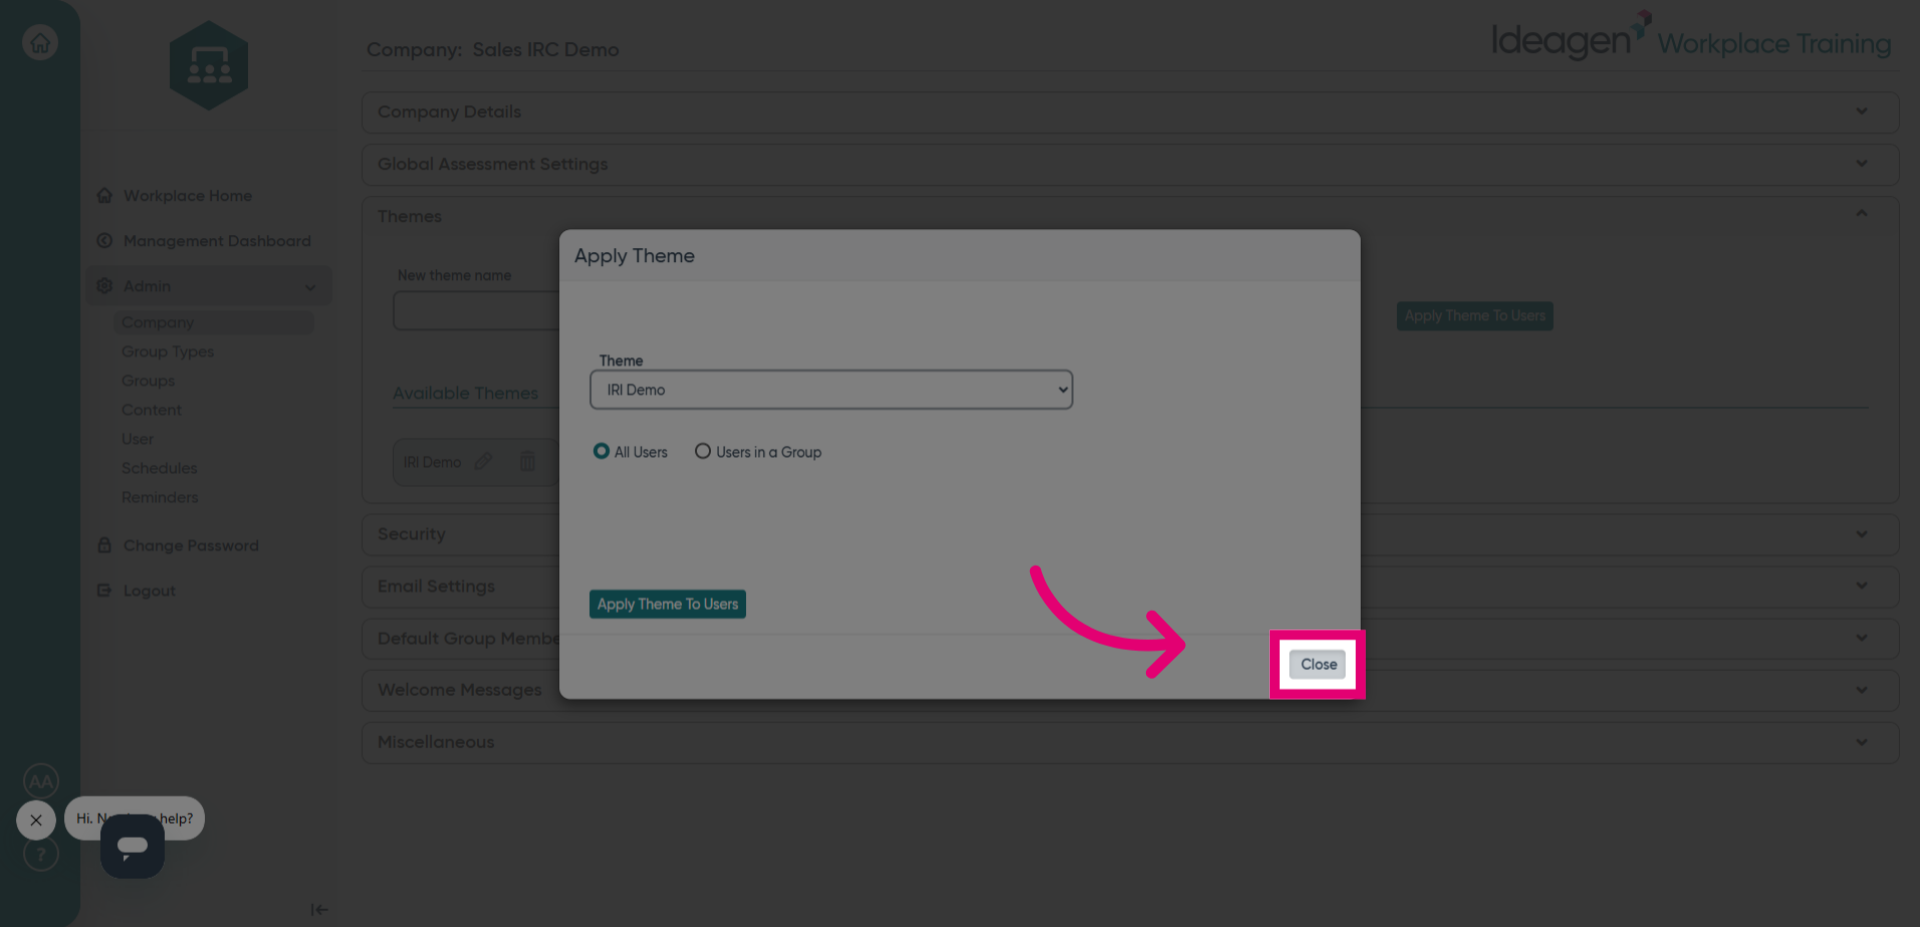
- Click Close to exit the theme application window after successful deployment.
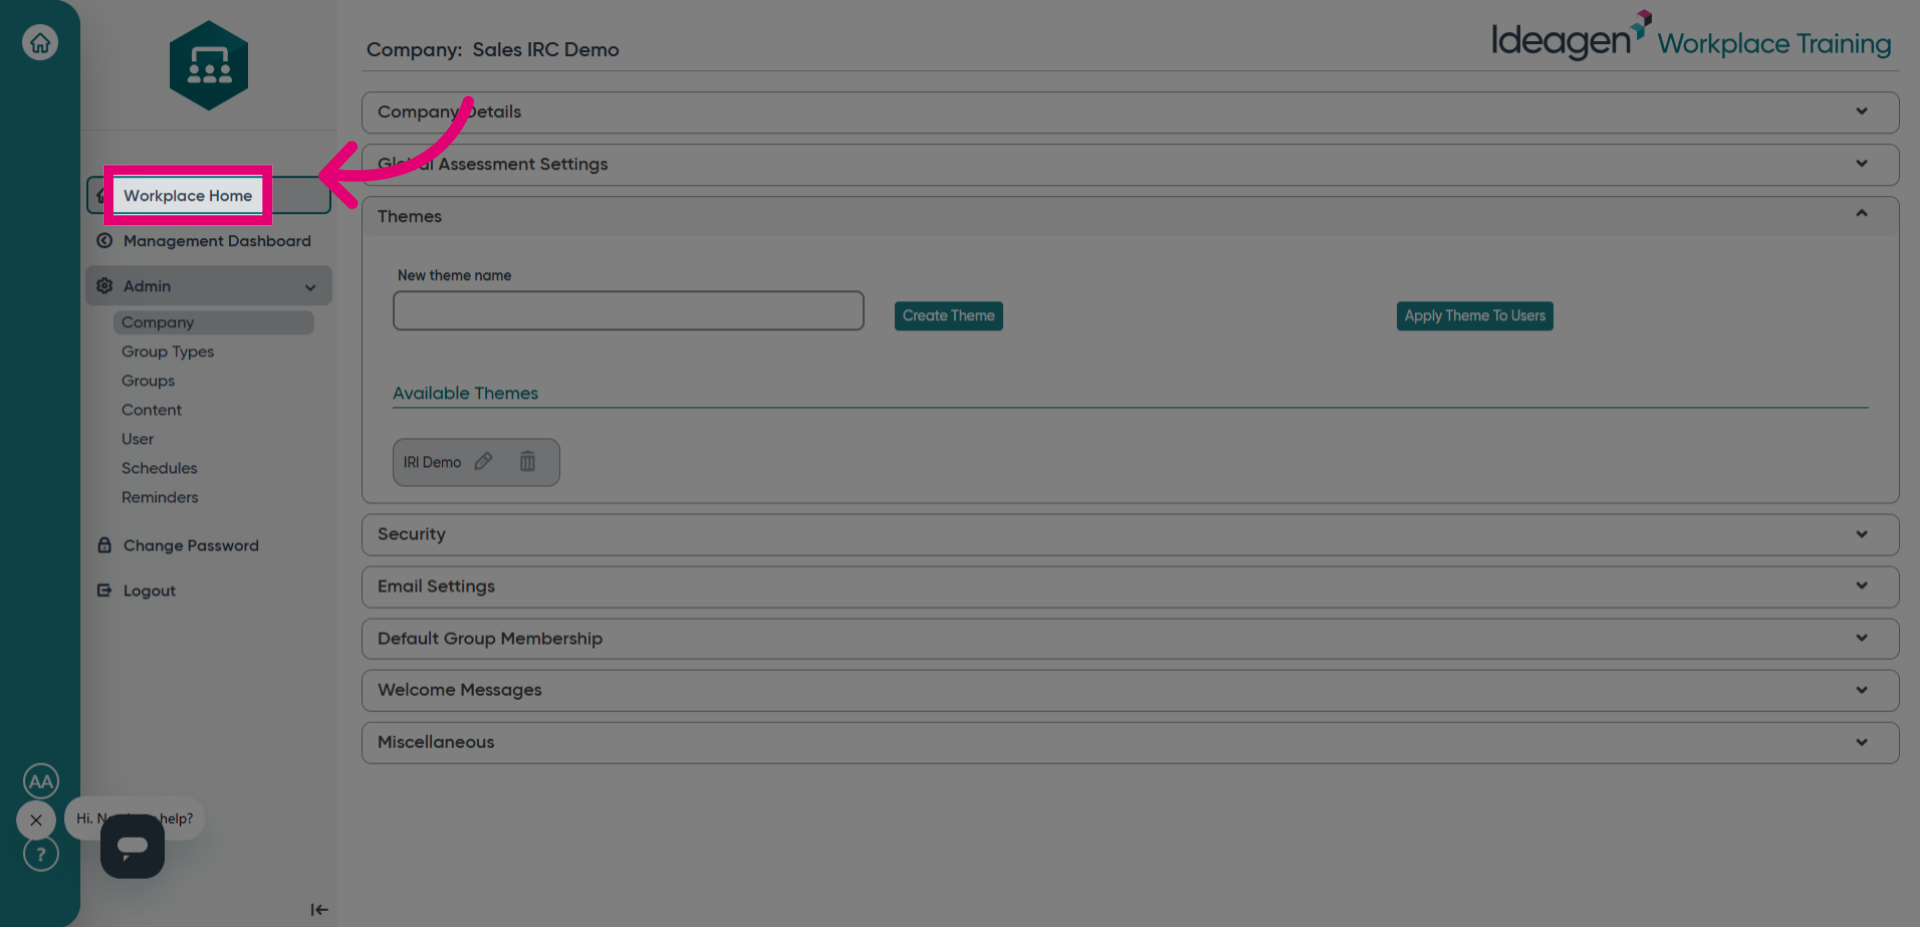
- Click Workplace Home to return to the main dashboard and view changes.
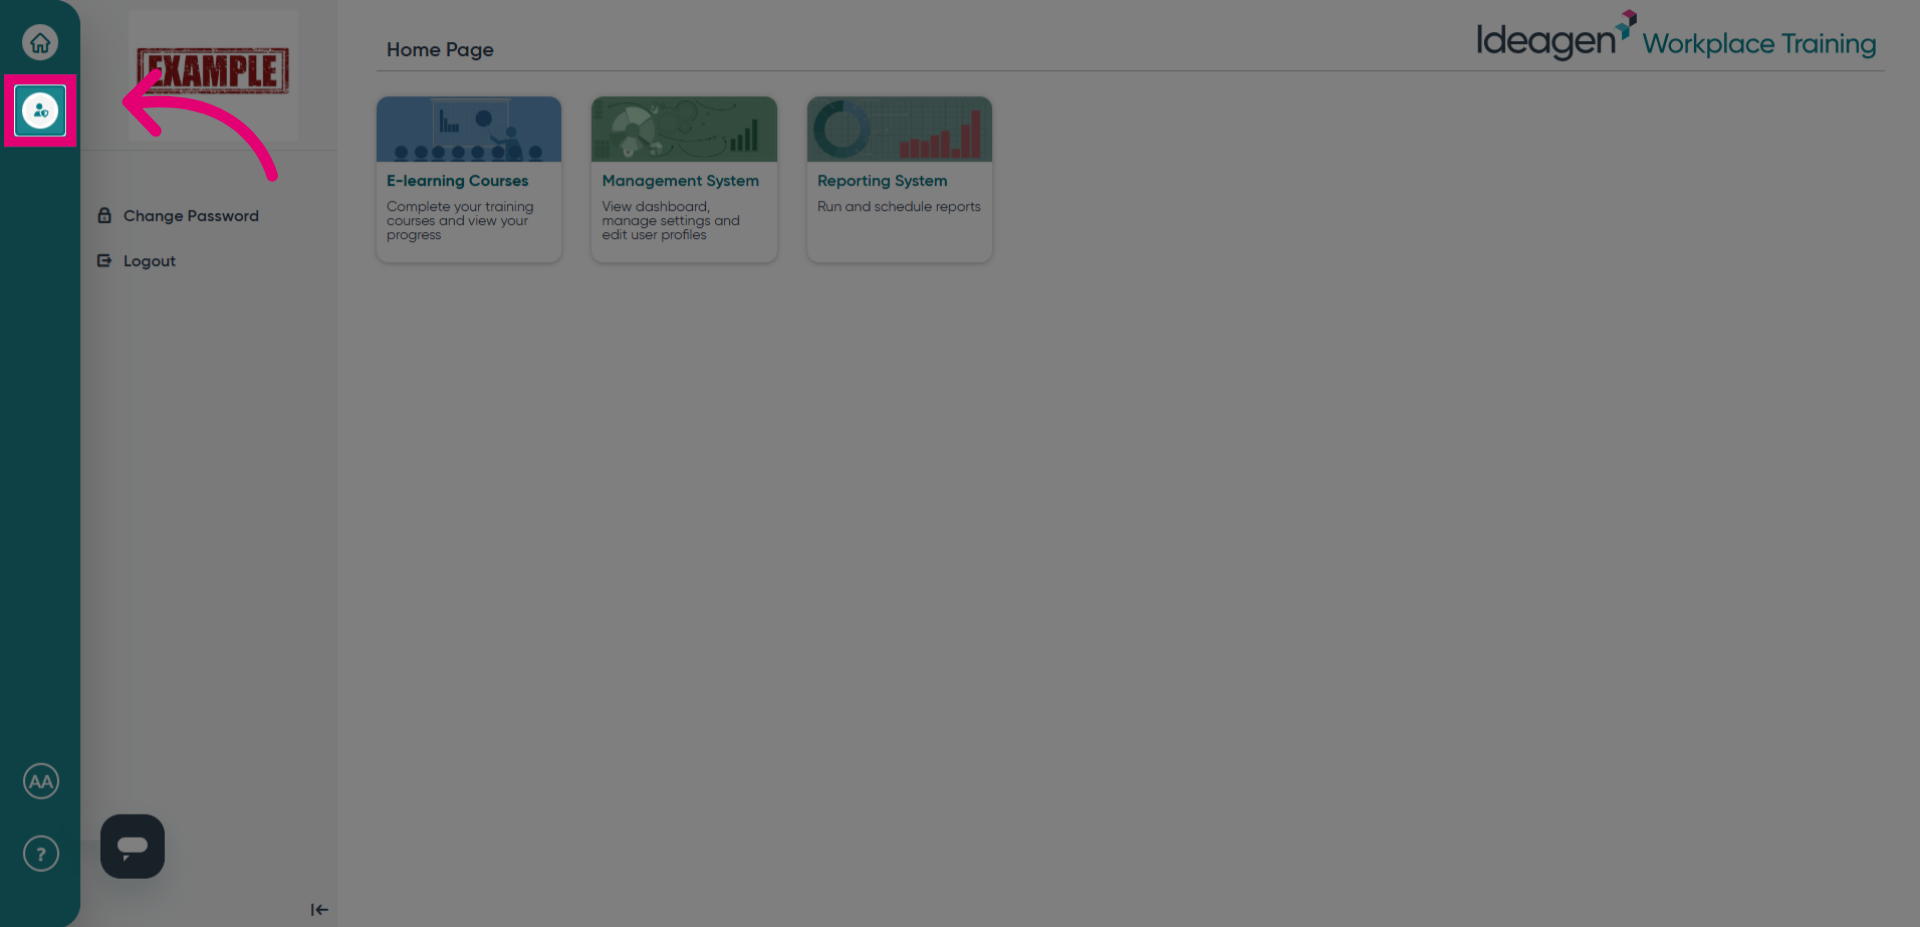
- Click the following button to switch back over to Regulatory Intelligence to view your new theme.
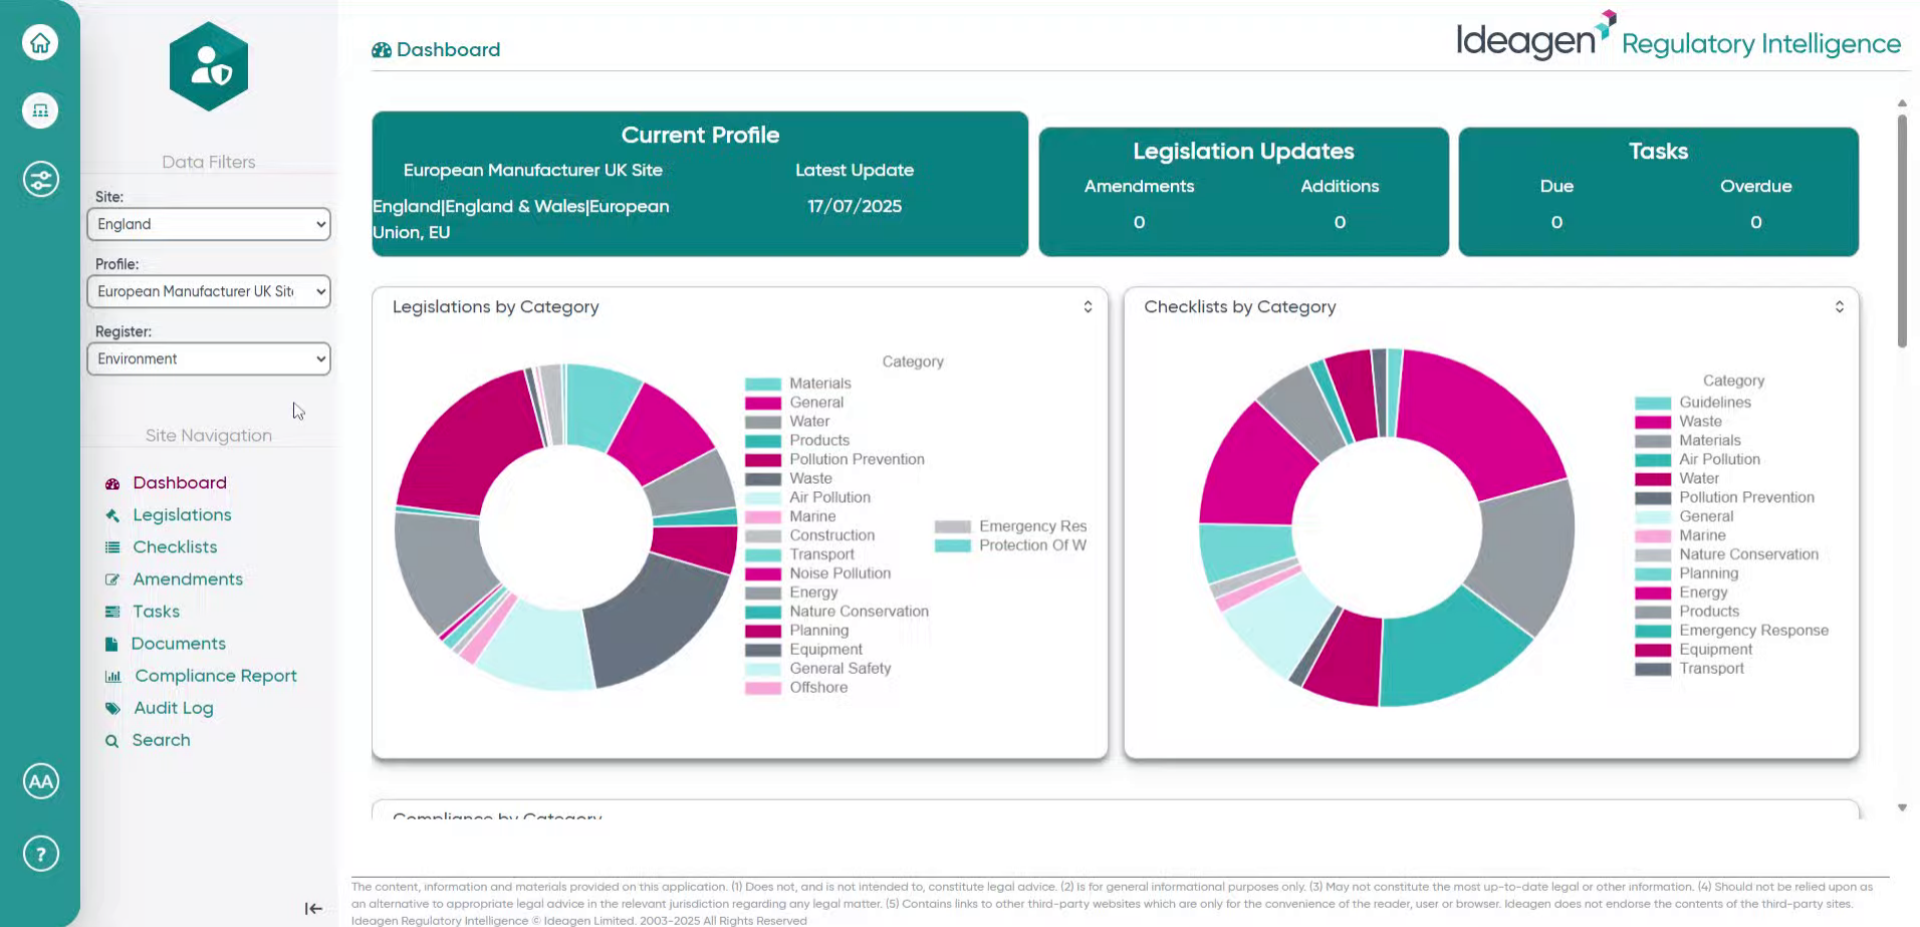
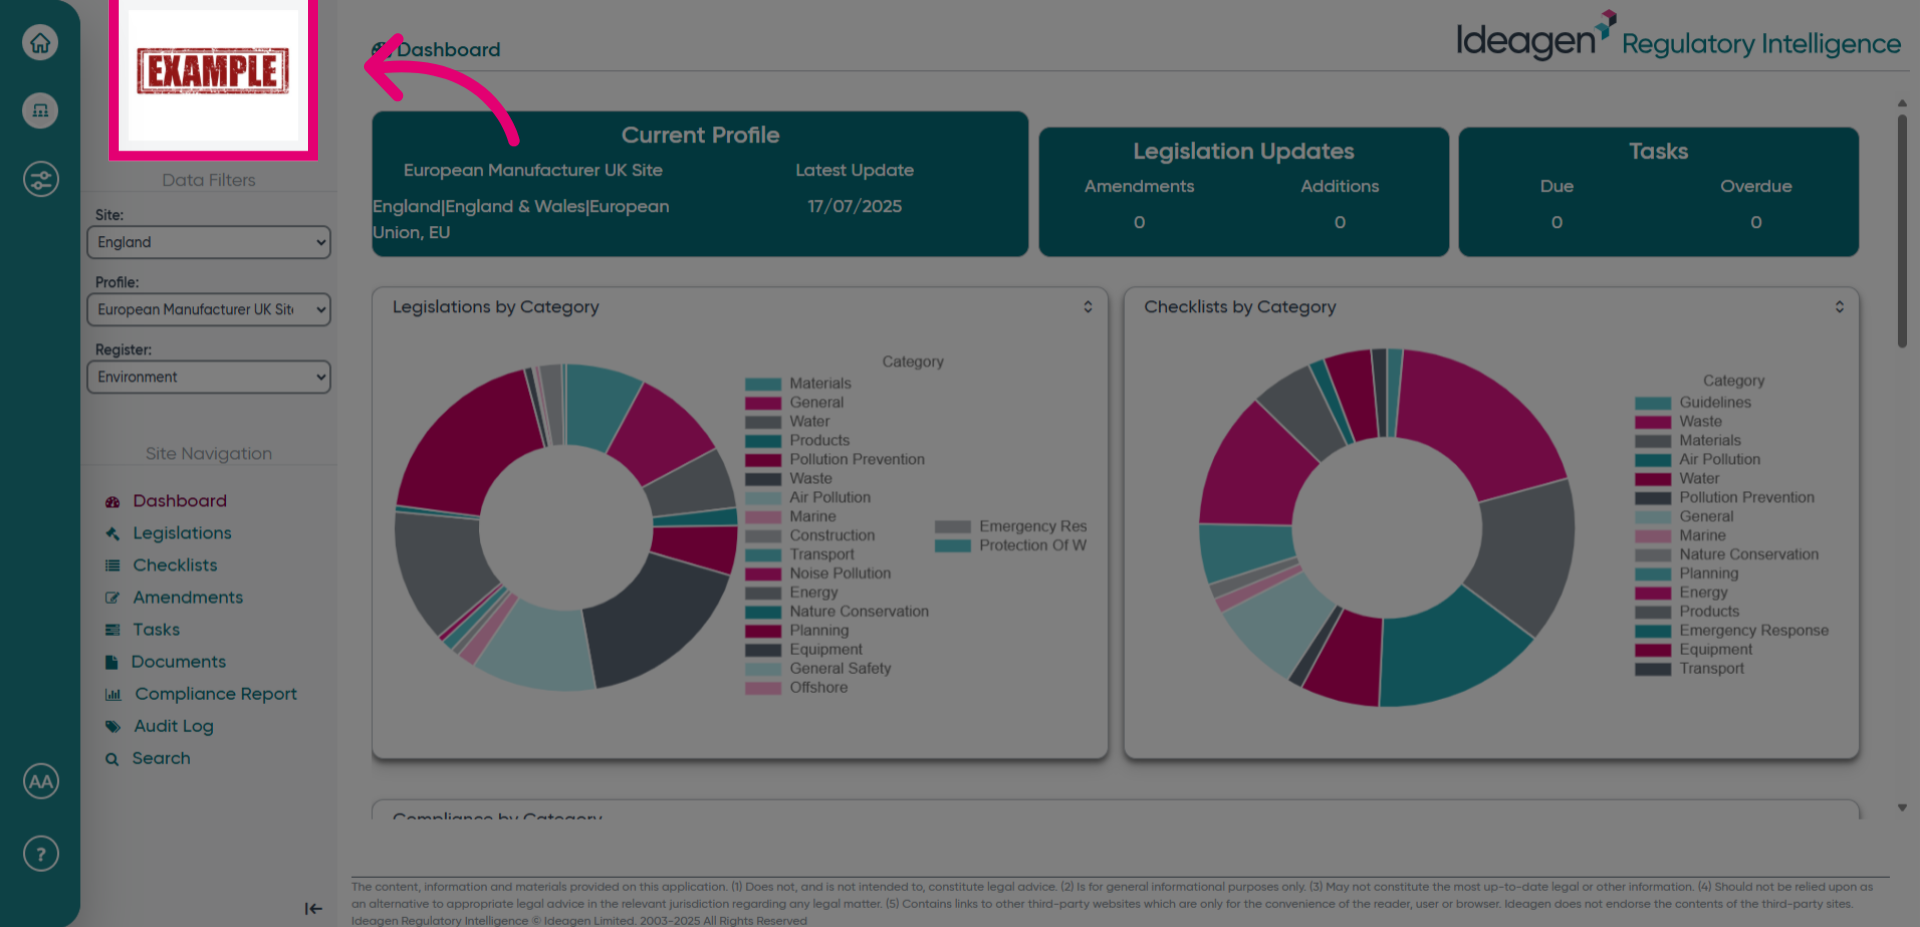
- Observe your new logo now appears in the top left corner of your dashboard.
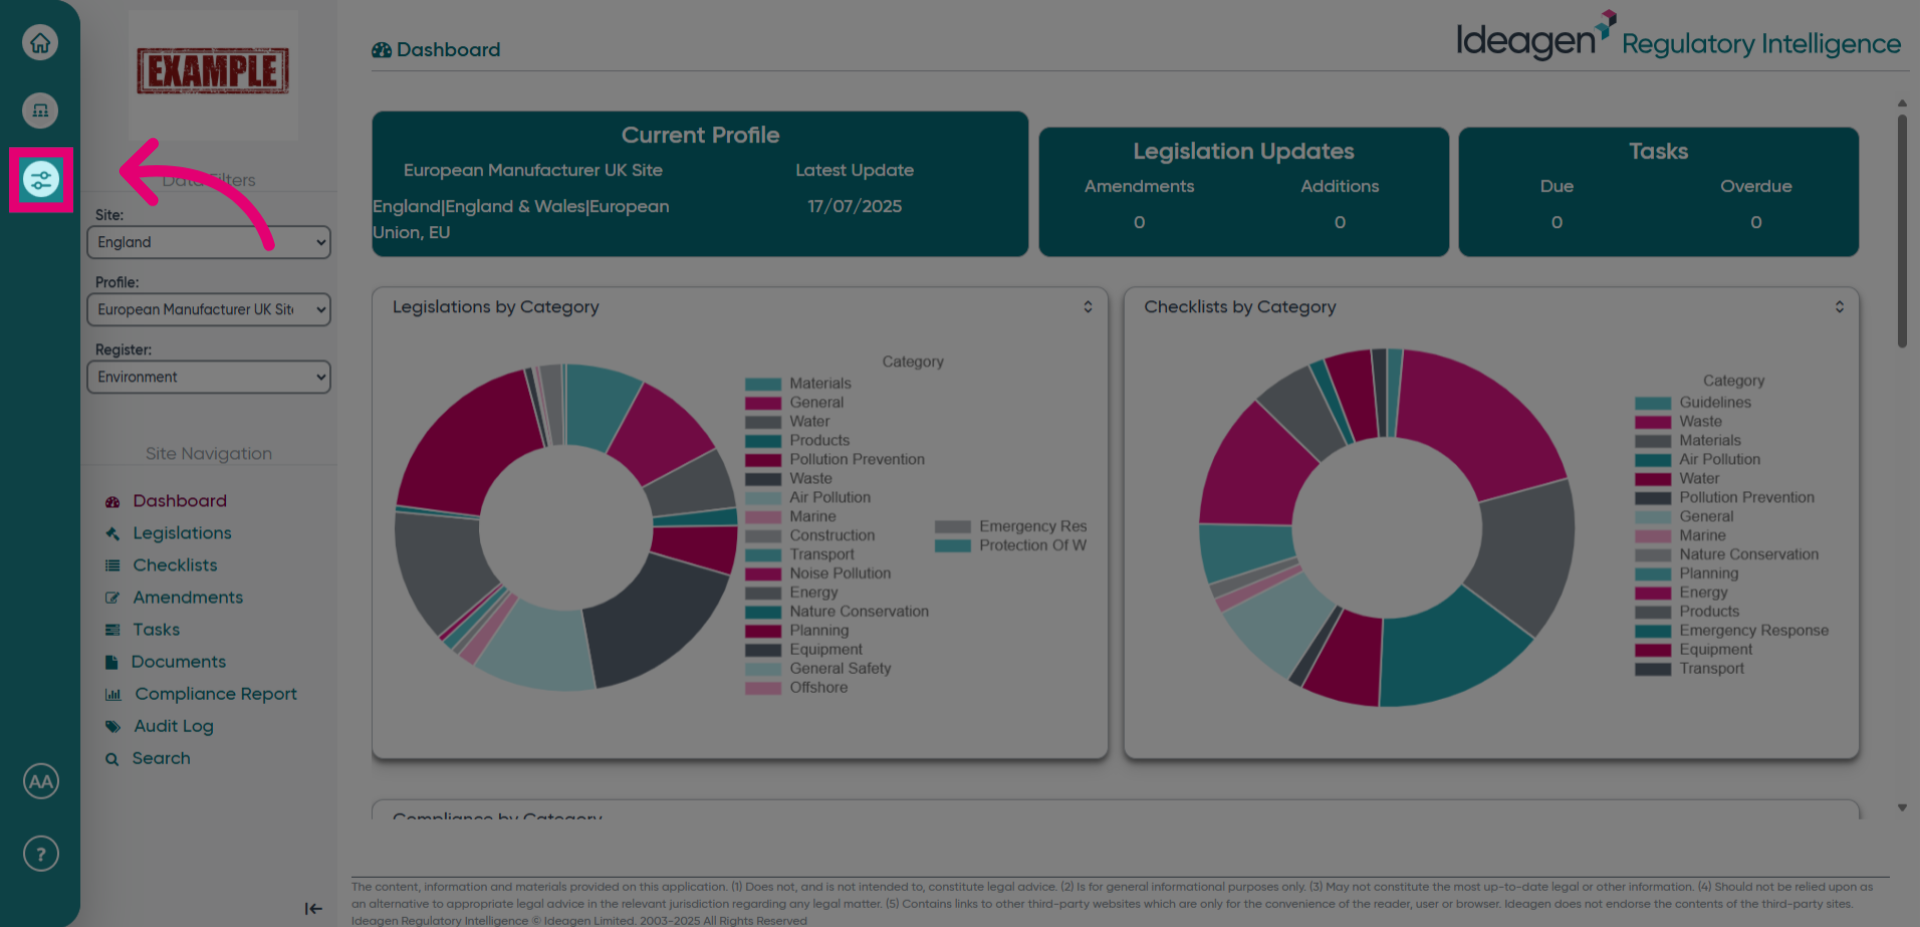
- Click the button to access the admin panel to enable or disable your logo.
- Click Settings to revisit configuration options for further adjustments.
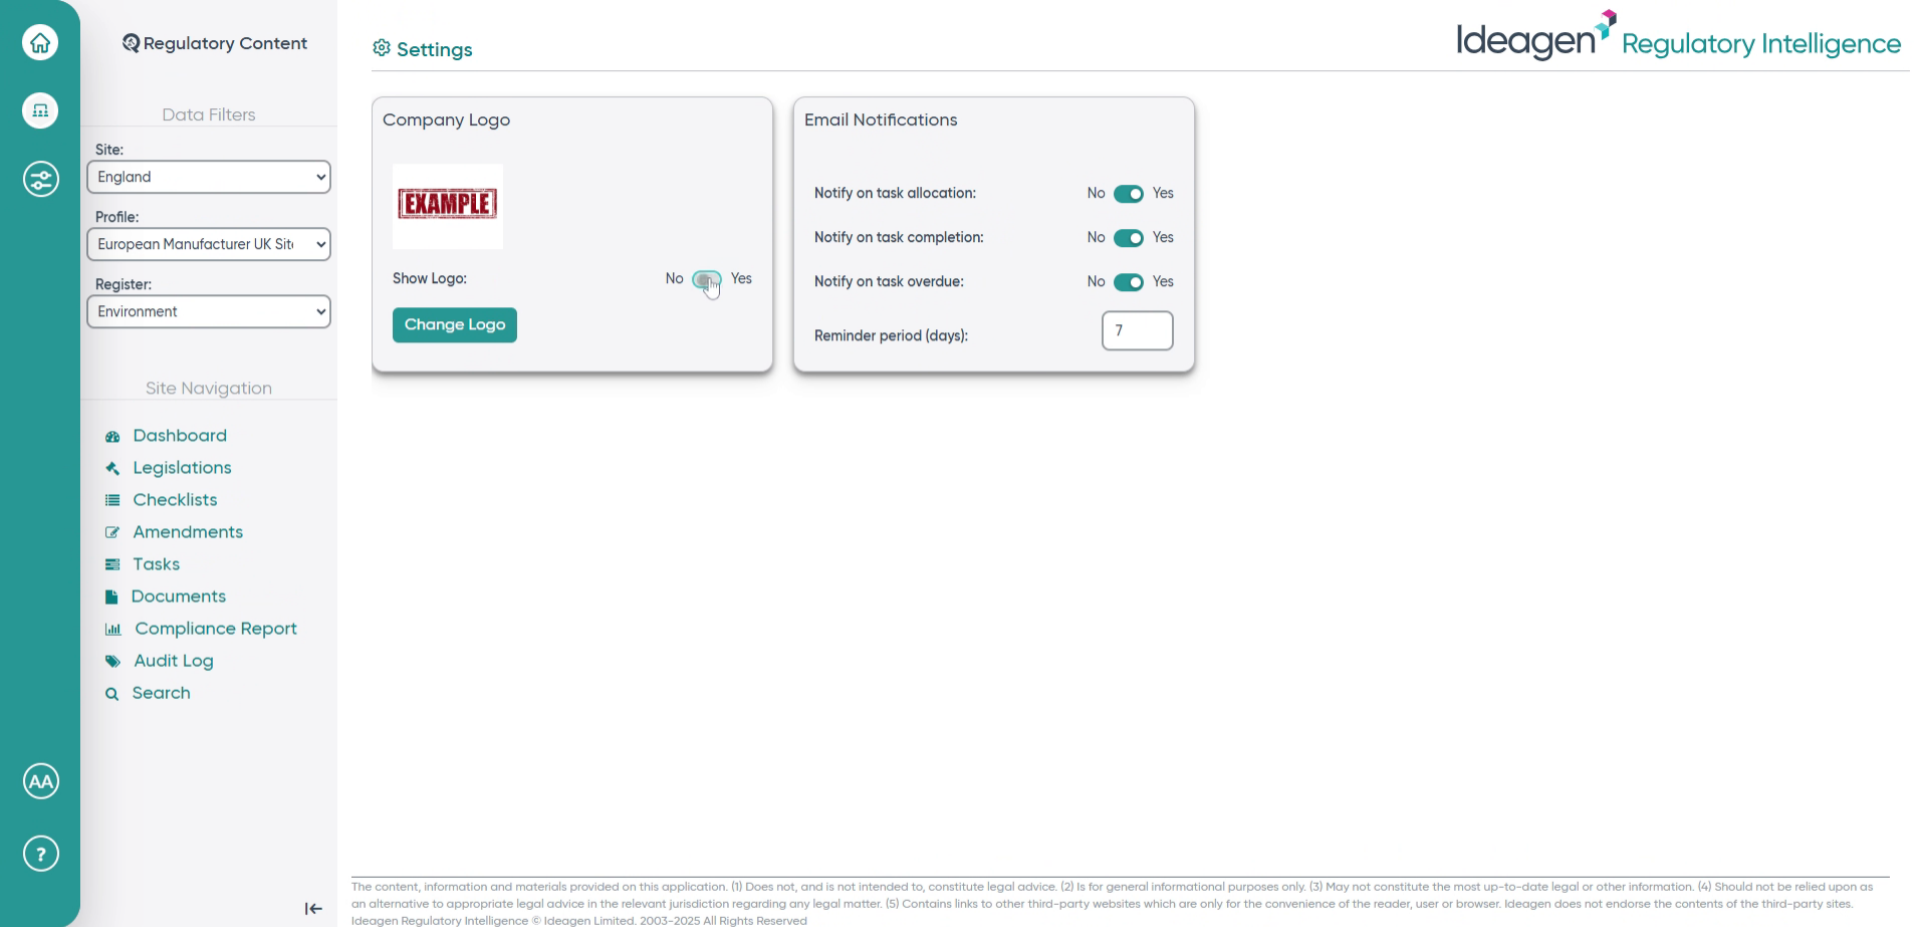
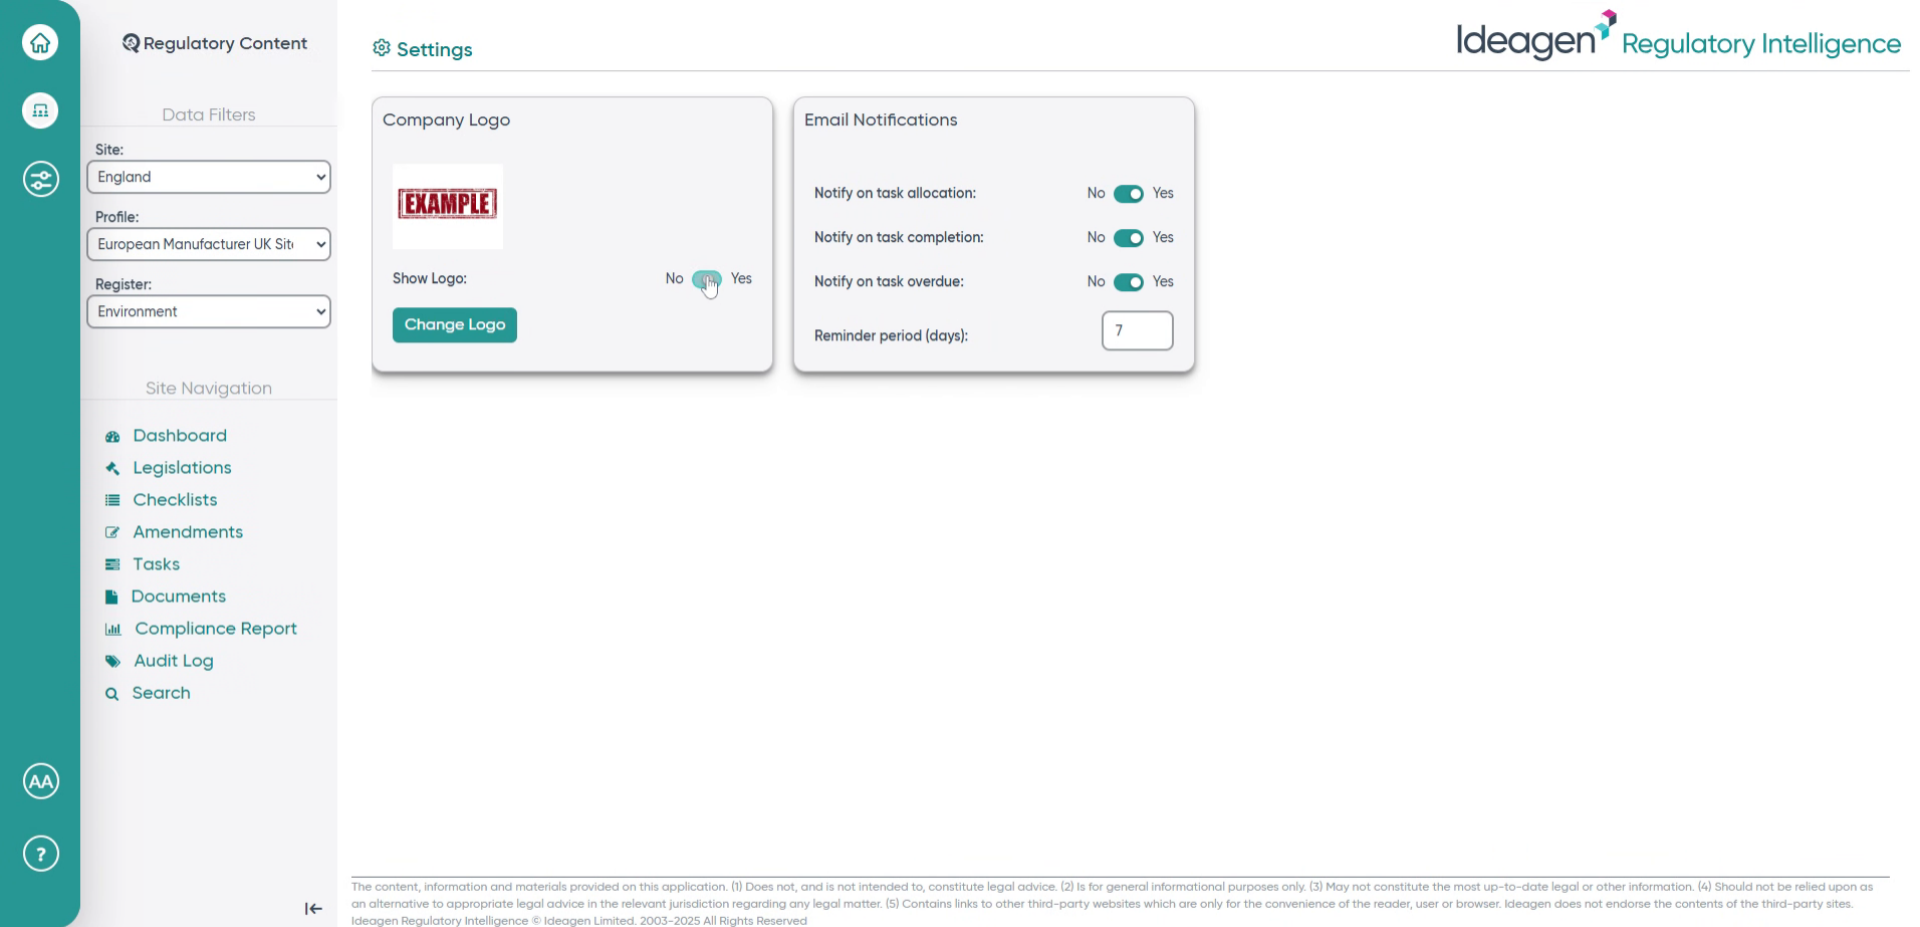
- Click the specified area to enable or modify particular settings.
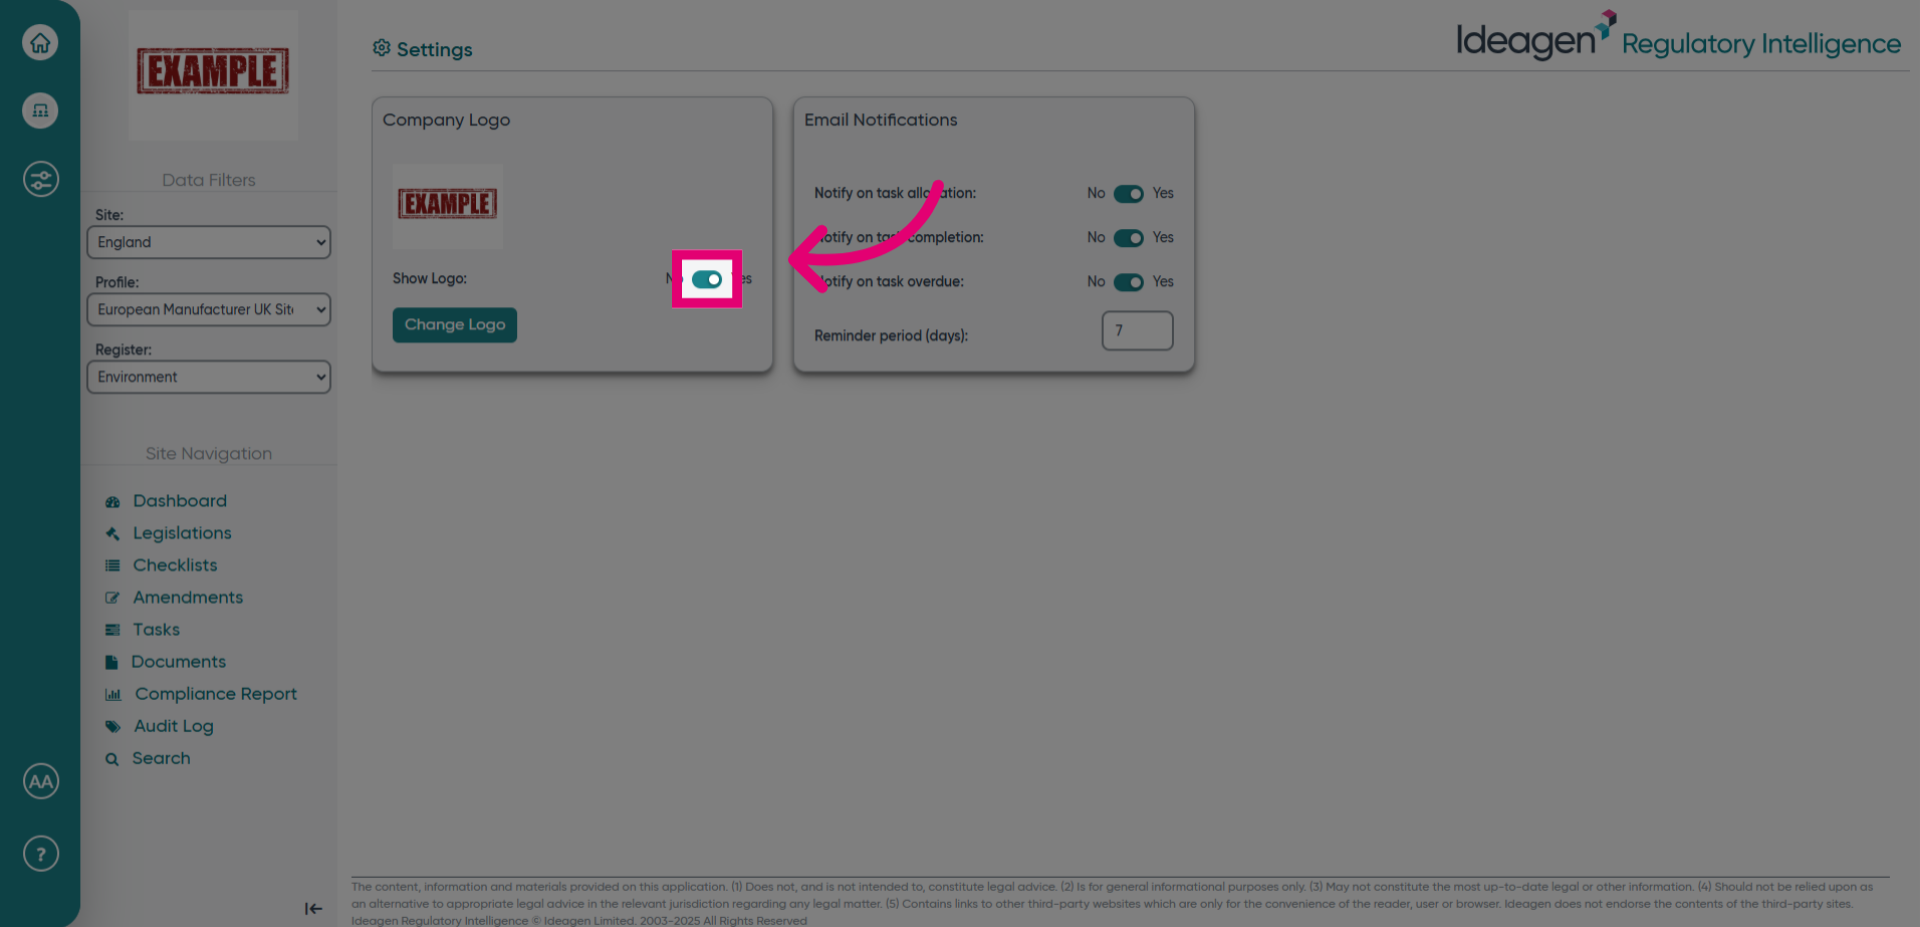
- Fill in the field with on to activate the desired feature or setting.
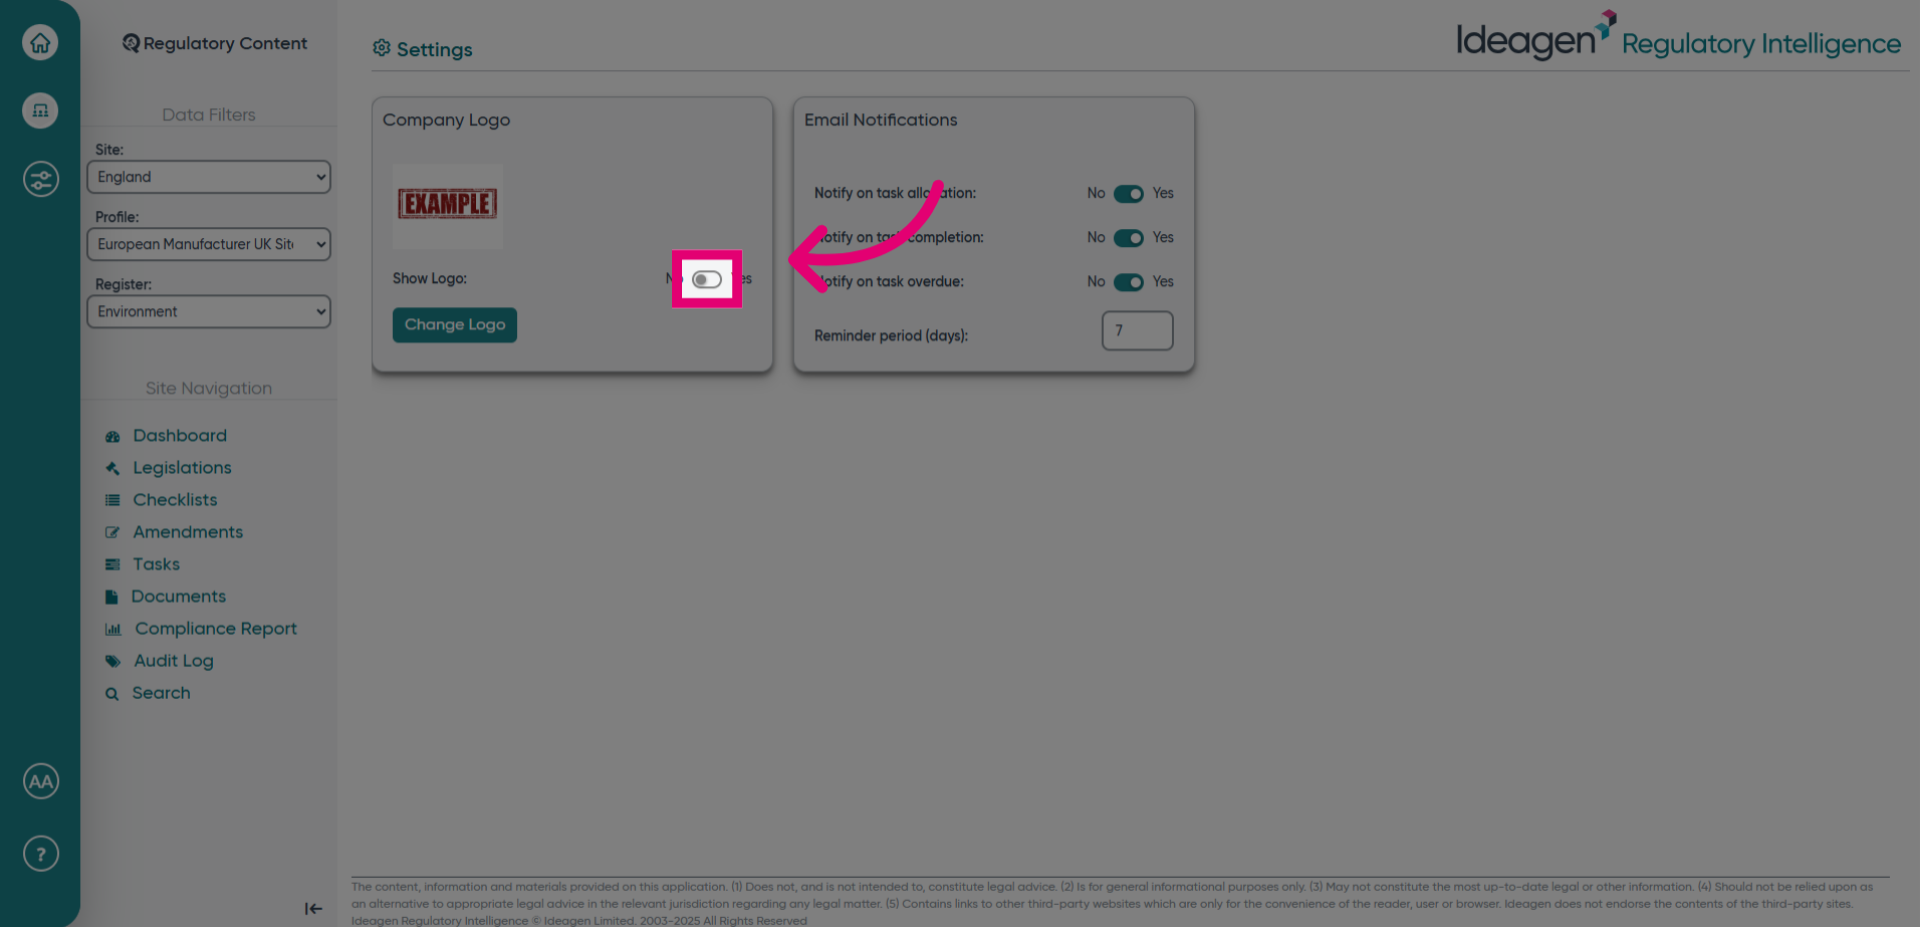
- Switching the toggle off will remove your logo and revert to the standard logo image.
- Fill in the subsequent field with on to ensure the setting is enabled.